

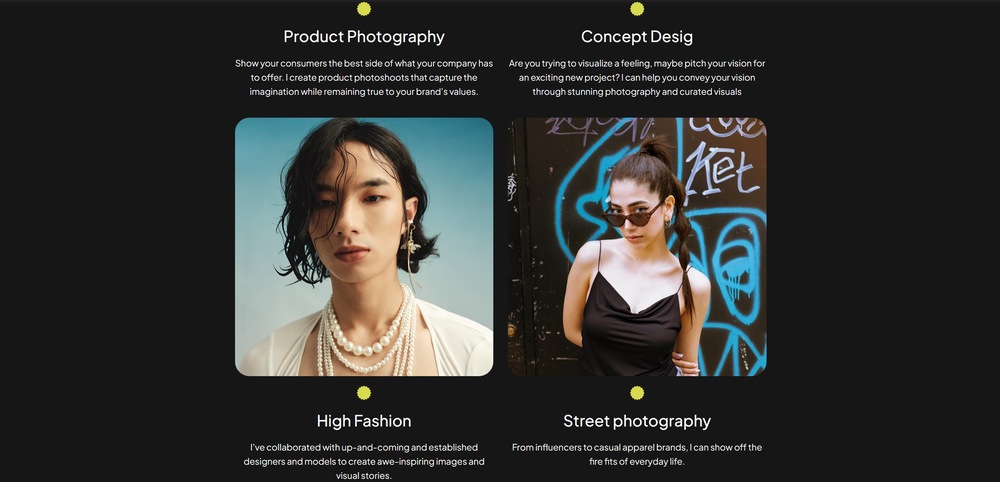

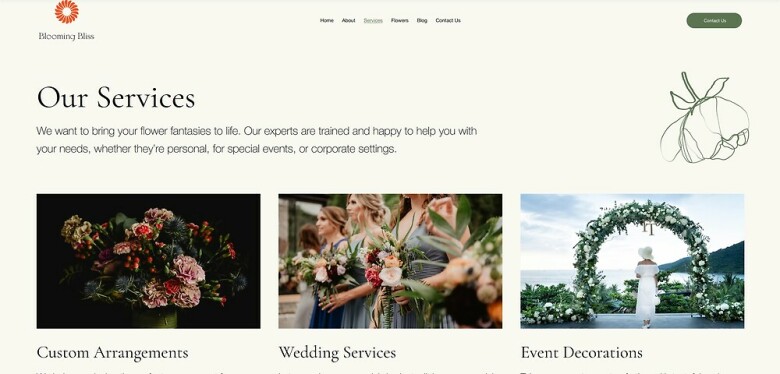
Though it might be immediately apparent what our business is (in this case, selling flowers), we still want to give potential customers a better idea of all our different services.
We don’t want to bombard them with information, so a quick display with a brief introduction of each service should do the trick. We’ll use a simple heading and some simple text so the page doesn’t look too busy, followed immediately by our list of services.
As always, we’ll begin by creating a new page.
5.1 Hero Section
We’ll include both our service list and a brief introduction directly in the hero section. We’ll use a repeater for the service list, with each item featuring the service’s name, a brief description, and a high-quality image.
Step 1: Copy the hero section from the “About” page.
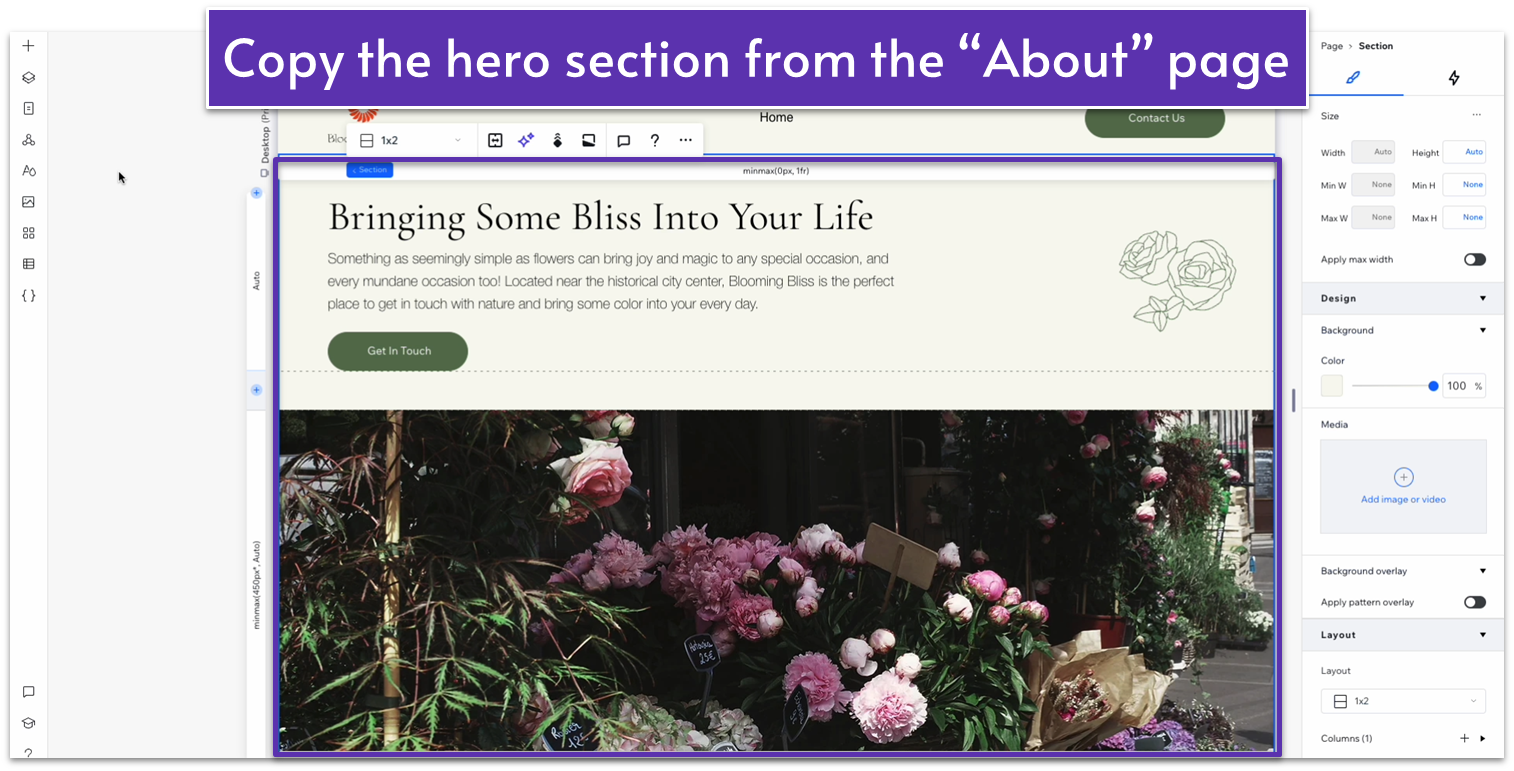
Step 2: Paste the section on the new “Services” page.
Delete the blank section above, so that the hero section is the only one on this page.
Step 3: Replace the text on the upper row with something that fits this section.
Delete the button at the bottom.
Step 4: Replace the vector art on the right side of the top column.
- We’ll replace it with another good-looking but somewhat more abstract shape.
- Set the background color to match the section’s background (#633C28 HEX) and the shape color to the same green as the previous shape (#5C7452 HEX).

Step 5: Delete the image on the bottom row.
Step 6: Drag a repeater into the bottom row.
- Undock all margins ( , , , ) from the repeater and set all margins to 0.
- Set the repeater’s width to 1080px.
- Set the horizontal ( ) and vertical ( ) gap of the repeater to 30px.
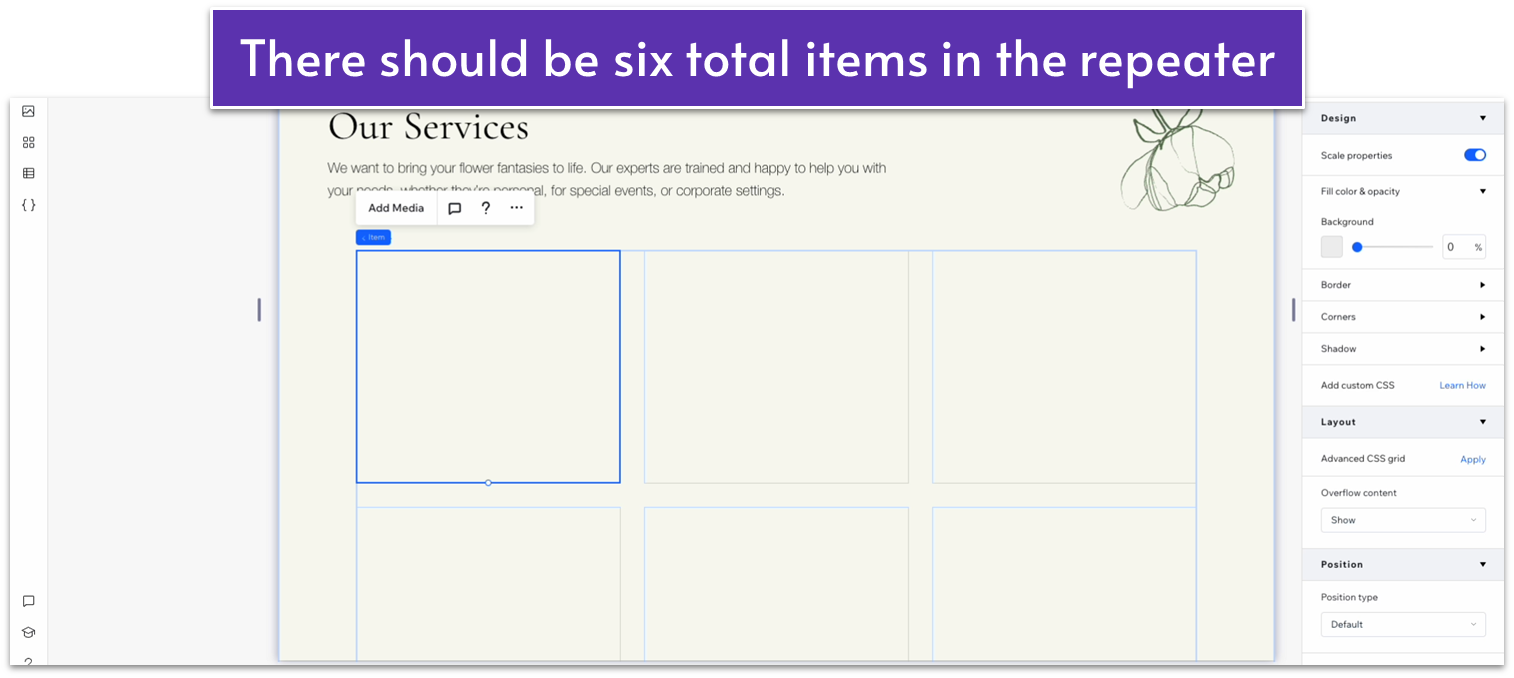
- Add three more items, so there are six in total.
- Remove the background from the repeater’s items.
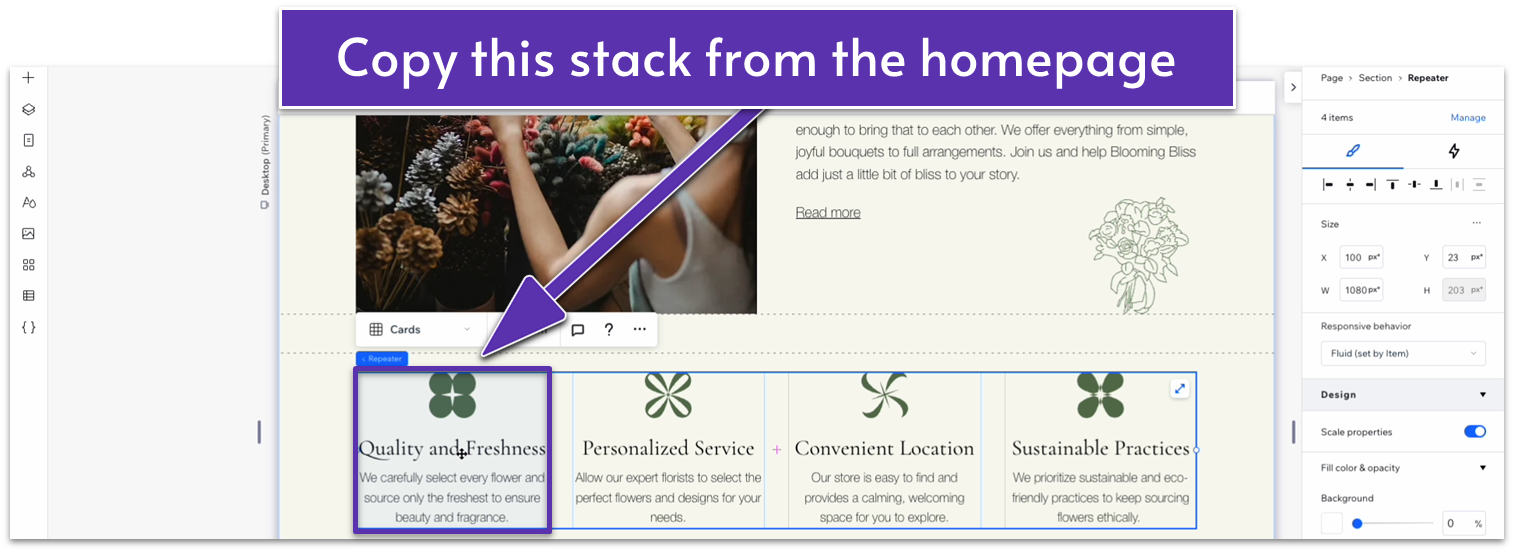
Step 7: Copy a text stack from the homepage.
Under the homepage, head to the “Our Story” page and copy the stack within the repeater.
Step 8: Paste the stack into a repeater item.
- Delete the vector art from the stack.
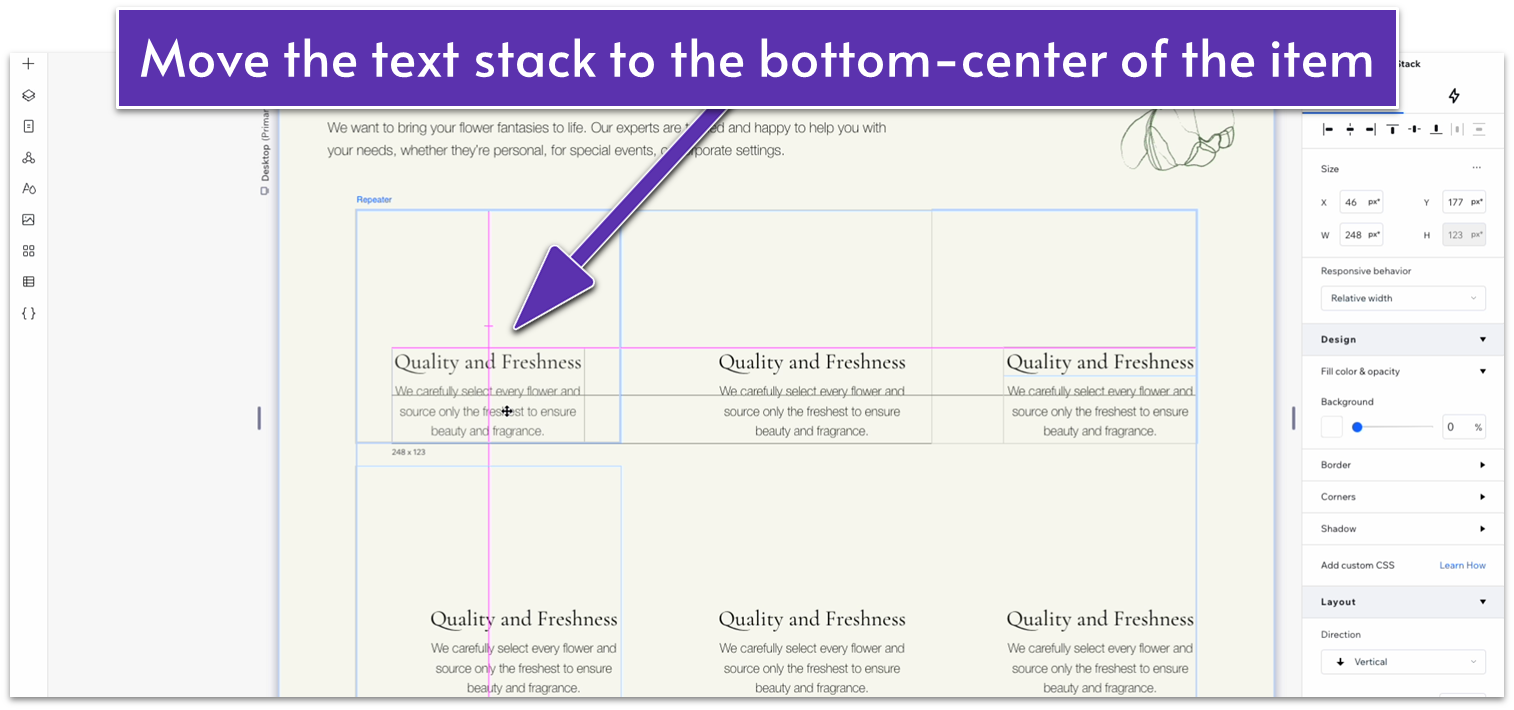
- Using the gridlines, move the stack to the center and bottom of the item.
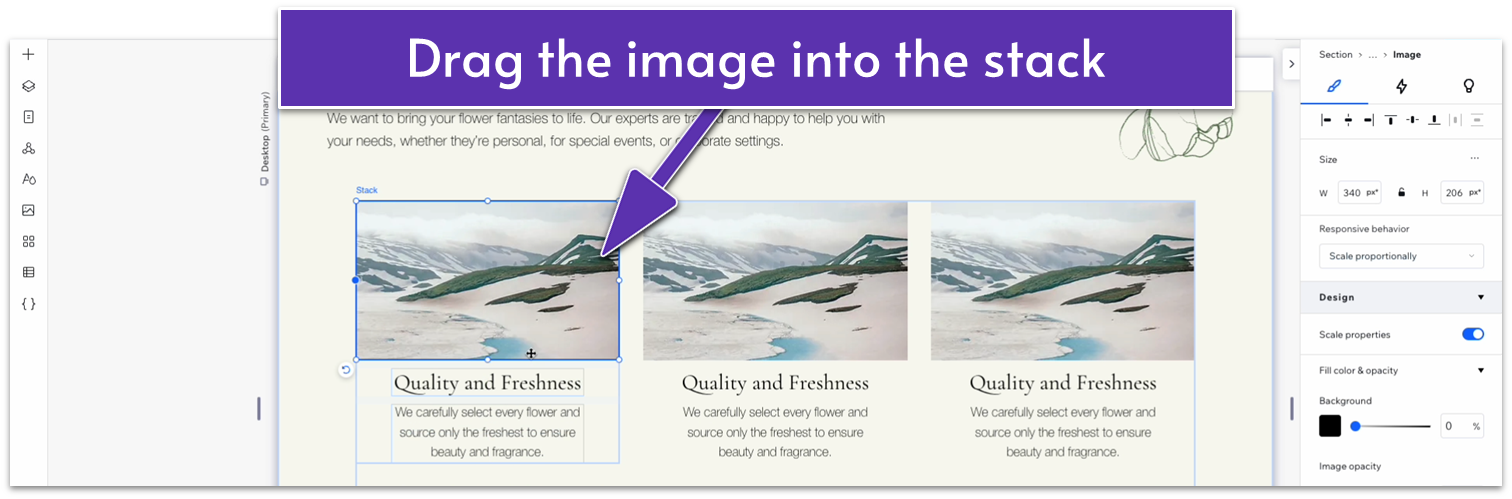
Step 9: Drag an image into the repeater item above the stack
- Scale the image so its width matches the item.
- Drag the image into the text stack.
- Lock the aspect ratio ( ) for the image.
Step 10: Style the repeater items.
- Set the width of the heading text to 100%.
- Set the width of the paragraph to 100%. Make sure it’s undocked from all sides.
- Set the bottom margin ( ) of the image to 20px scale.
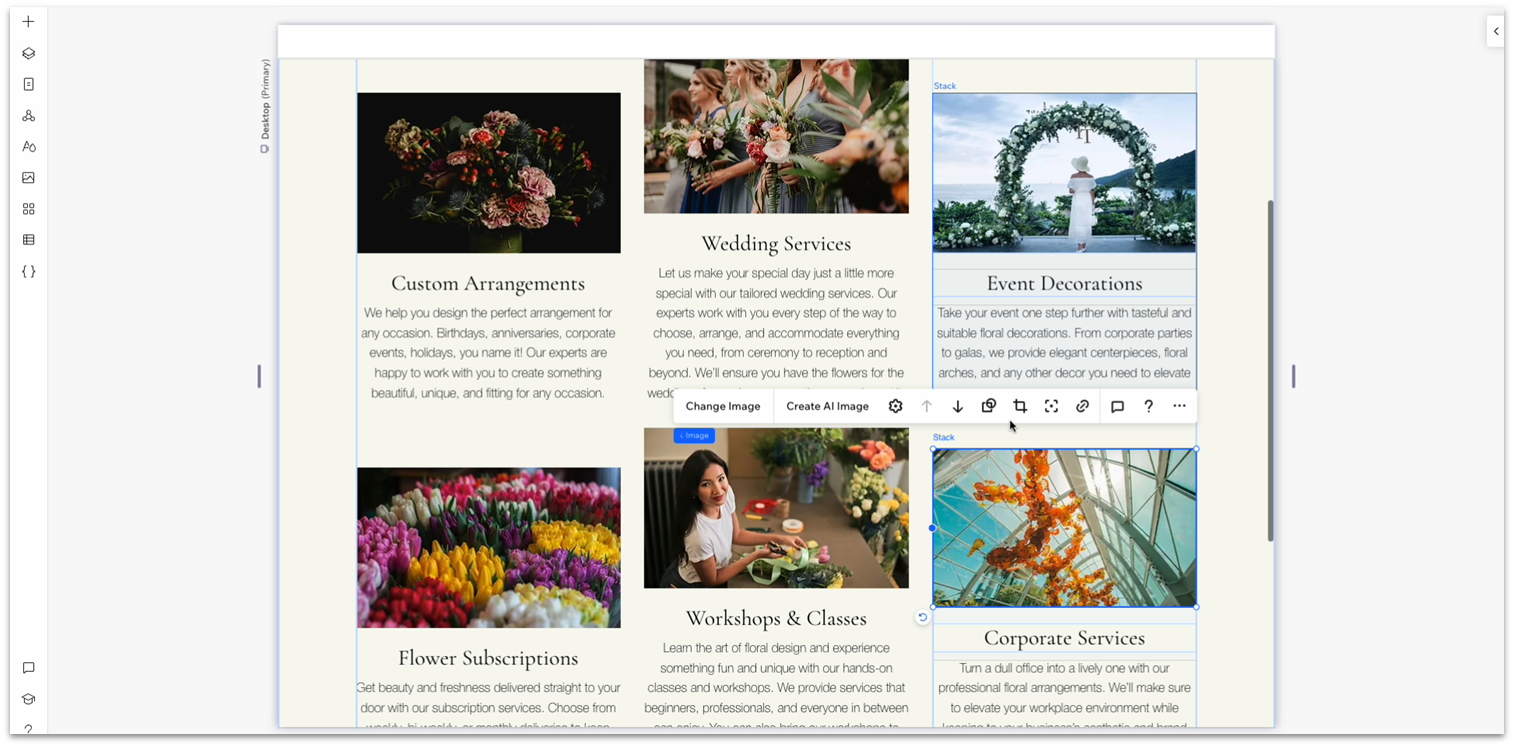
Step 11: Replace the content with your own.
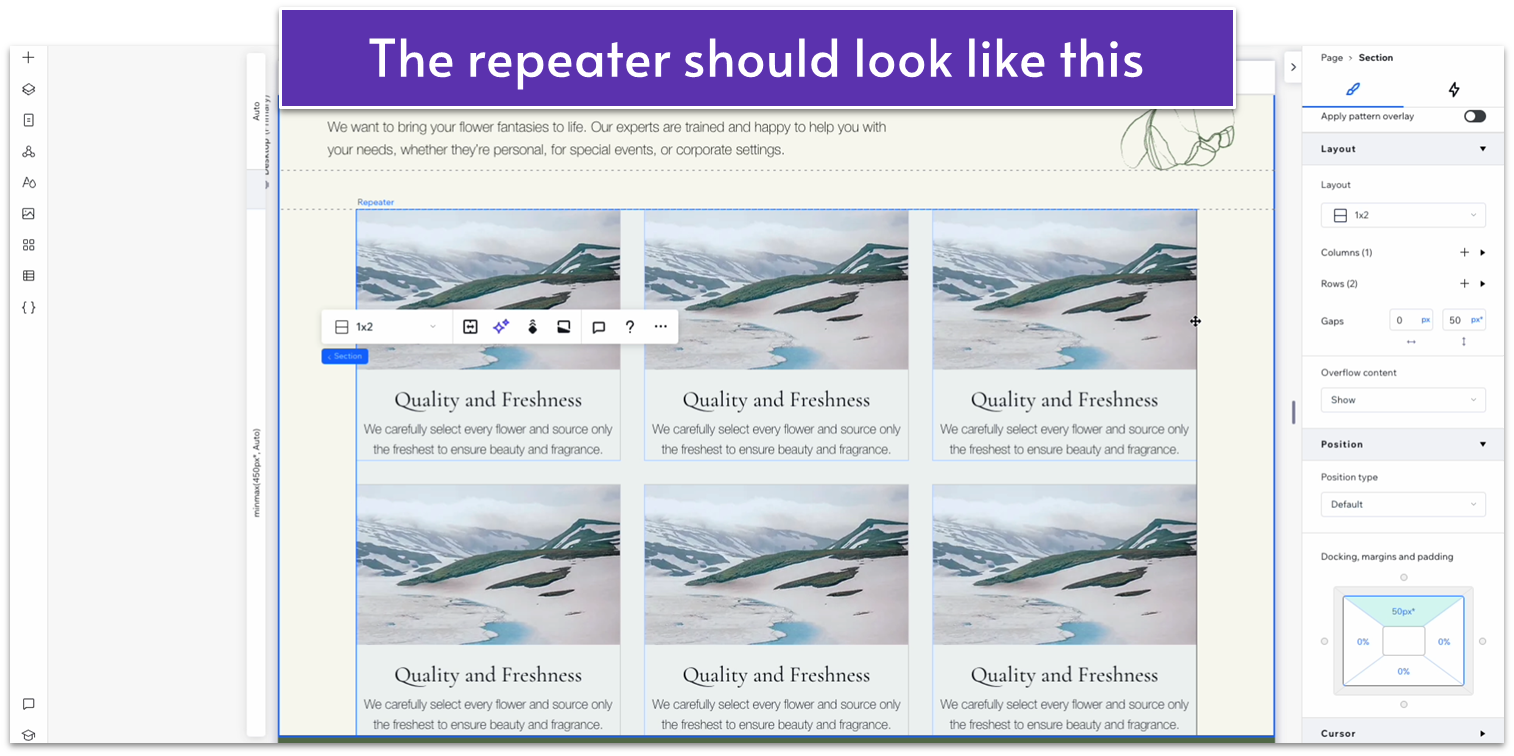
Step 12: Fix the repeater’s spacing.
When you add your own content, you might have a problem with the repeater’s layout, as you can see here:
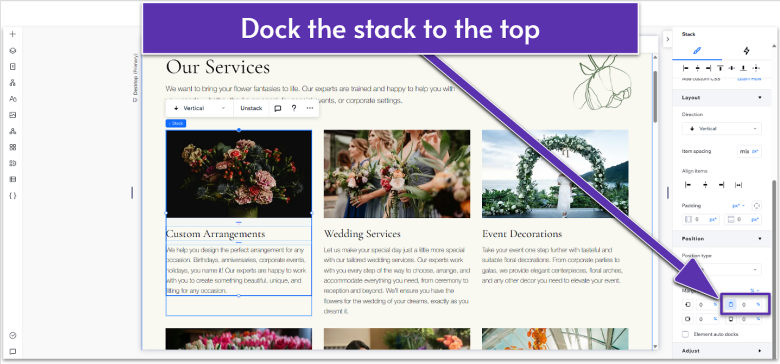
To fix this issue, all you have to do is dock the stack at the top ( ) of the item.
Step 13: Set all containers to the same width.
- Using the size menu, check the stack width on the top row. In our case, it’s 1160px.
- Set the width for the repeater below to the same width.
Step 14: Change the text alignment.
After reviewing the section, we noticed the text would look better if aligned to the left. Once we adapt this section for mobile views, we’ll notice that the flower also slightly overlaps the text box on the top row. These issues are both easy enough to fix, but we include this brief explanation to show you how easy it is to make similar fixes on your site.
- Align the heading text to the left ( ).
- Align the paragraph text to the left ( ).
Step 15: Set the bottom padding ( ) for the entire section to an 80px scale.
Adapt for Tablet and Mobile Views
Step 1: Adapt for tablet view ( ).
On tablet view:
- Change the number of items per row to 2.
- Set the horizontal gaps ) of the repeater to 20px.
- Set the vertical gaps ( ) of the repeater to 40px.
- Set the bottom margin ( ) of the images to 20px.
Step 2: Adapt for mobile view.
On mobile view ( ):
- Set the number of items per row to 1.
- Set the vertical gaps ( ) of the repeater to 30px.
- Set the font size of the heading to 22px.
- Set the bottom margin ( ) of the images to 20px.
- Set the bottom margin ( ) of the headings to 10px.
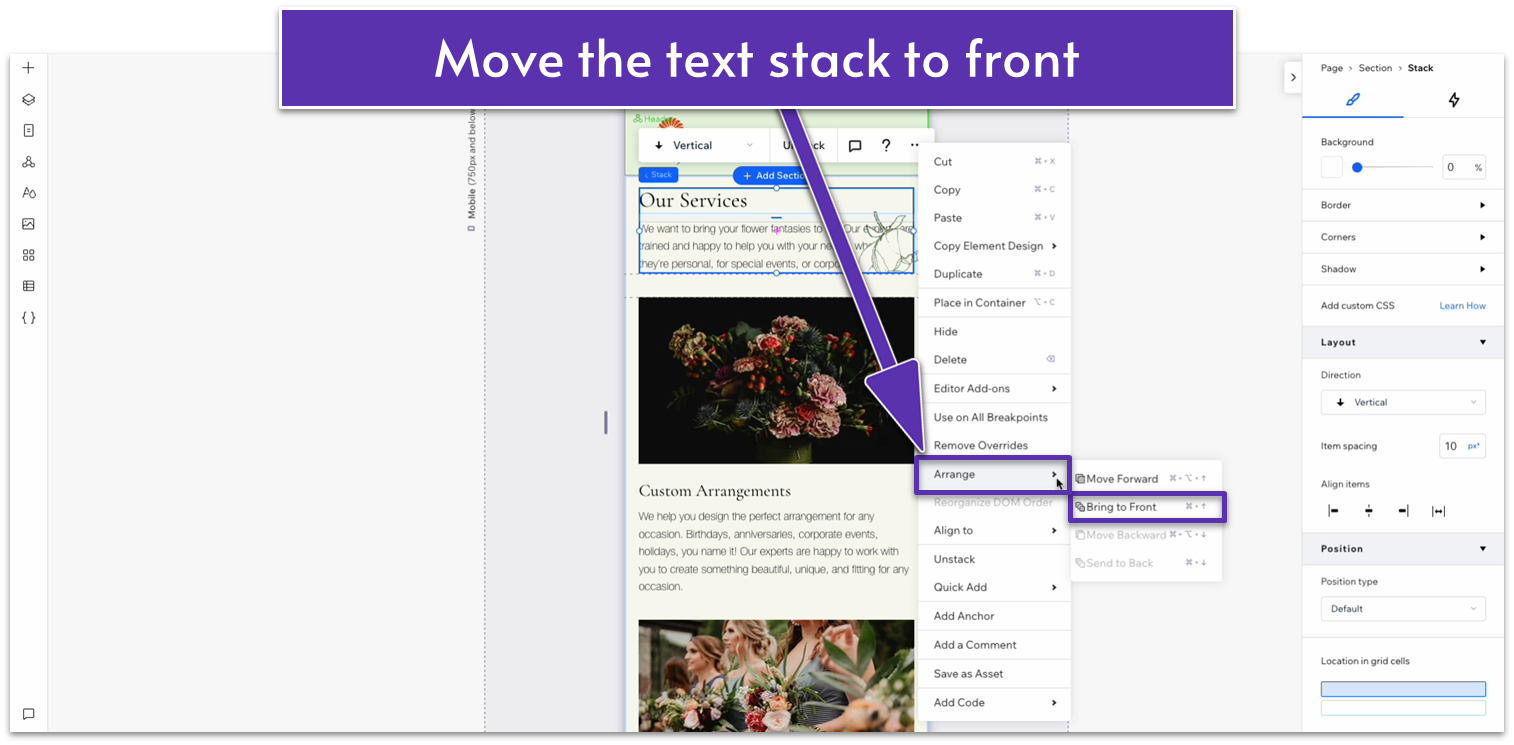
- Select the text stack on the top row, open the “More Actions” menu ( ), and then “Arrange.” Move the text stack to the front of the vector art.
- Set the bottom margin ( ) of the text stack to 30px.
- Narrow the bottom paragraph’s width so it doesn’t overlap with the shape.
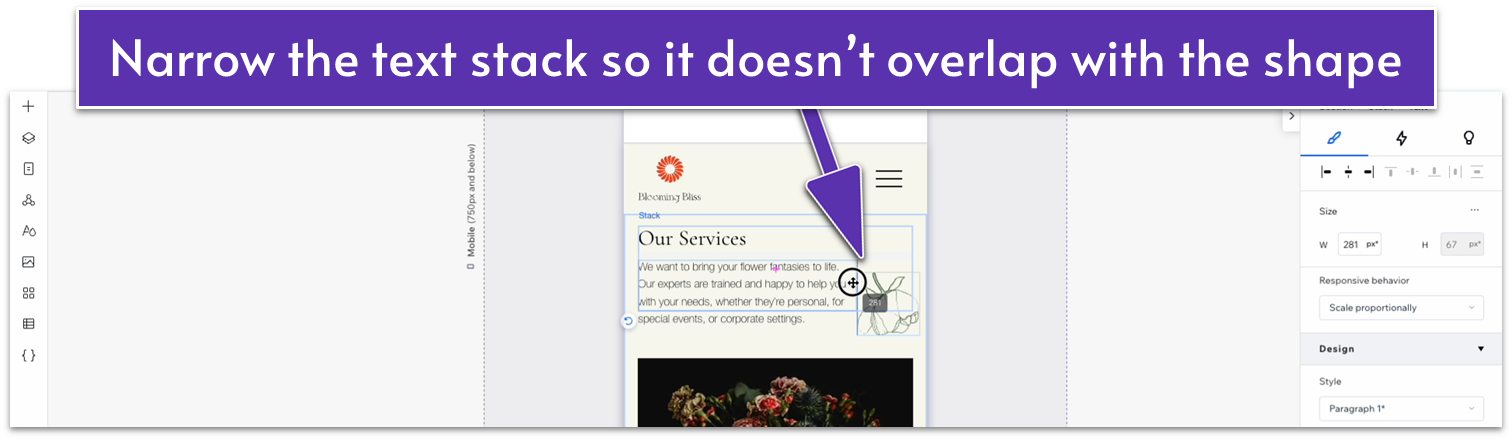
- Set the top margin ( ) of the paragraph text to 0.
5.2 Testimonials Section
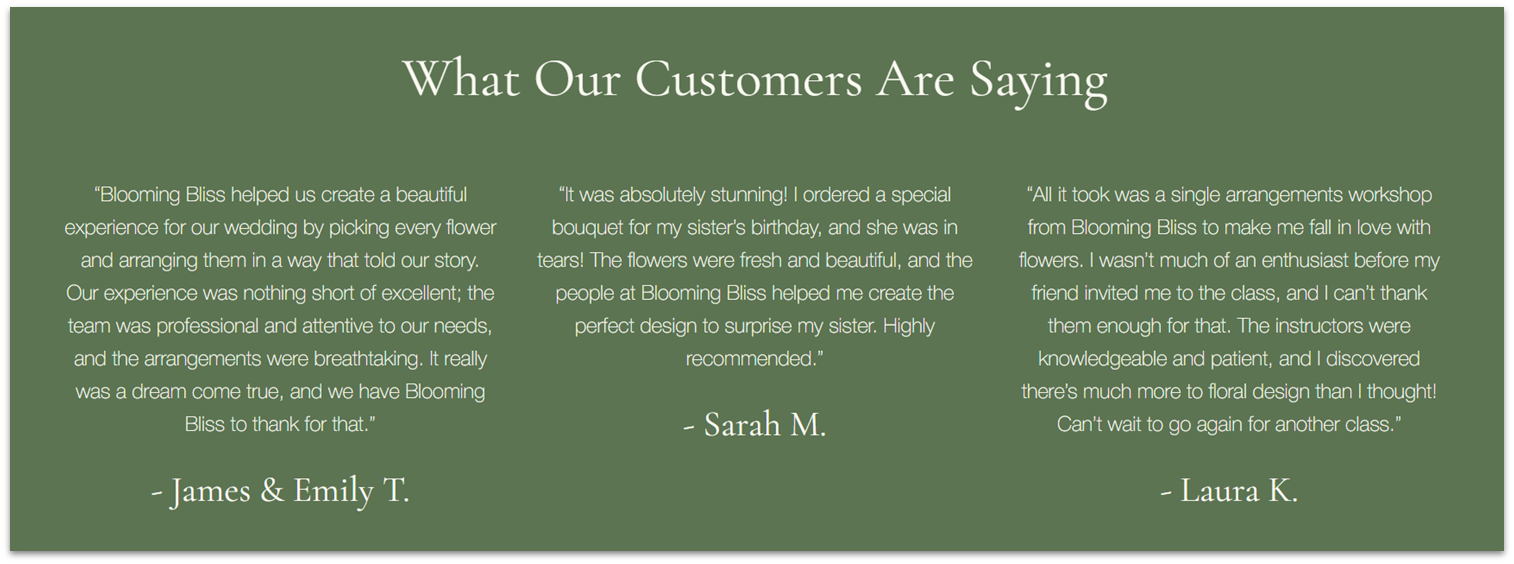
We’ll add the “Testimonials” section directly from our “Global Sections” menu and then move it to the bottom of the page using the “Layers” menu.
5.3 Blog Section
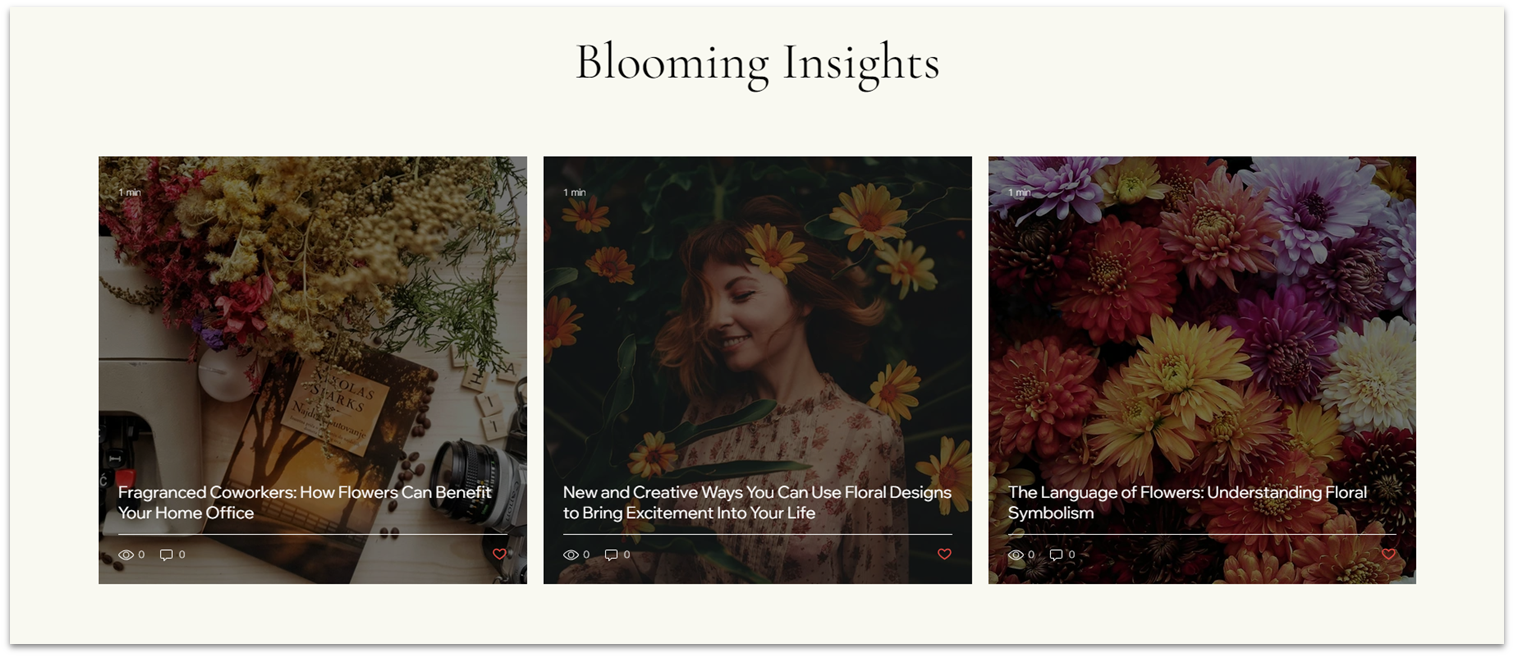
We’ll add the blog section we created for the “About” page. We’ll turn it into a global section for ease.
Step 1: Head over to the “About” page.
Head down to the “blog” section on the page.
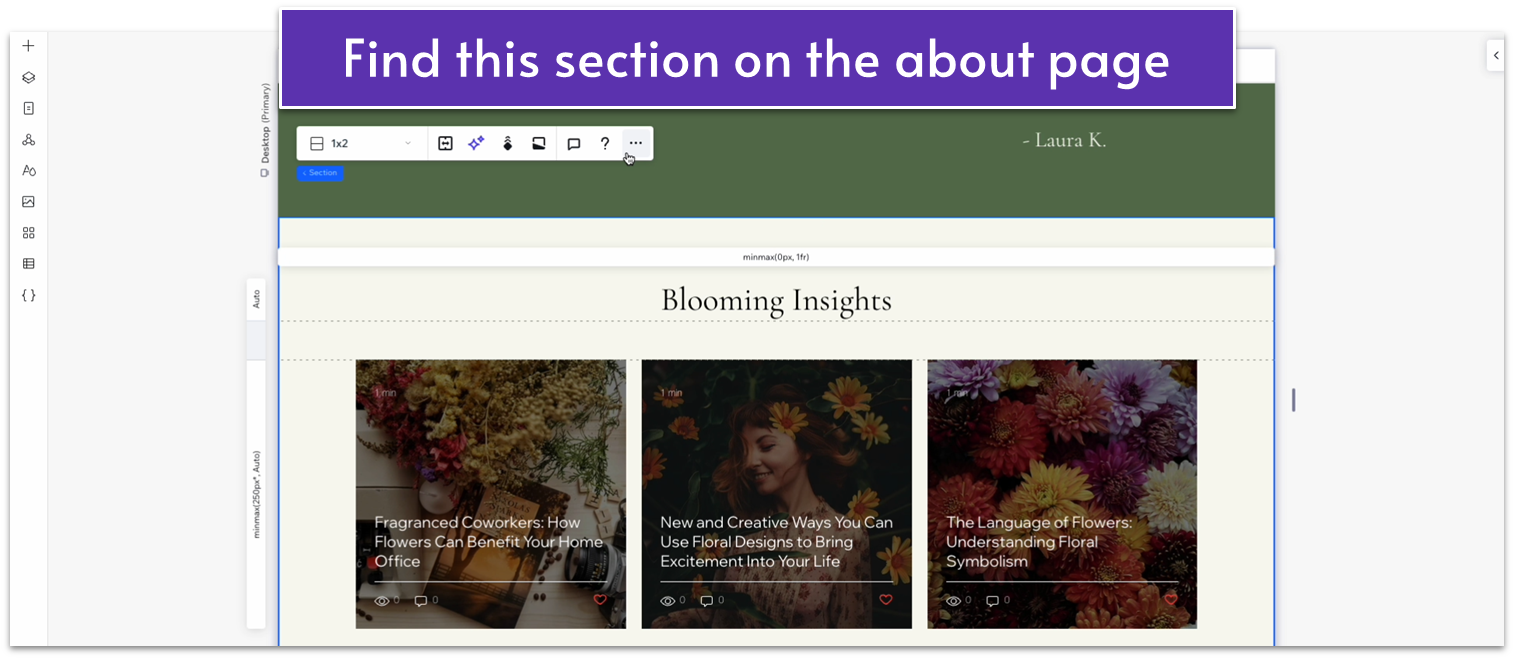
Step 2: Turn it into a global section.
- Open the “More Actions” menu ( ) and set the blog section as a global section.
- Rename the section to “Blog.”
Step 3: Add the blog section to the “Services” page.
- Use the “Layers” menu ( ) to drag the blog section to the bottom of the page.
Adapt for Tablet and Mobile Views
Since we’ve already optimized this section for mobile viewing, there’s not much more we need to do here.
5.4 Contact Form
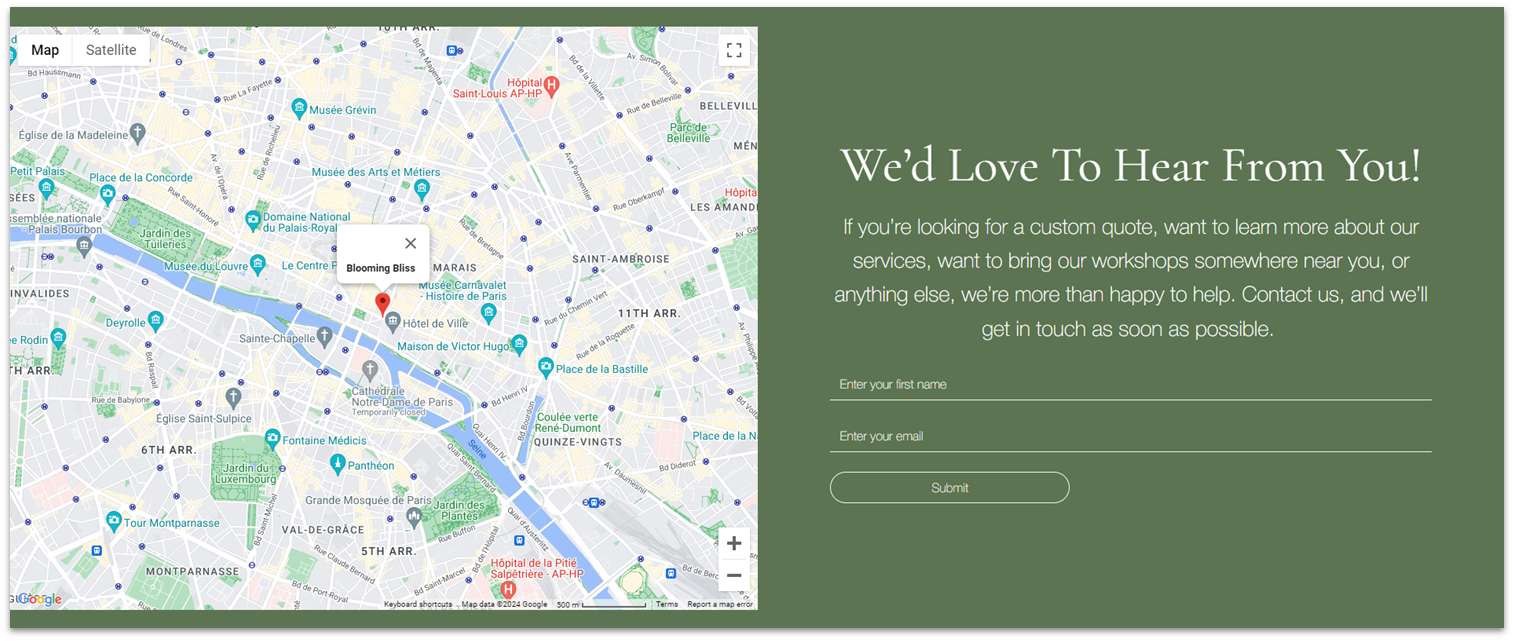
Add the contact form from the “Contact” global section and drag it to the bottom of the page.
5.5 Instagram Section
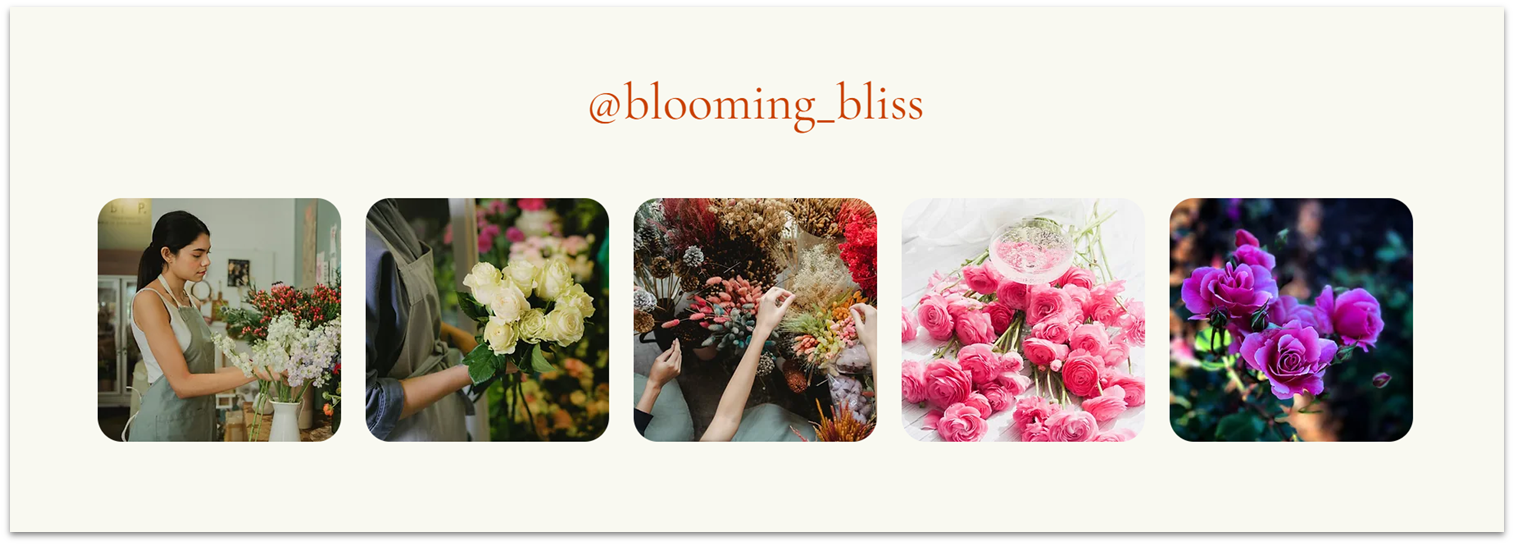
Add the “Instagram” global section to this page and drag it to the bottom of the page.
