Inside this Article
Signing Up with Jimdo Step By Step
To get started, head over to the Jimdo website. Click any of the ‘Start Now’ buttons or go to ‘Products’ in the menu and select ‘Create Your Website.’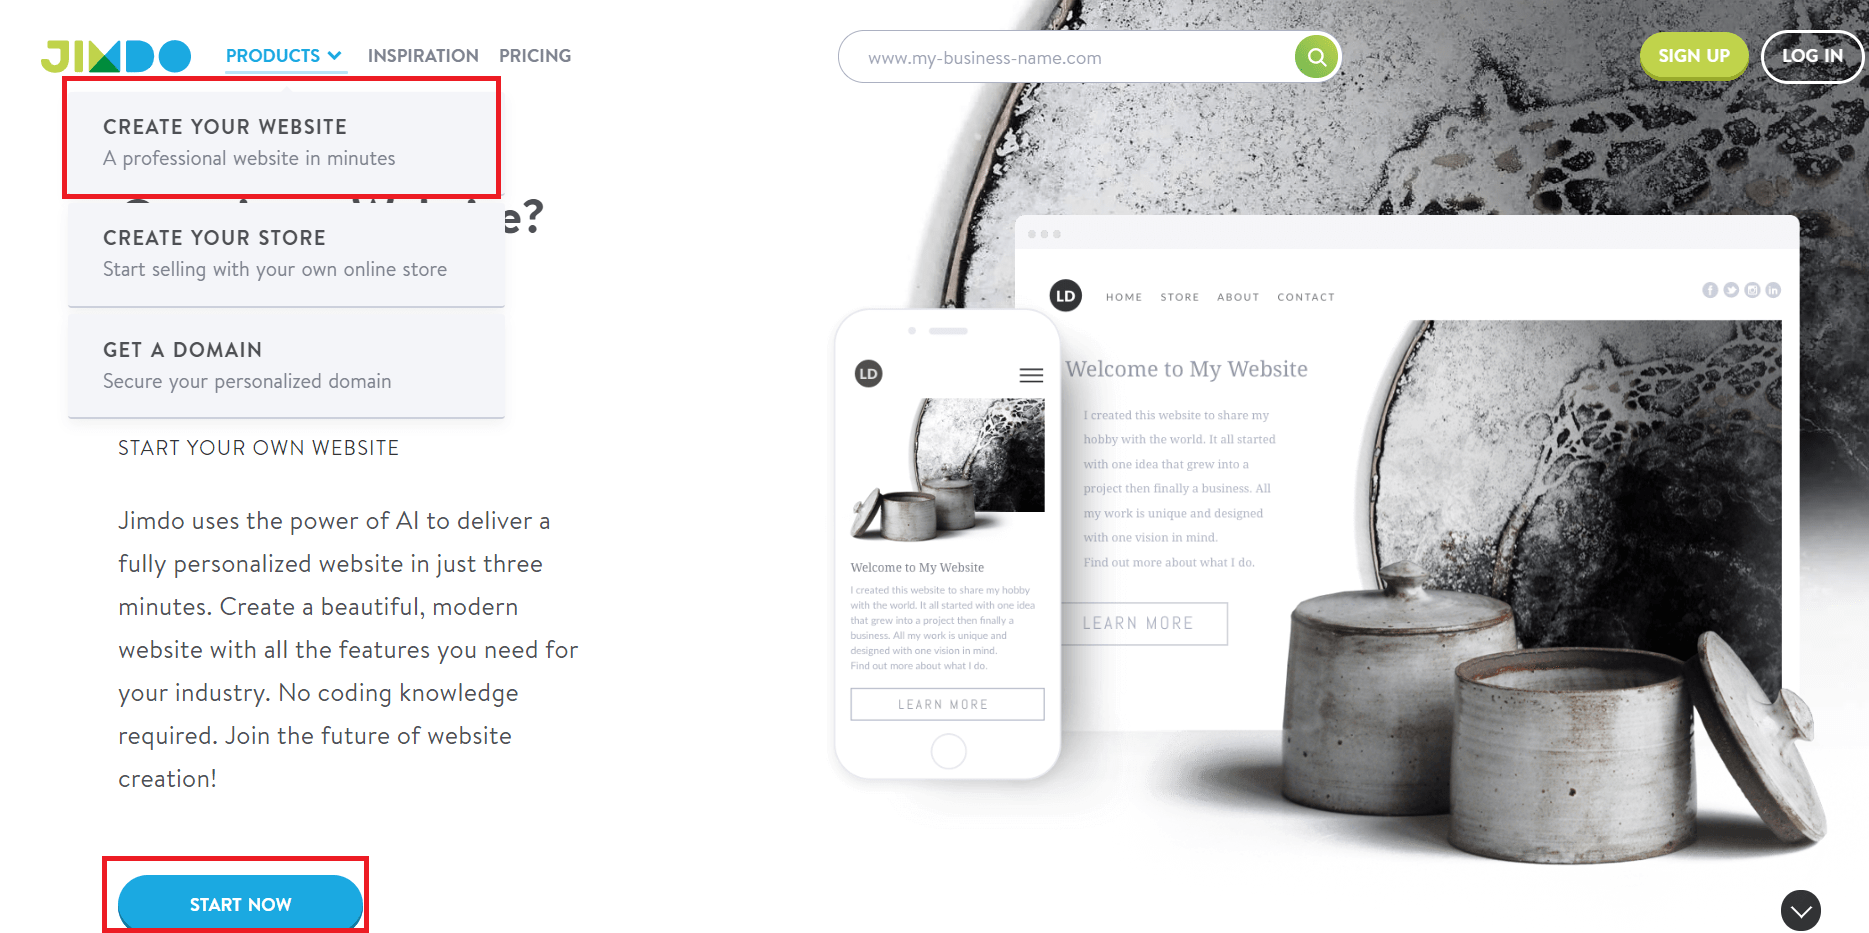 The first thing you will need to do is create a new Jimdo account. (If you already have an account, just log in.)
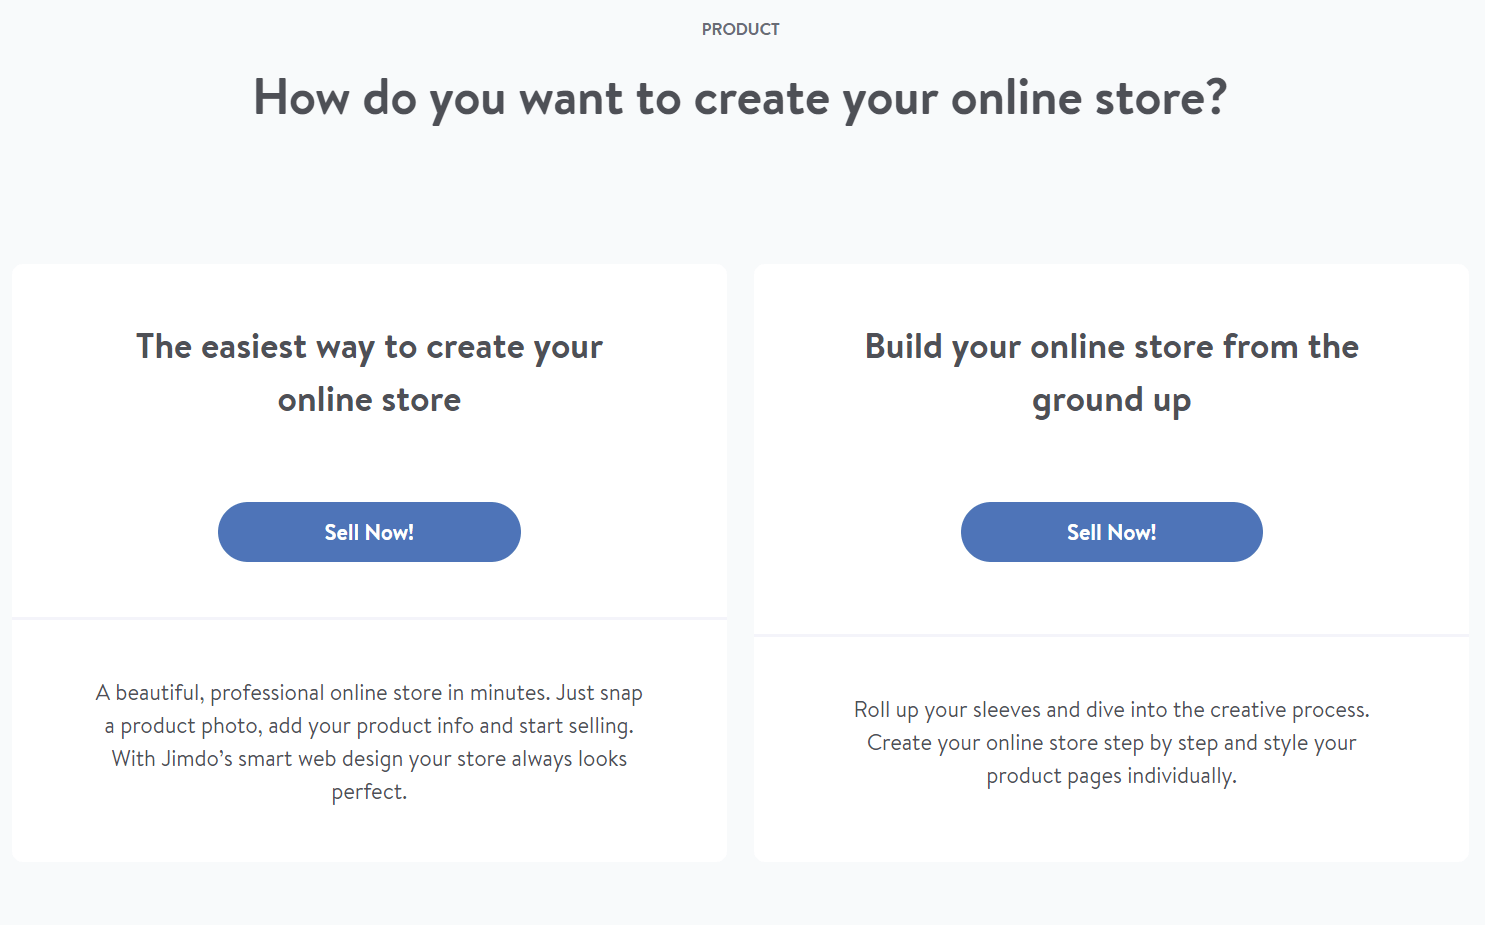
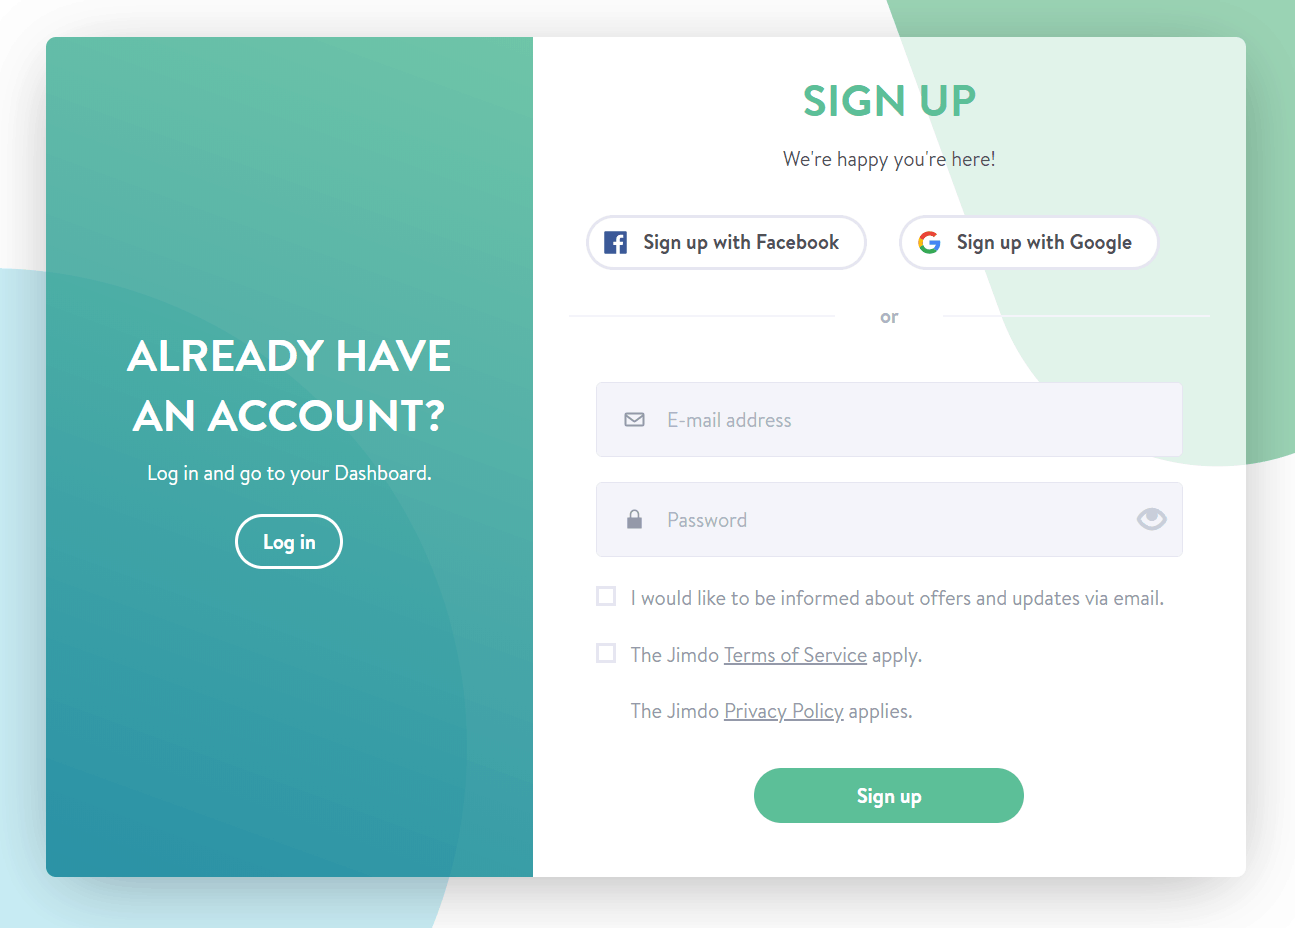 On the next page, you’ll tell Jimdo what kind of website you want to create.
Keep in mind that Jimdo has two different builders: Creator, a template-based drag-and-drop builder, and Dolphin, an AI-based builder that will create your website for you in only three minutes. (You can read more about the differences between the two here.)
If you want to work with Creator, you can choose any of the three options. If you prefer to use Dolphin, you can create a website or a store (but not a blog).
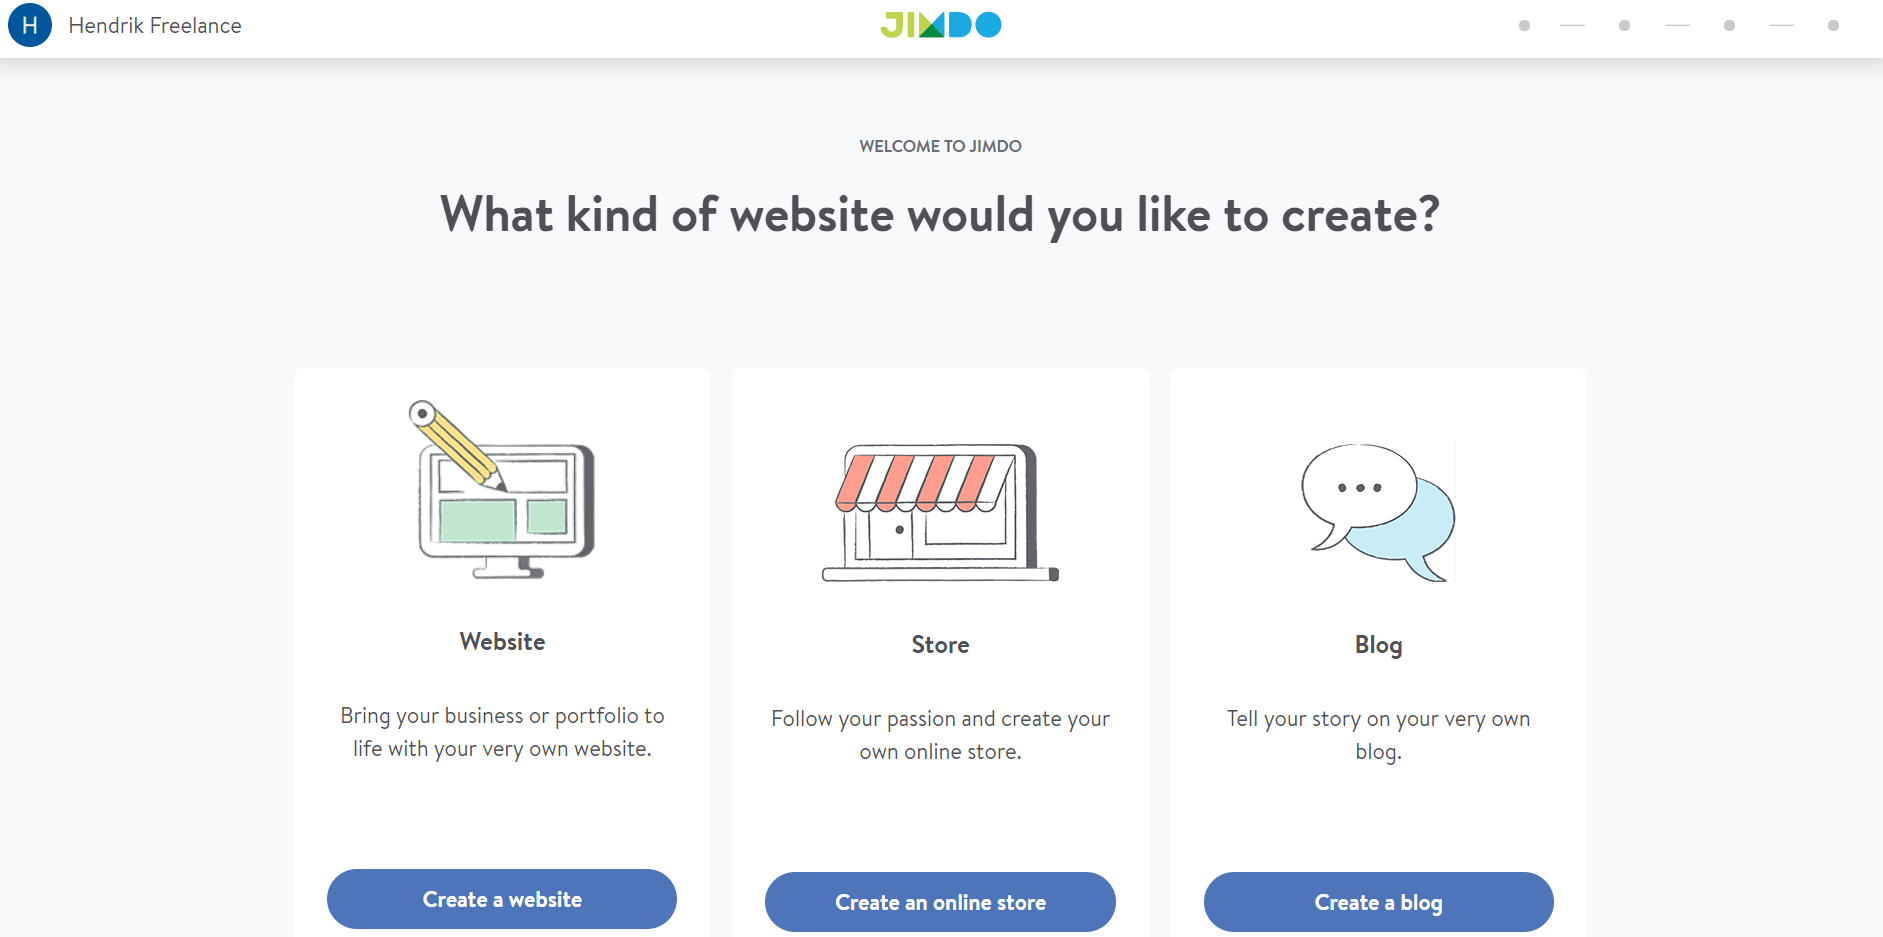 I selected ‘Store’. Since I wanted to show you how to use Creator, I picked the option ‘Build your online store from the ground up’:
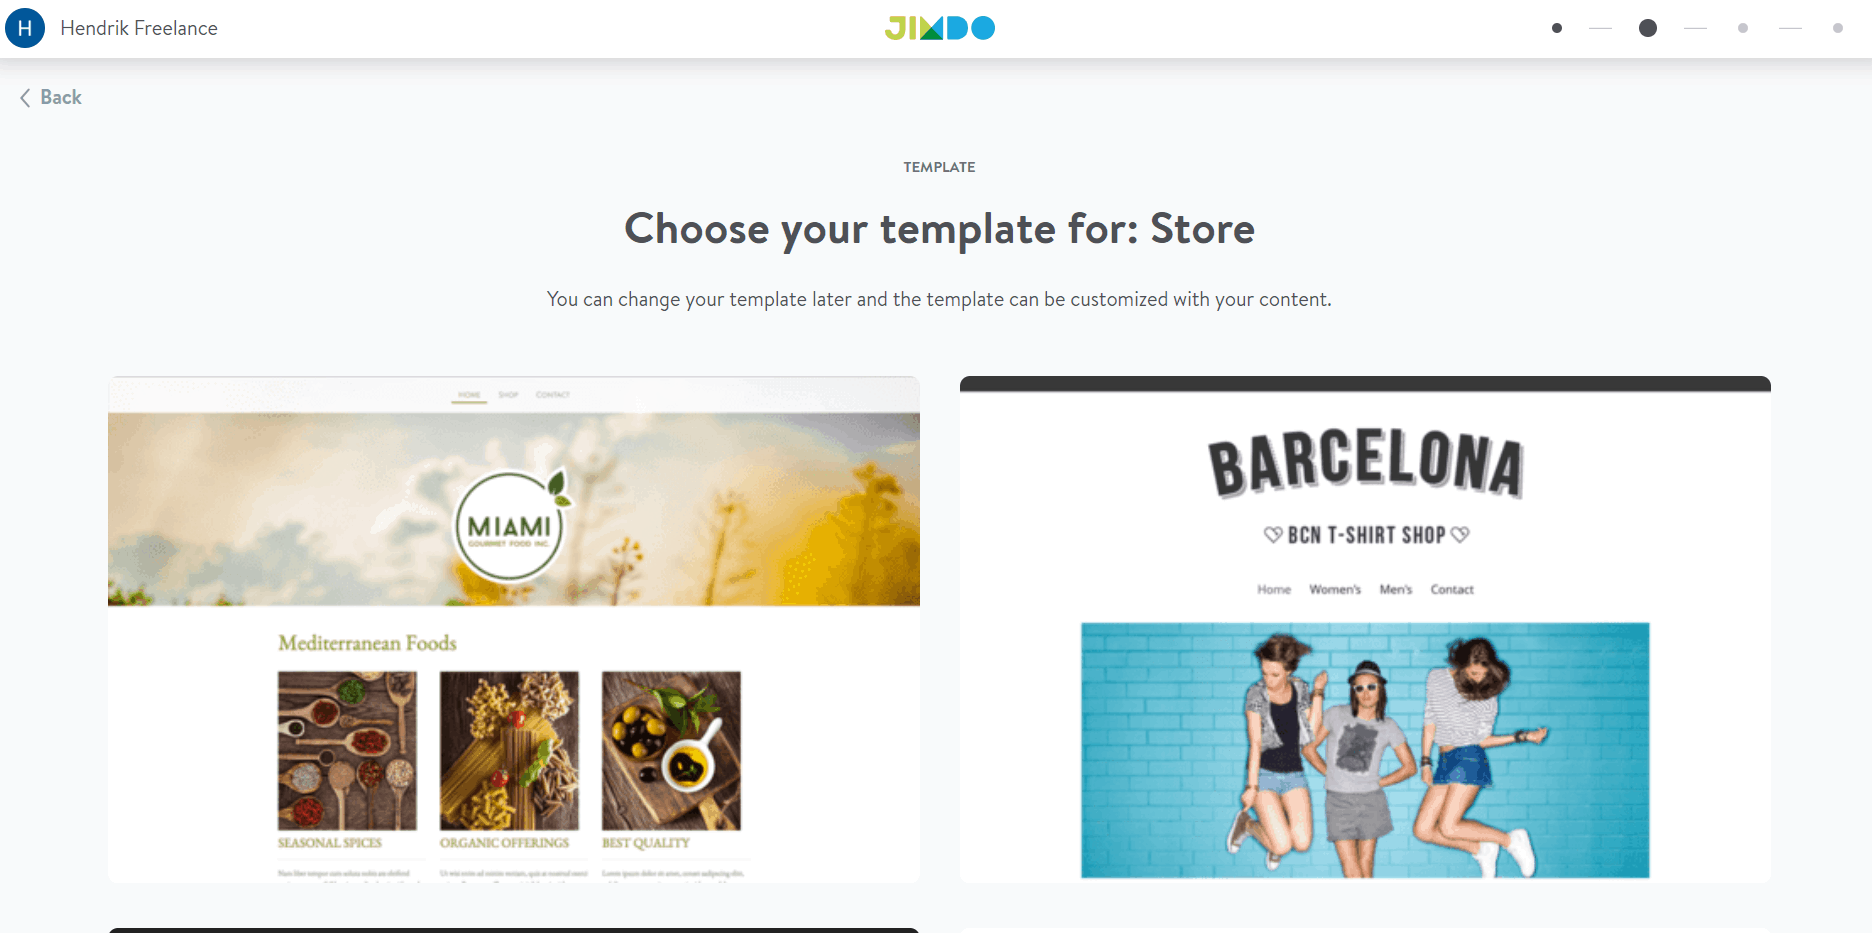
 I’m not sure why Jimdo asks this next question, because it doesn’t seem to affect the template selection – or anything else, for that matter. So, pick any category and click ‘Let’s go’ or ‘You can skip this step’ below:
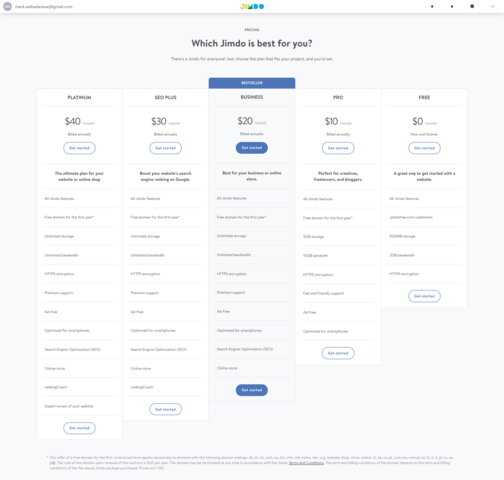
 Now, you will need to pick a pricing plan. With the Free or Pro plan you can test most of the online store features, but you’ll need the Business plan or higher to actually sell products. You get a free domain with any of the paid plans.
The prices shown are per month, but billing is annual.
 Selecting a plan will take you to the payment page. Here, you can choose a discounted 2-year plan if you prefer.
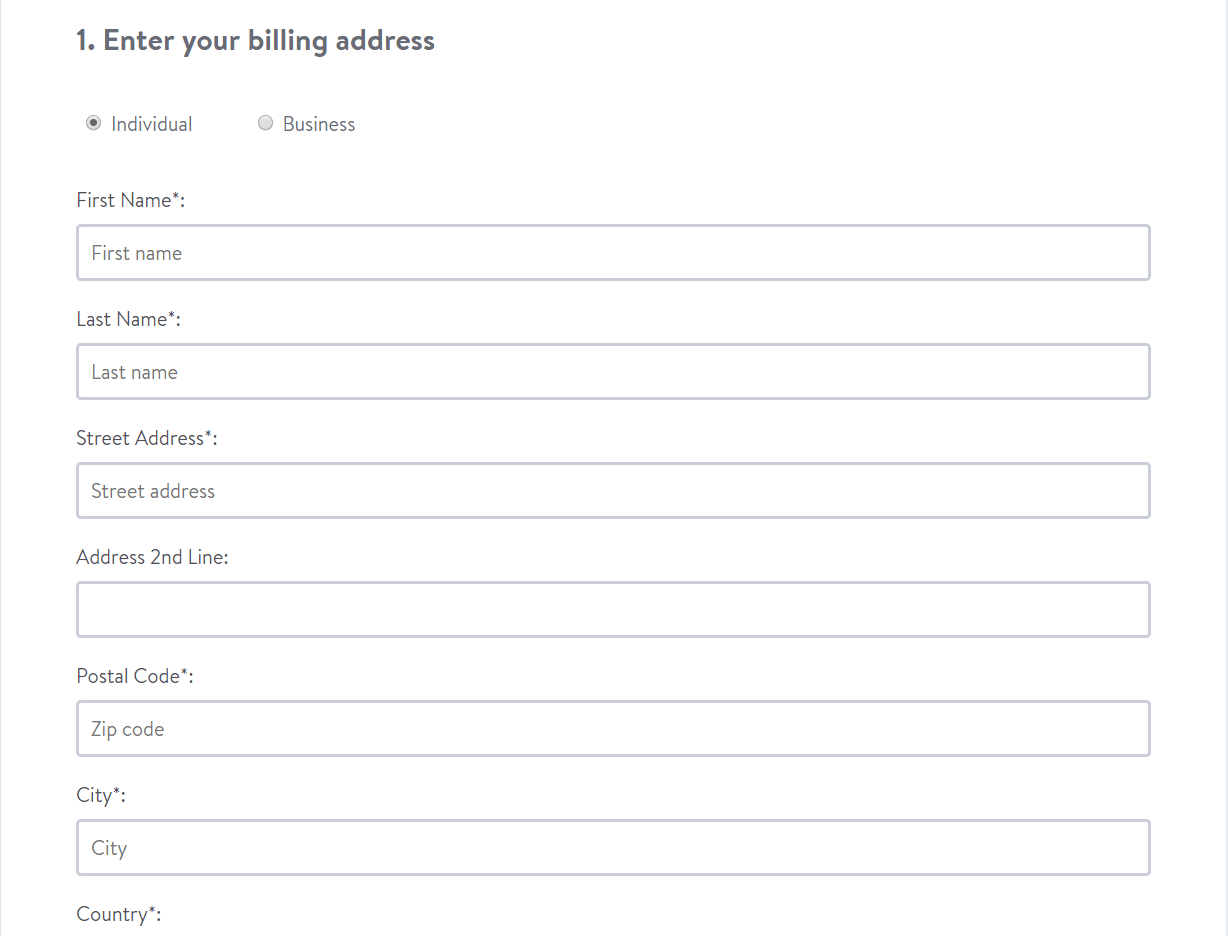
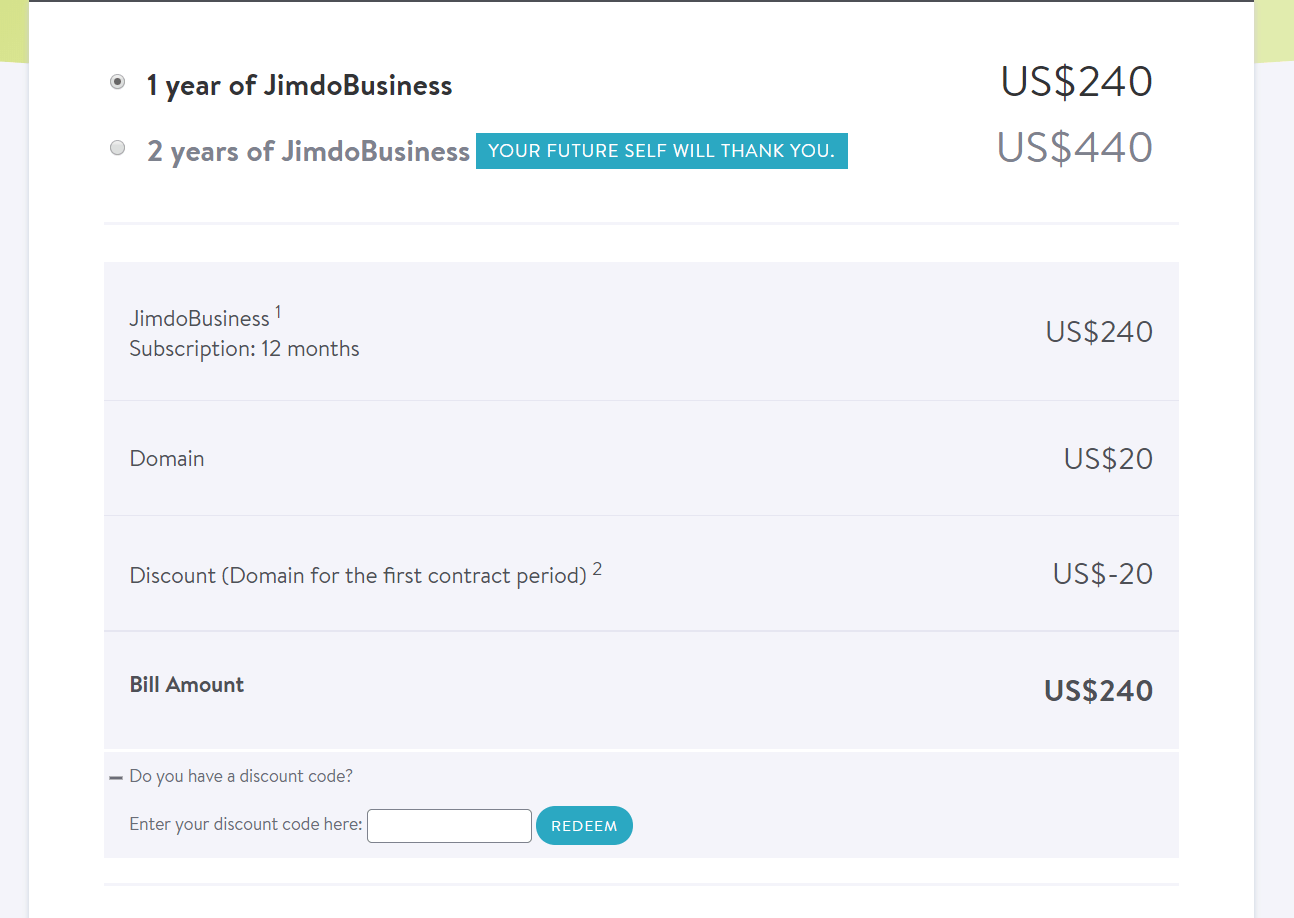 Below that is where you’ll enter your billing info.
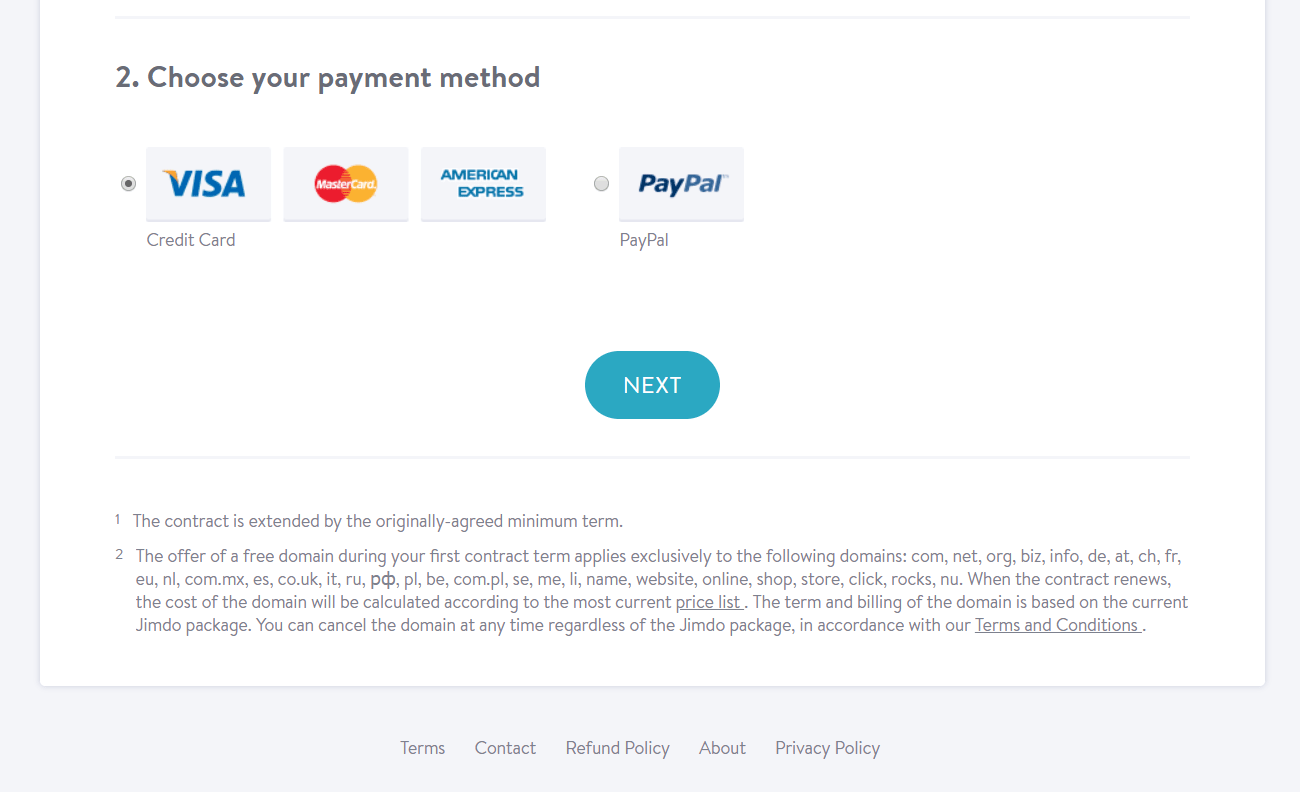
 Finally, you can choose a payment option. Jimdo supports major credit cards as well as PayPal. Just check the option you want and click ‘Next’:
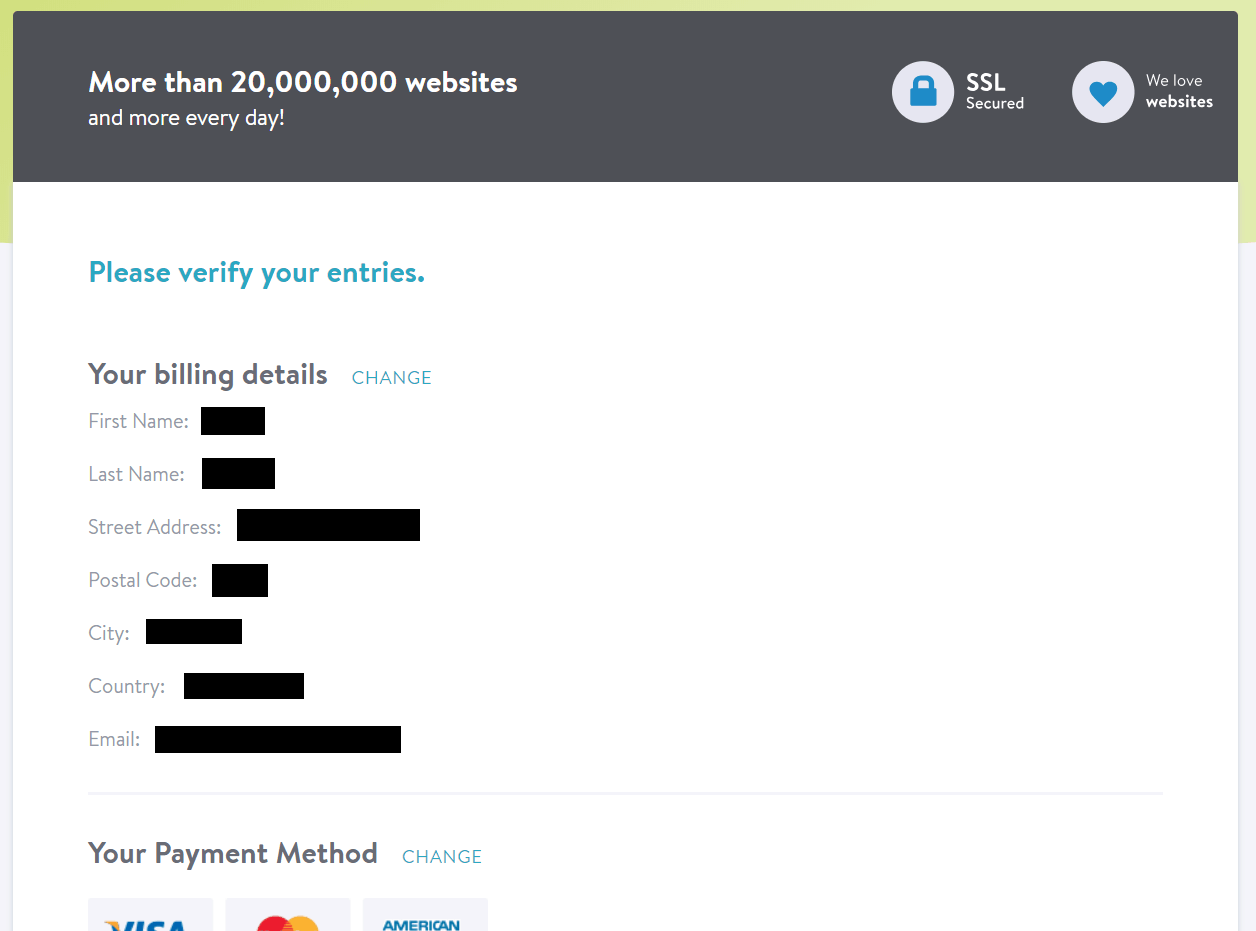
 On the next page, you’ll be asked to verify your details one last time before placing your order:
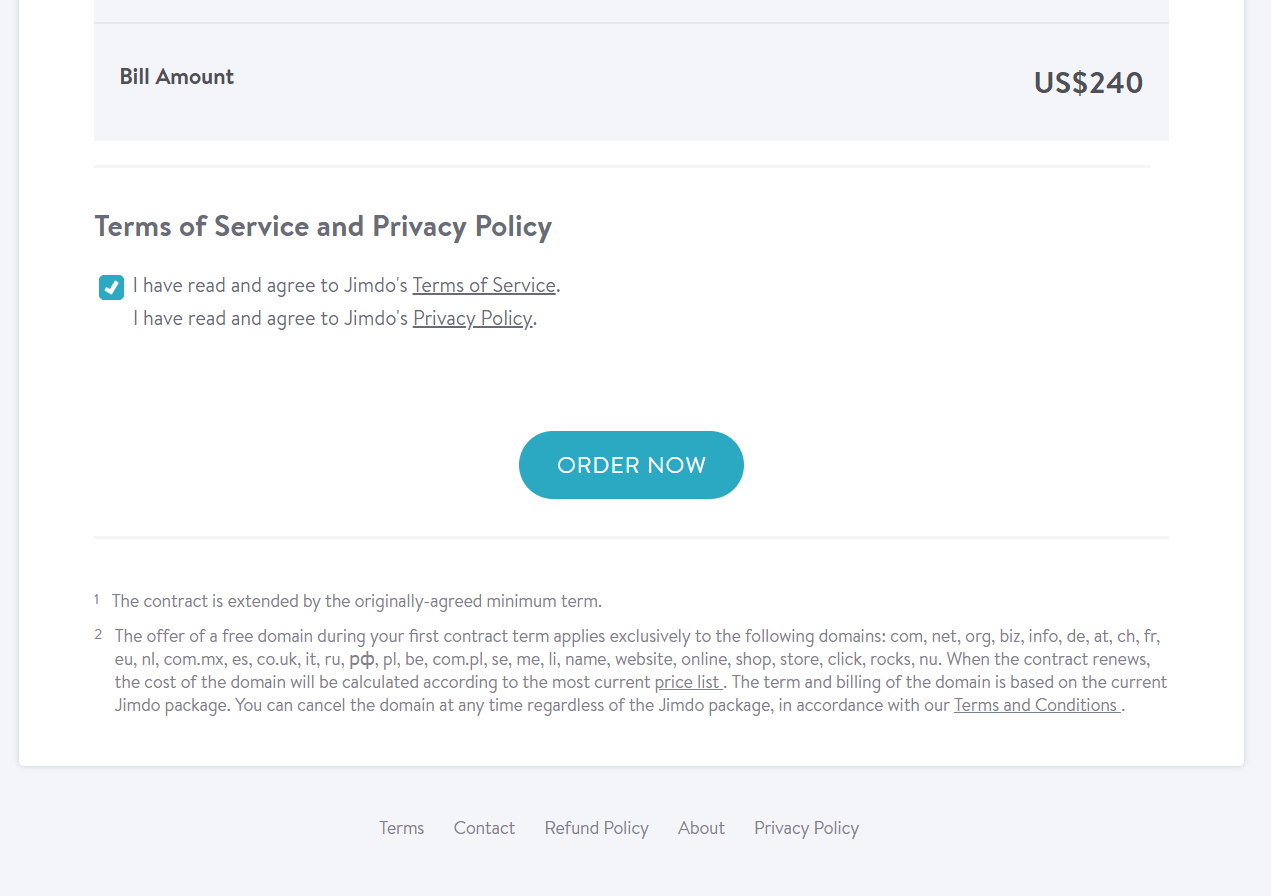
 If everything looks okay, just go to the bottom of the page to agree to the T&Cs and then click ‘Order Now’:
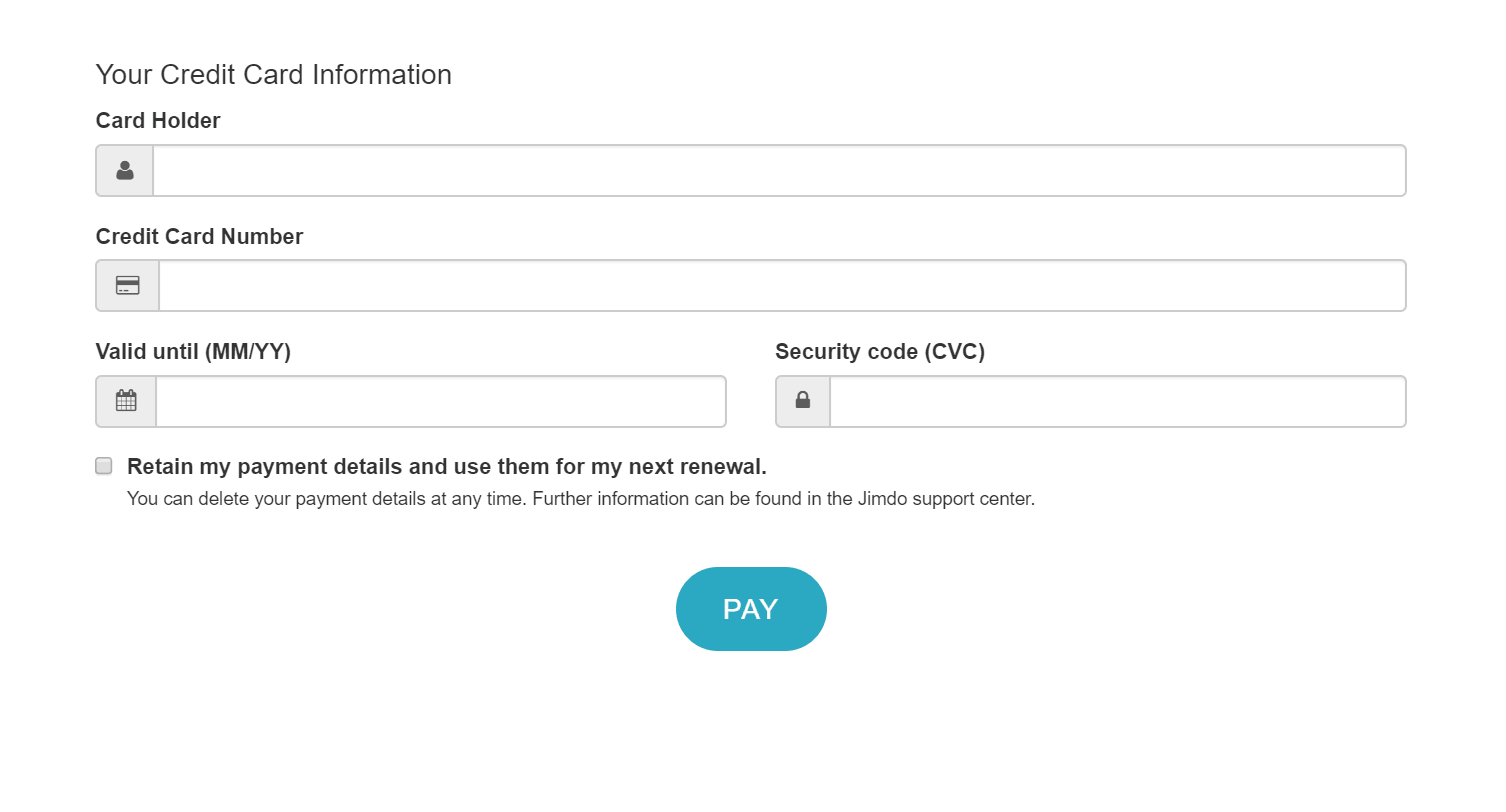
 Only now will you actually provide your credit card details and pay for your hosting. If you selected PayPal, you’ll be rerouted through to log into your account and authorize the payment. Otherwise, just fill in the details and click ‘Pay’.
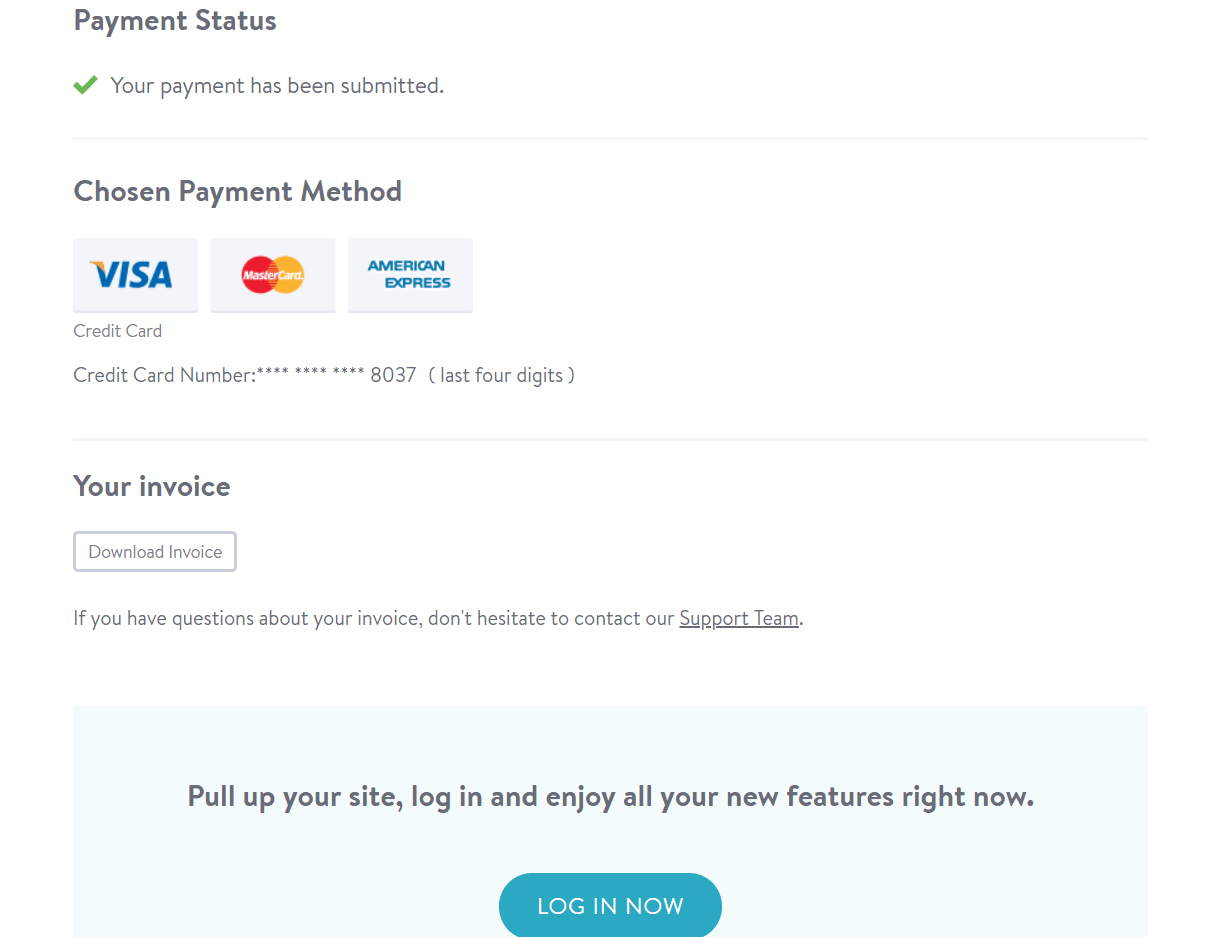
 If your payment was successful, you’ll receive confirmation and a link to download the invoice in PDF format.
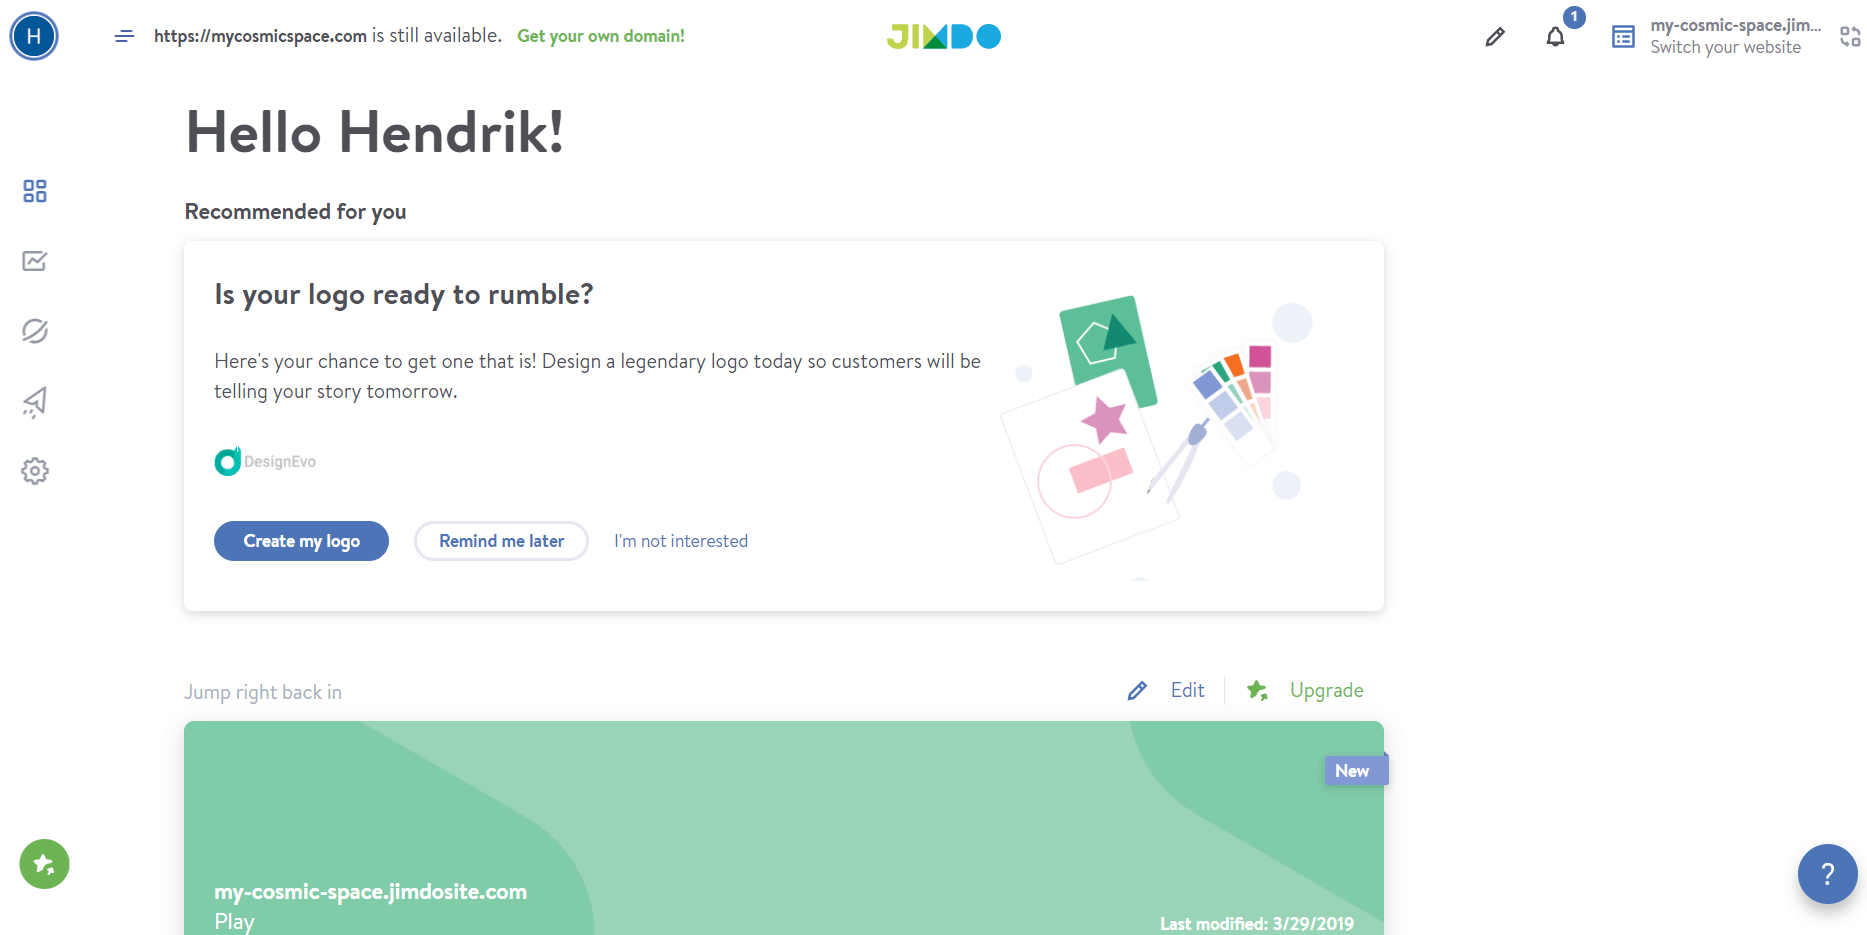
You can log into your Jimdo dashboard from the bottom of the screen.
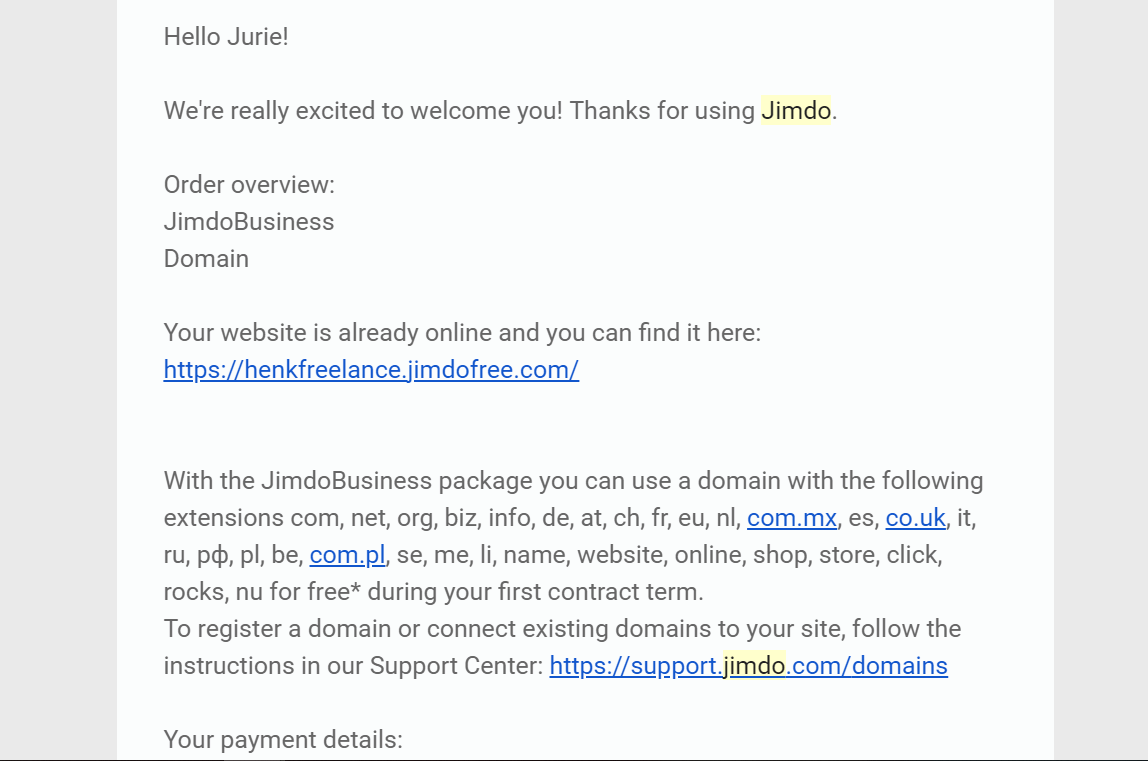
 You’ll also receive a welcome email:
 Now, it’s time to connect your domain.
Connecting Your Domain
If you log into your Jimdo dashboard, it should look something like this, with your website at the bottom: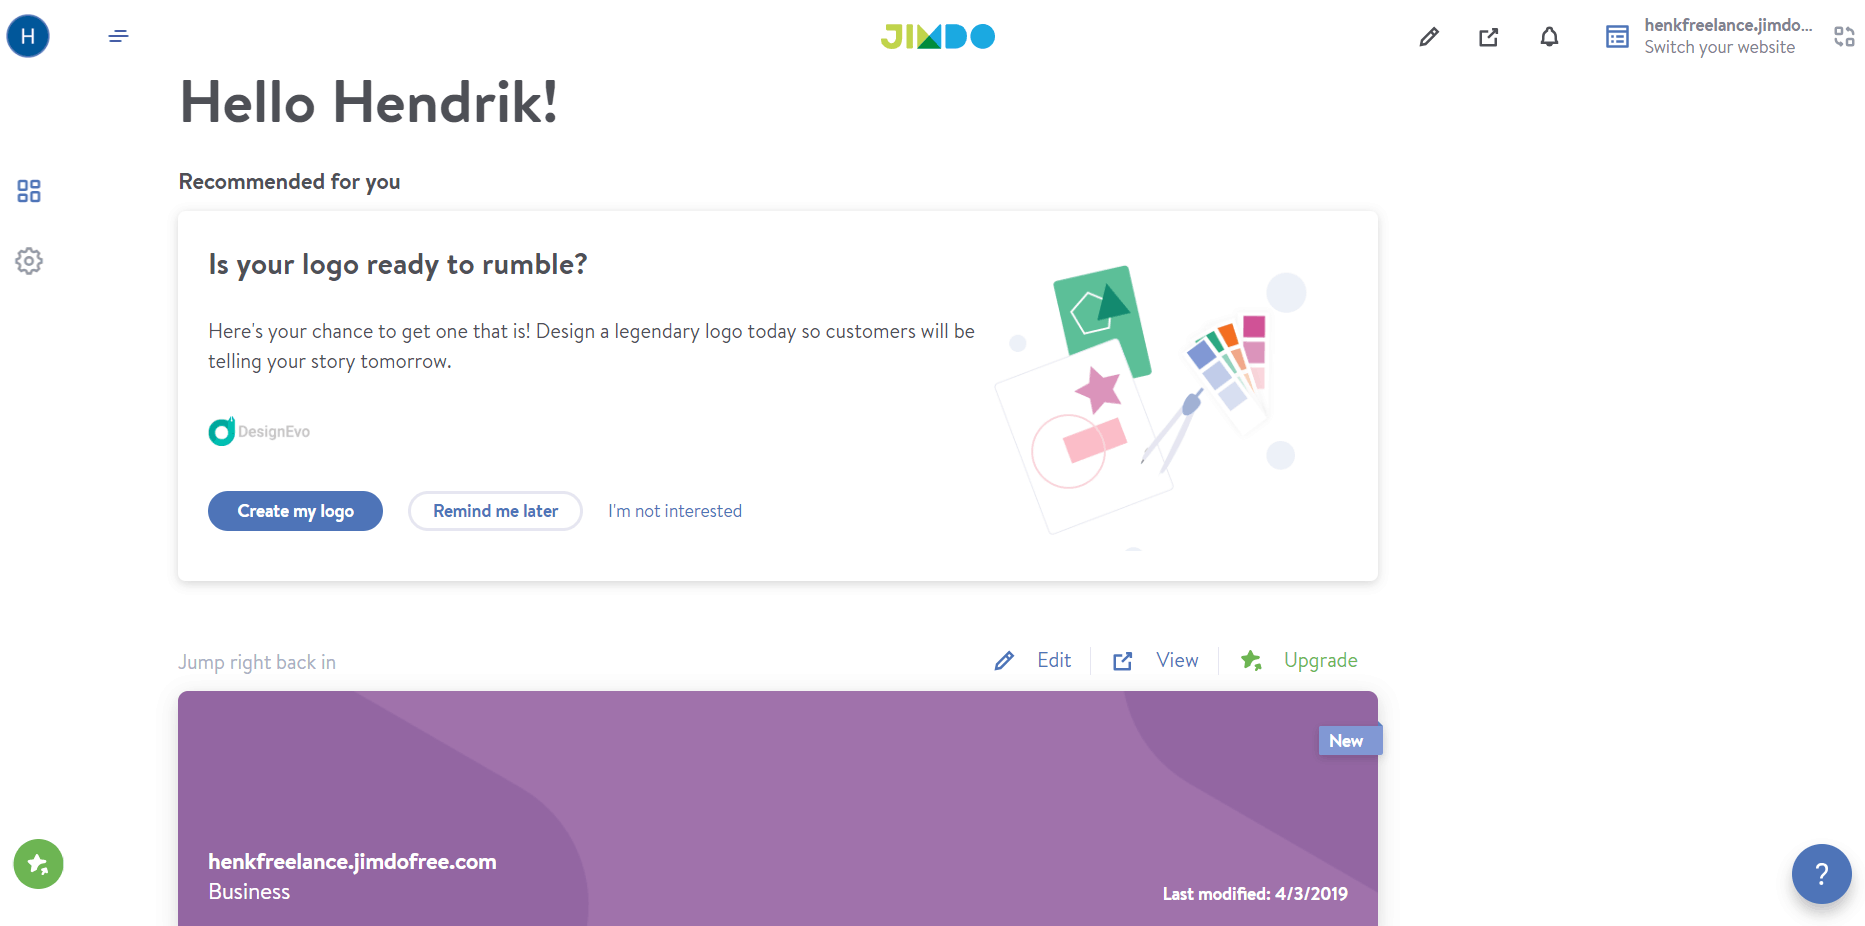 Click your website to open the editor. Then, click ‘Menu’ in the top left corner, and open ‘Domains and Email’:
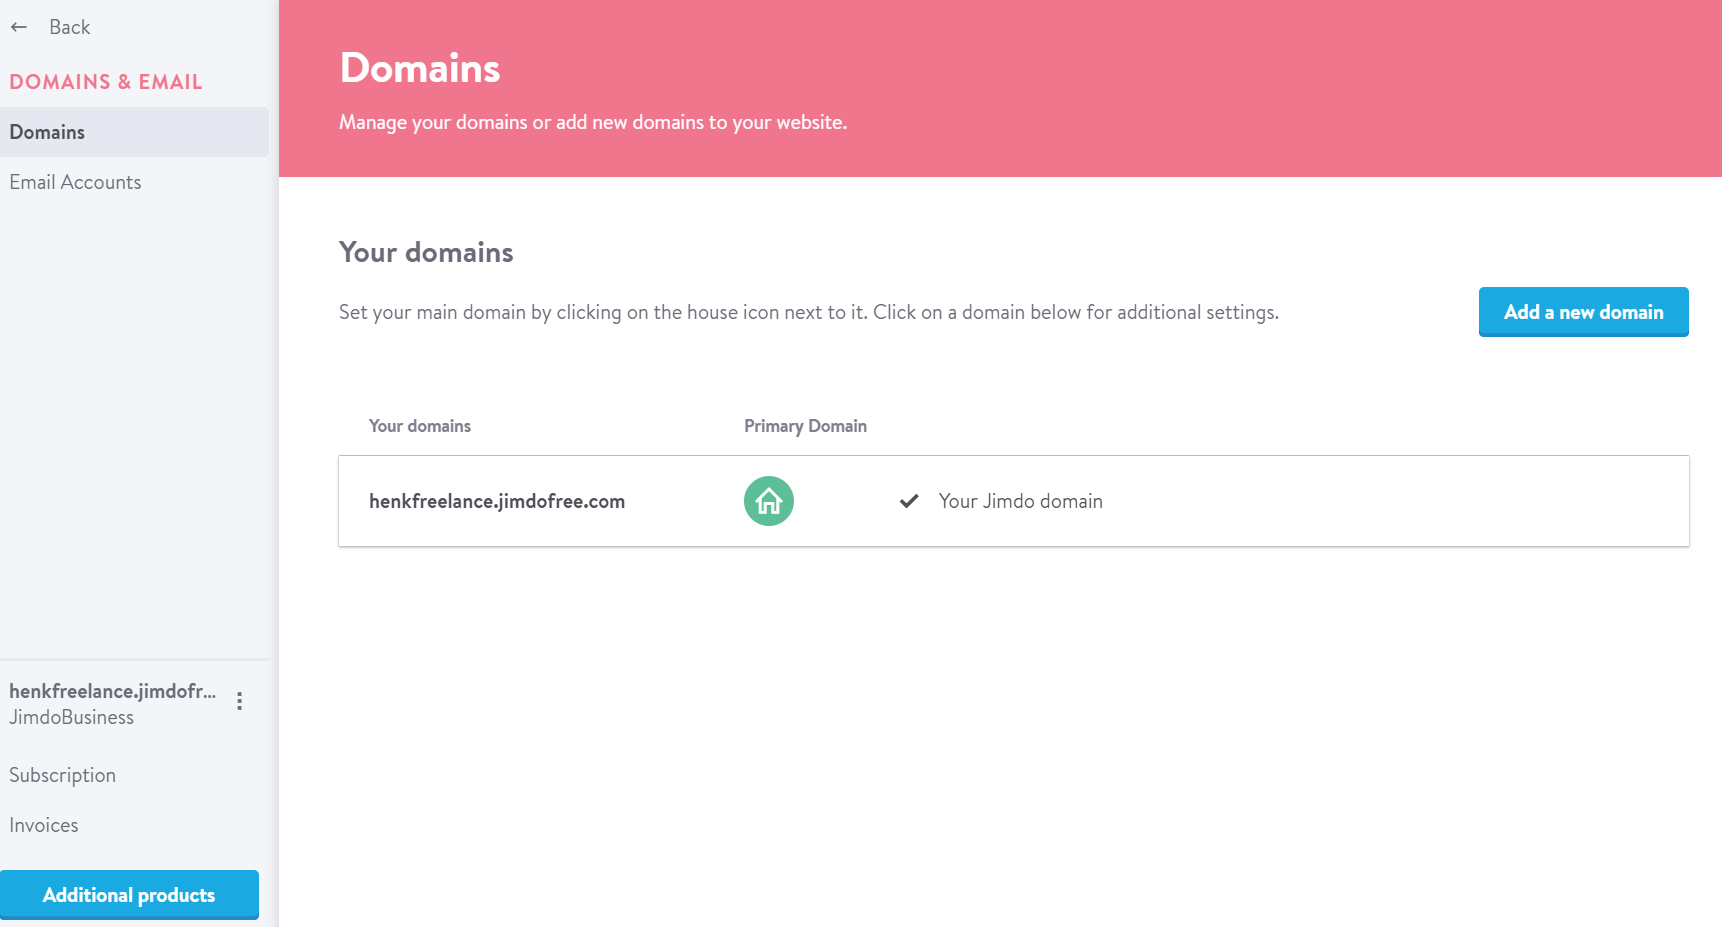
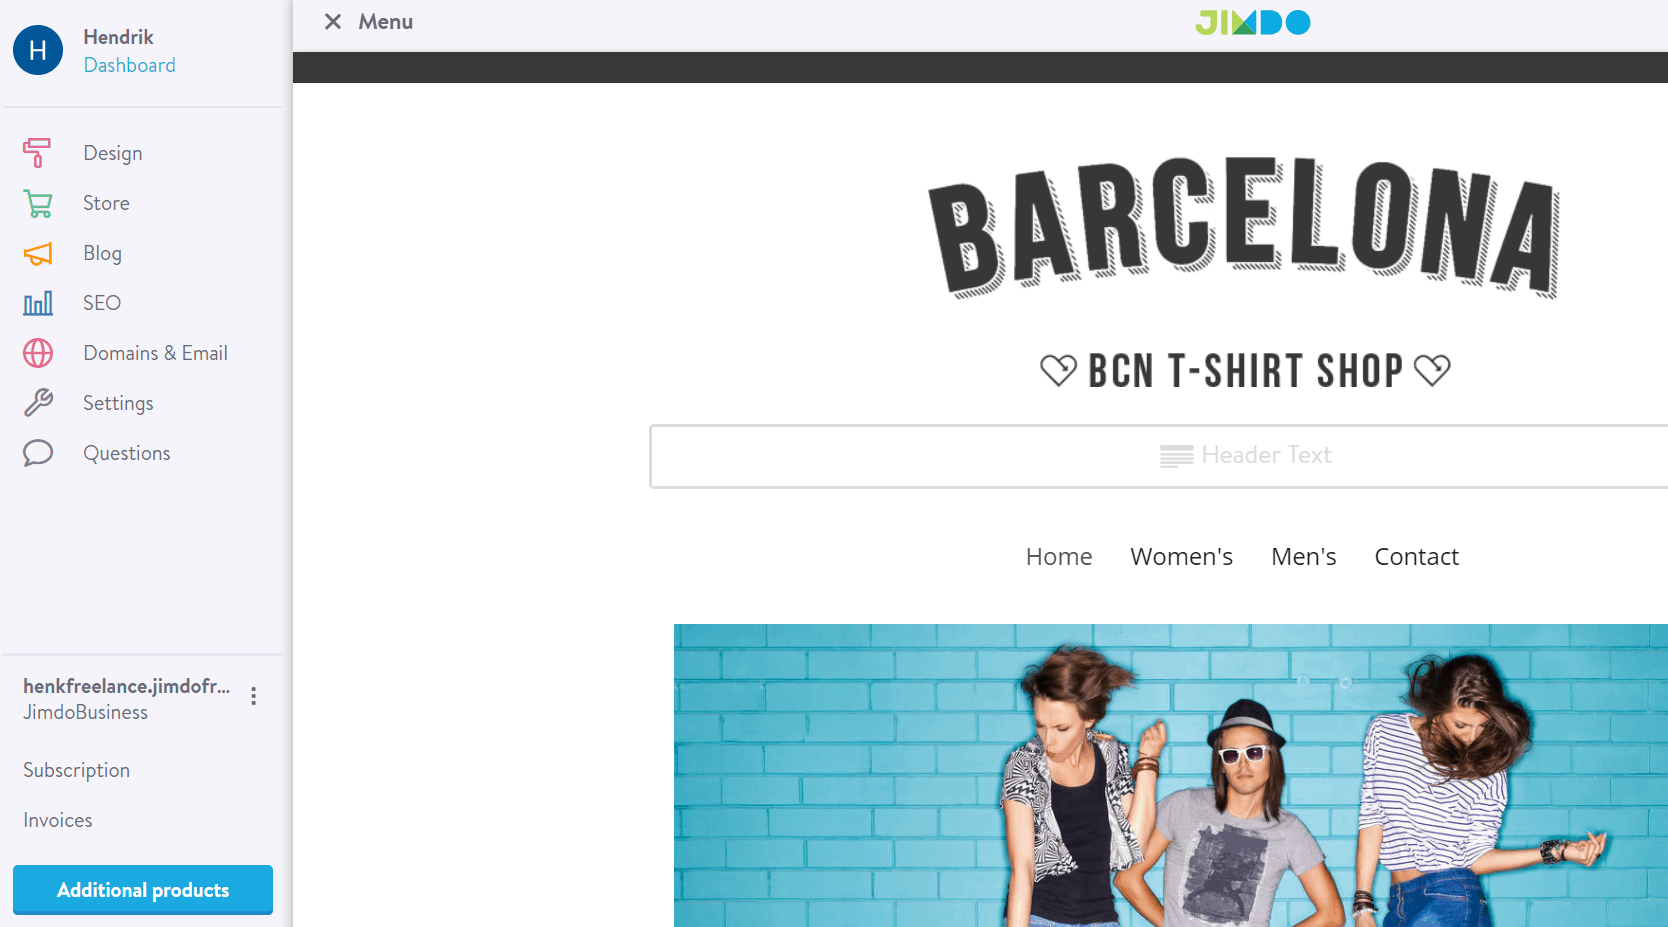 From here, click the ‘Add a new domain’ button:
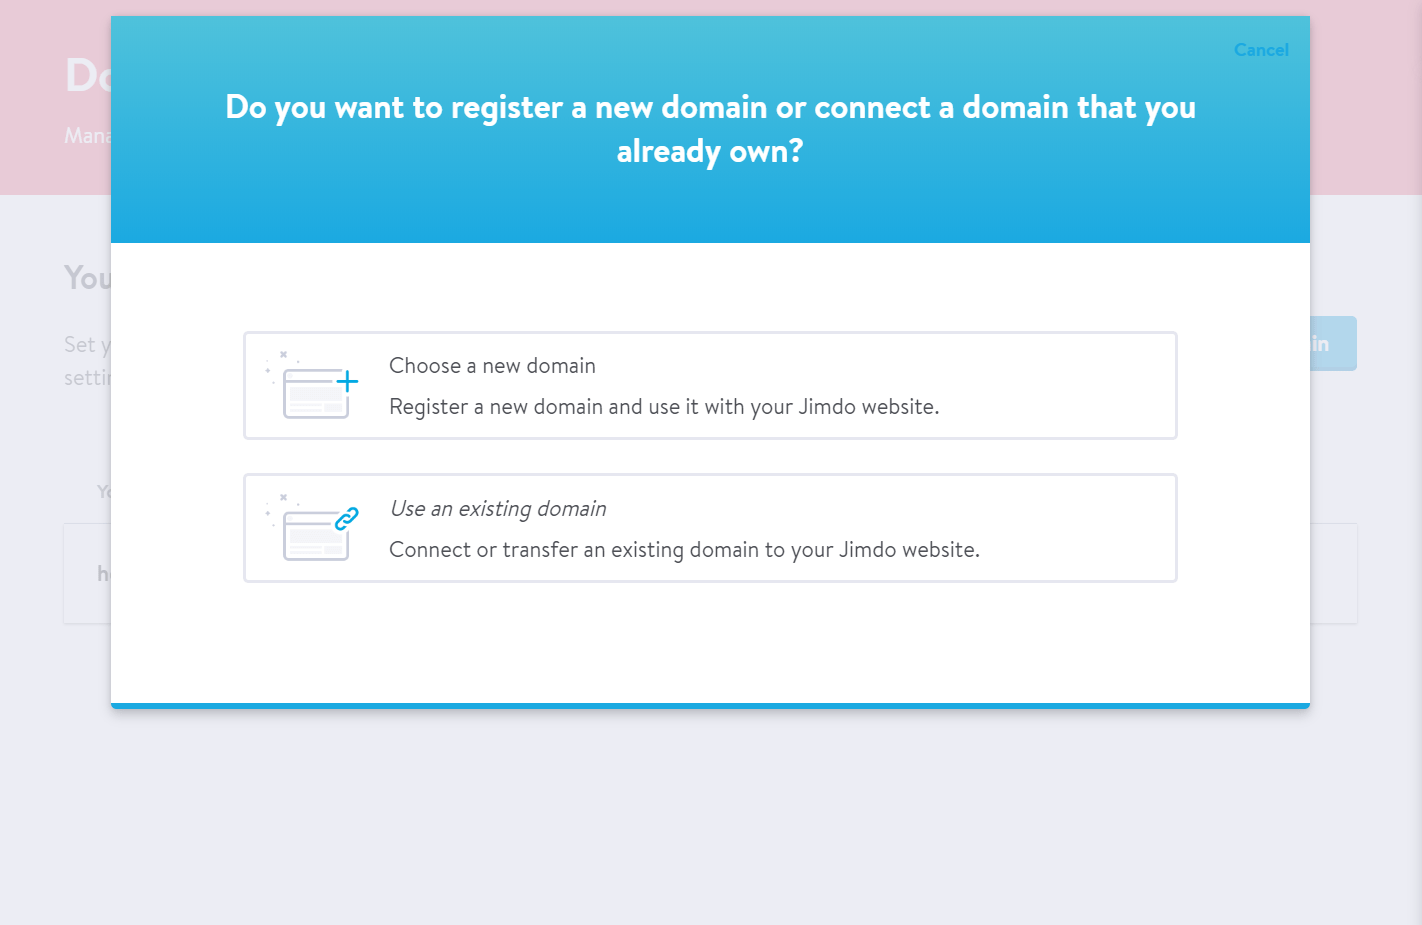
 In the pop-up window, you can either choose a new free domain that you get with your Jimdo account or use your own domain. I chose the second option.
 Just type your domain into the field, and click ‘Use domain’:
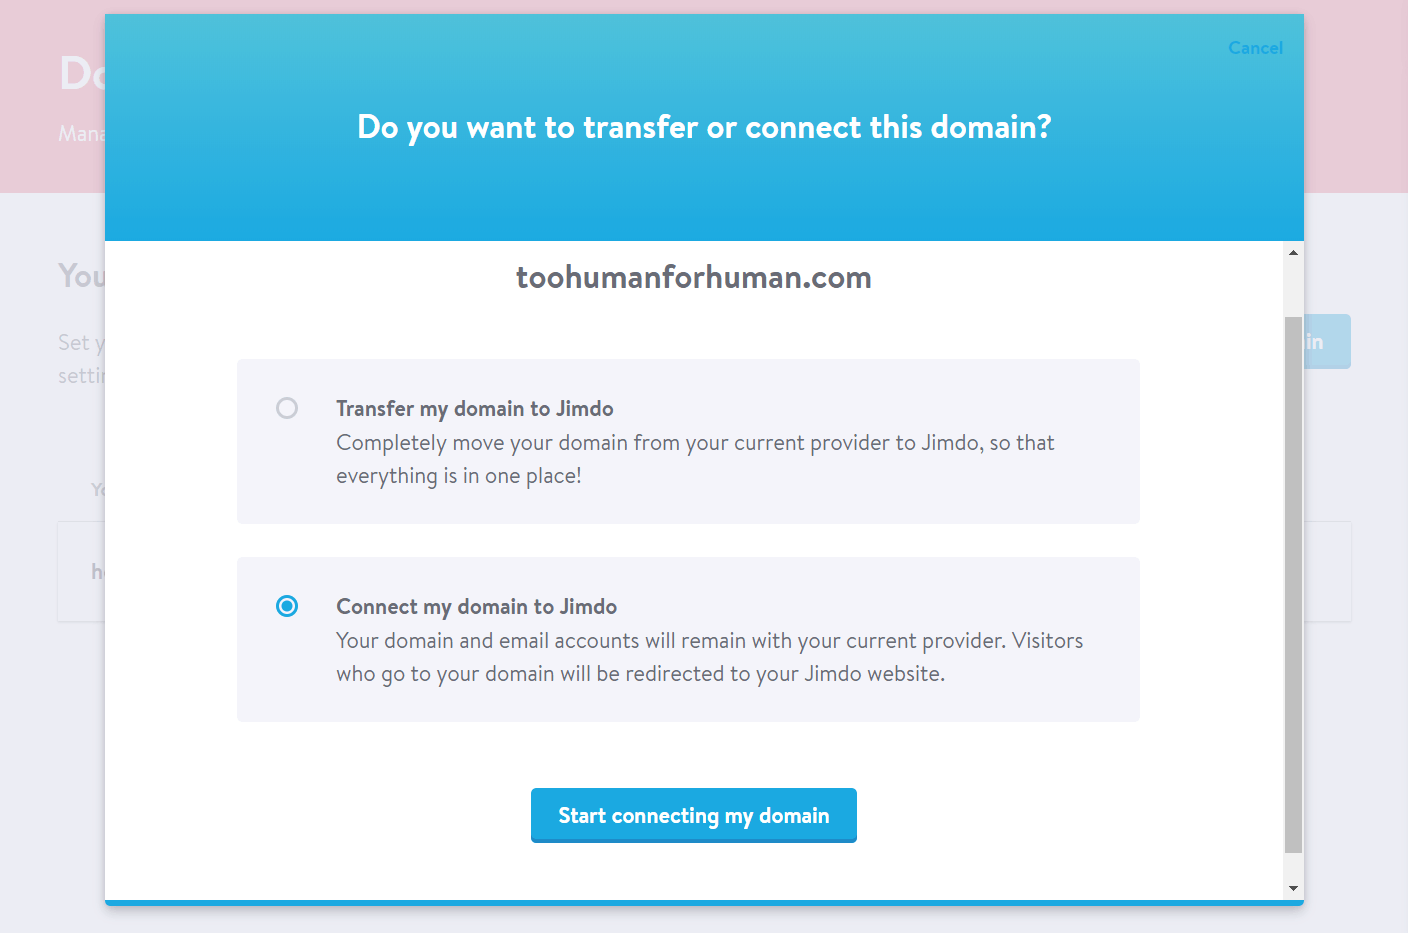
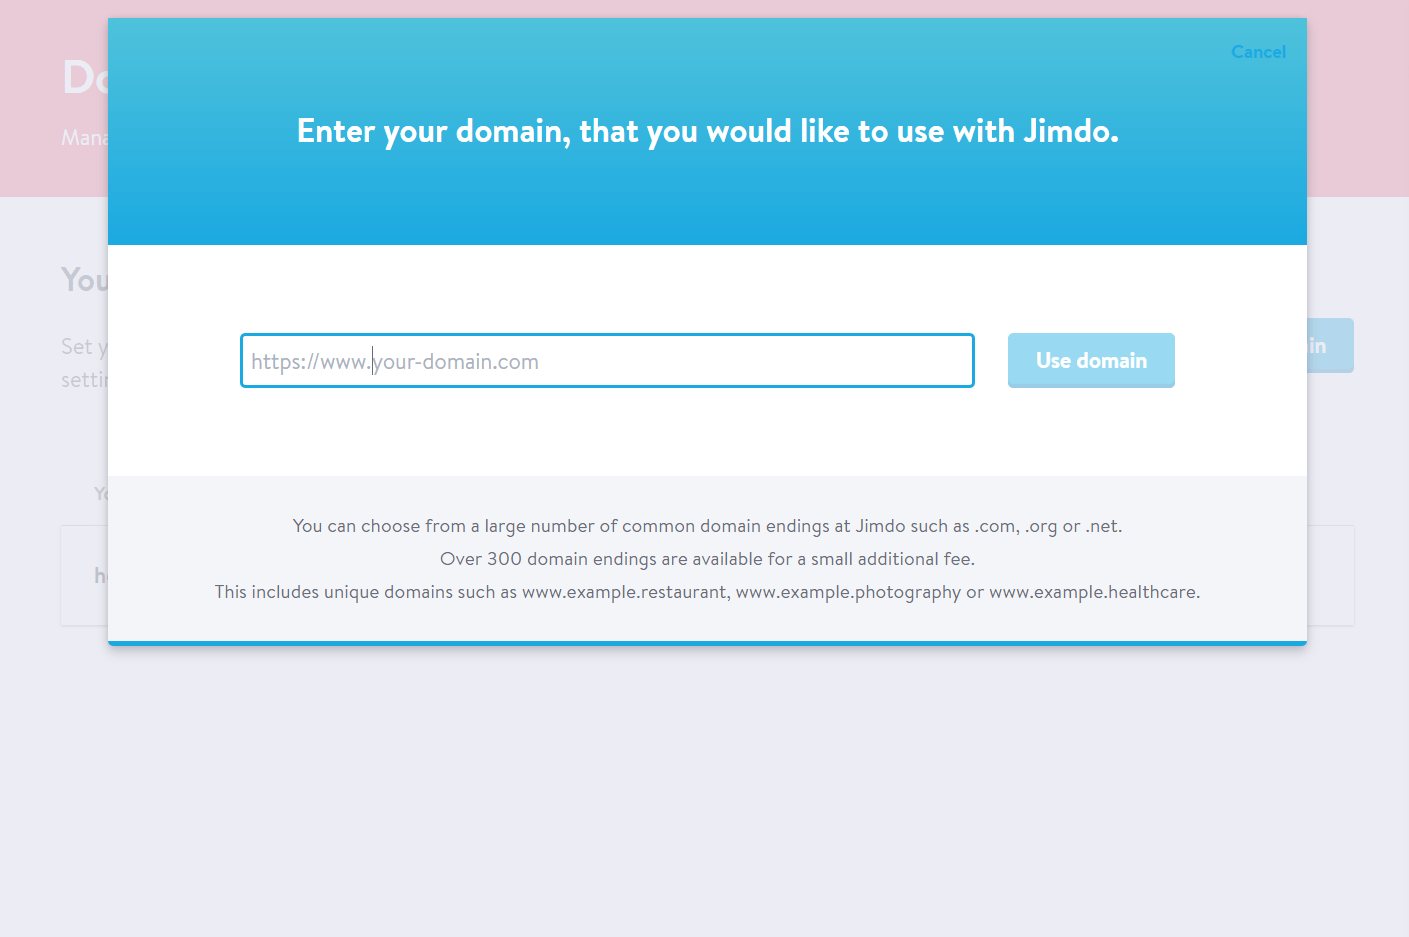 Next, you can choose to transfer your domain to Jimdo or connect your domain to your Jimdo site but keep it at your current provider. I used the second option, but Jimdo provides an easy wizard that guides you through transferring your domain to them as well:
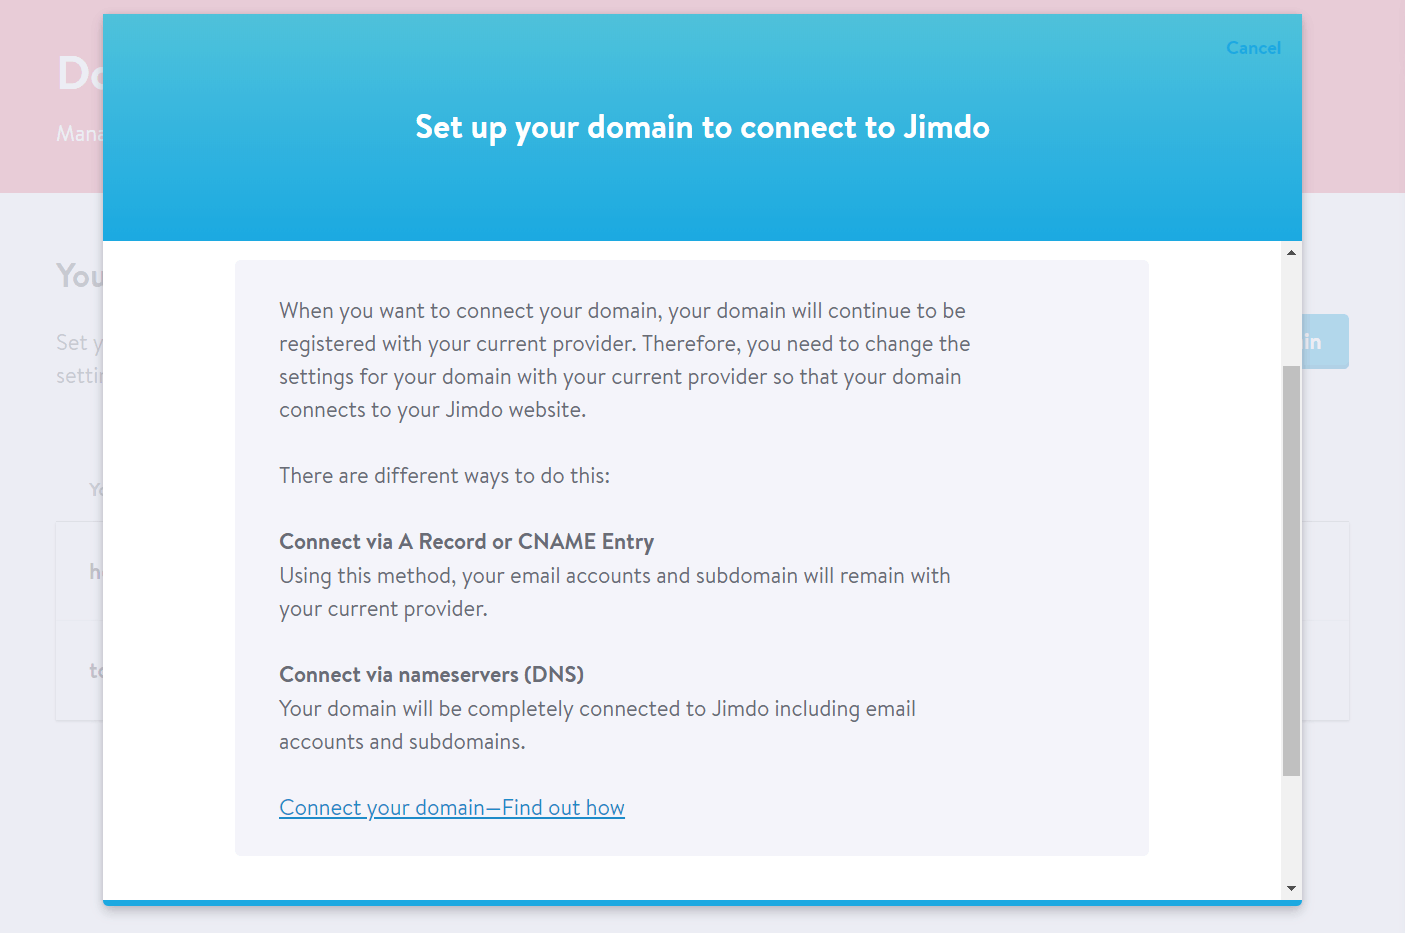
 Now, you’ll need to change your domain records with your domain provider in order to point your domain to your new site. Jimdo provides a quick explanation and a link to step-by-step documentation:
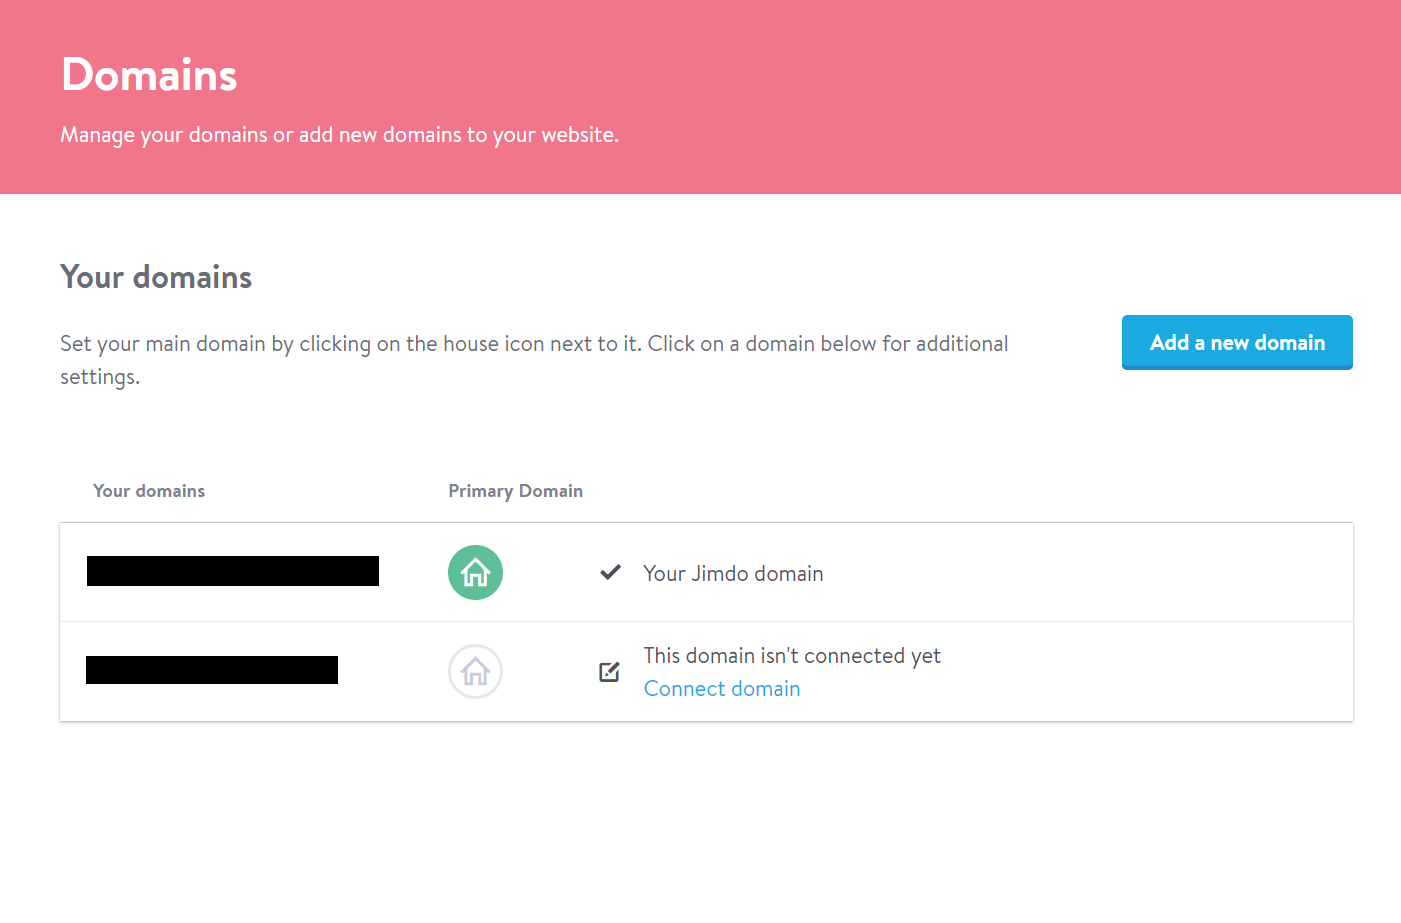
 That will create an entry for your domain in the domain management panel for your site. It might take a while for your registrar to process the changes, but once it does, you should be able to connect to your site using this domain as the URL:
 All set!
How to Change Your Template
If you’re not happy with the template you initially chose for your Jimdo site, the good news is that you can switch at any time (unlike some other builders, where you’ll have to rebuild your site from scratch). Just go to the editor, open the menu and select ‘Design’: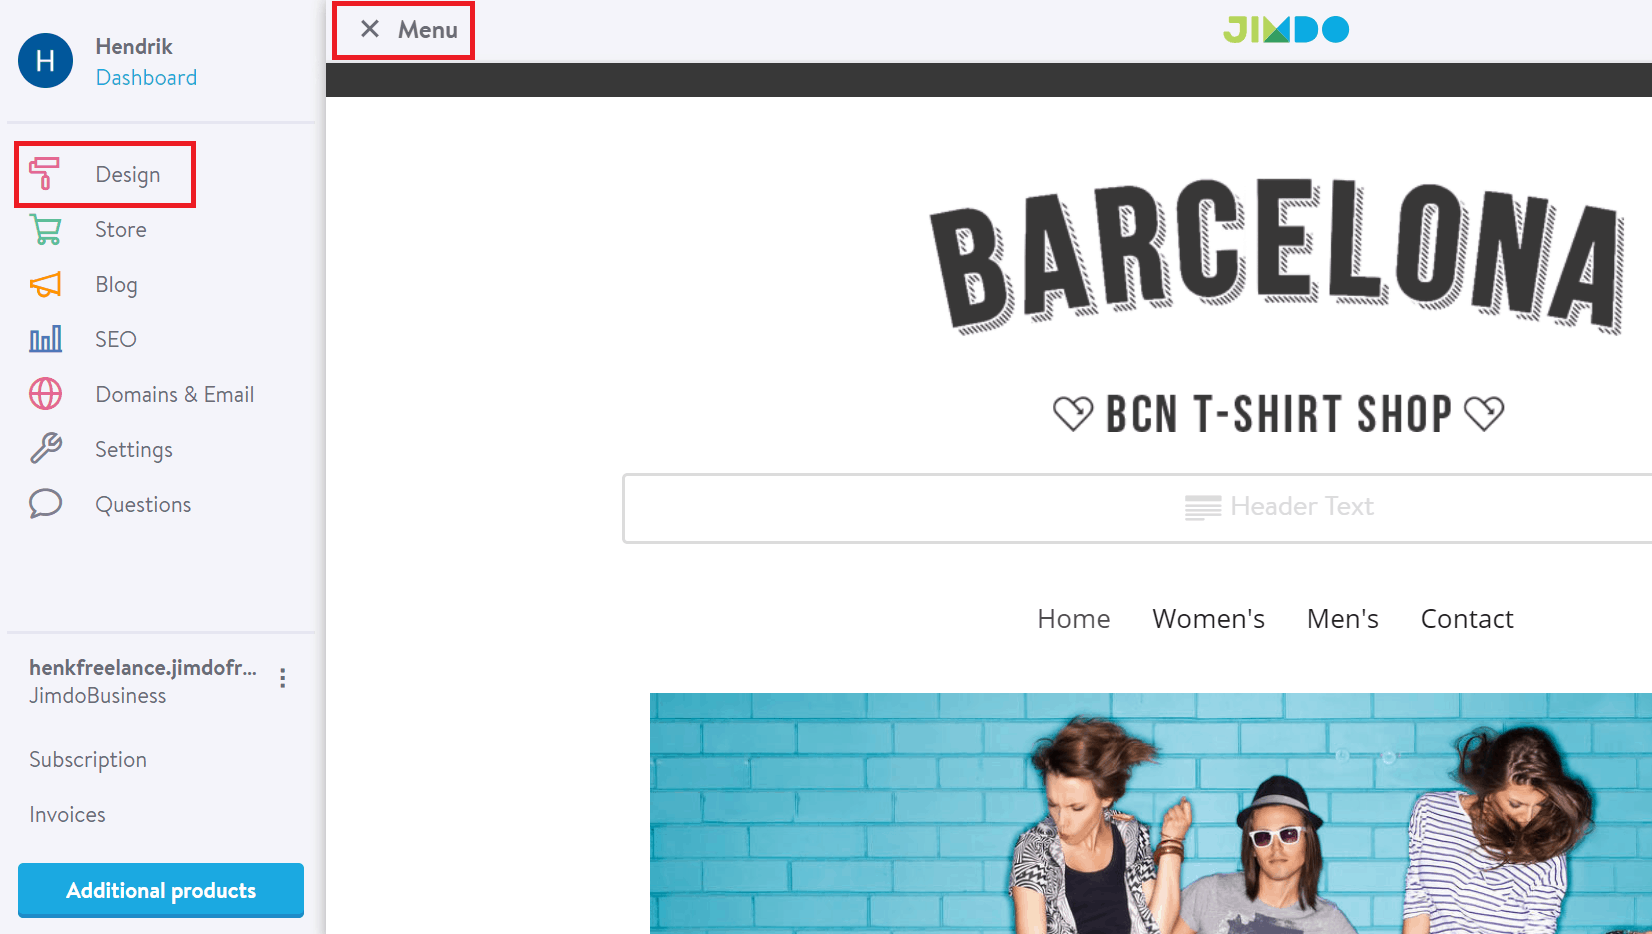 Then, select ‘Templates’ from the design menu:
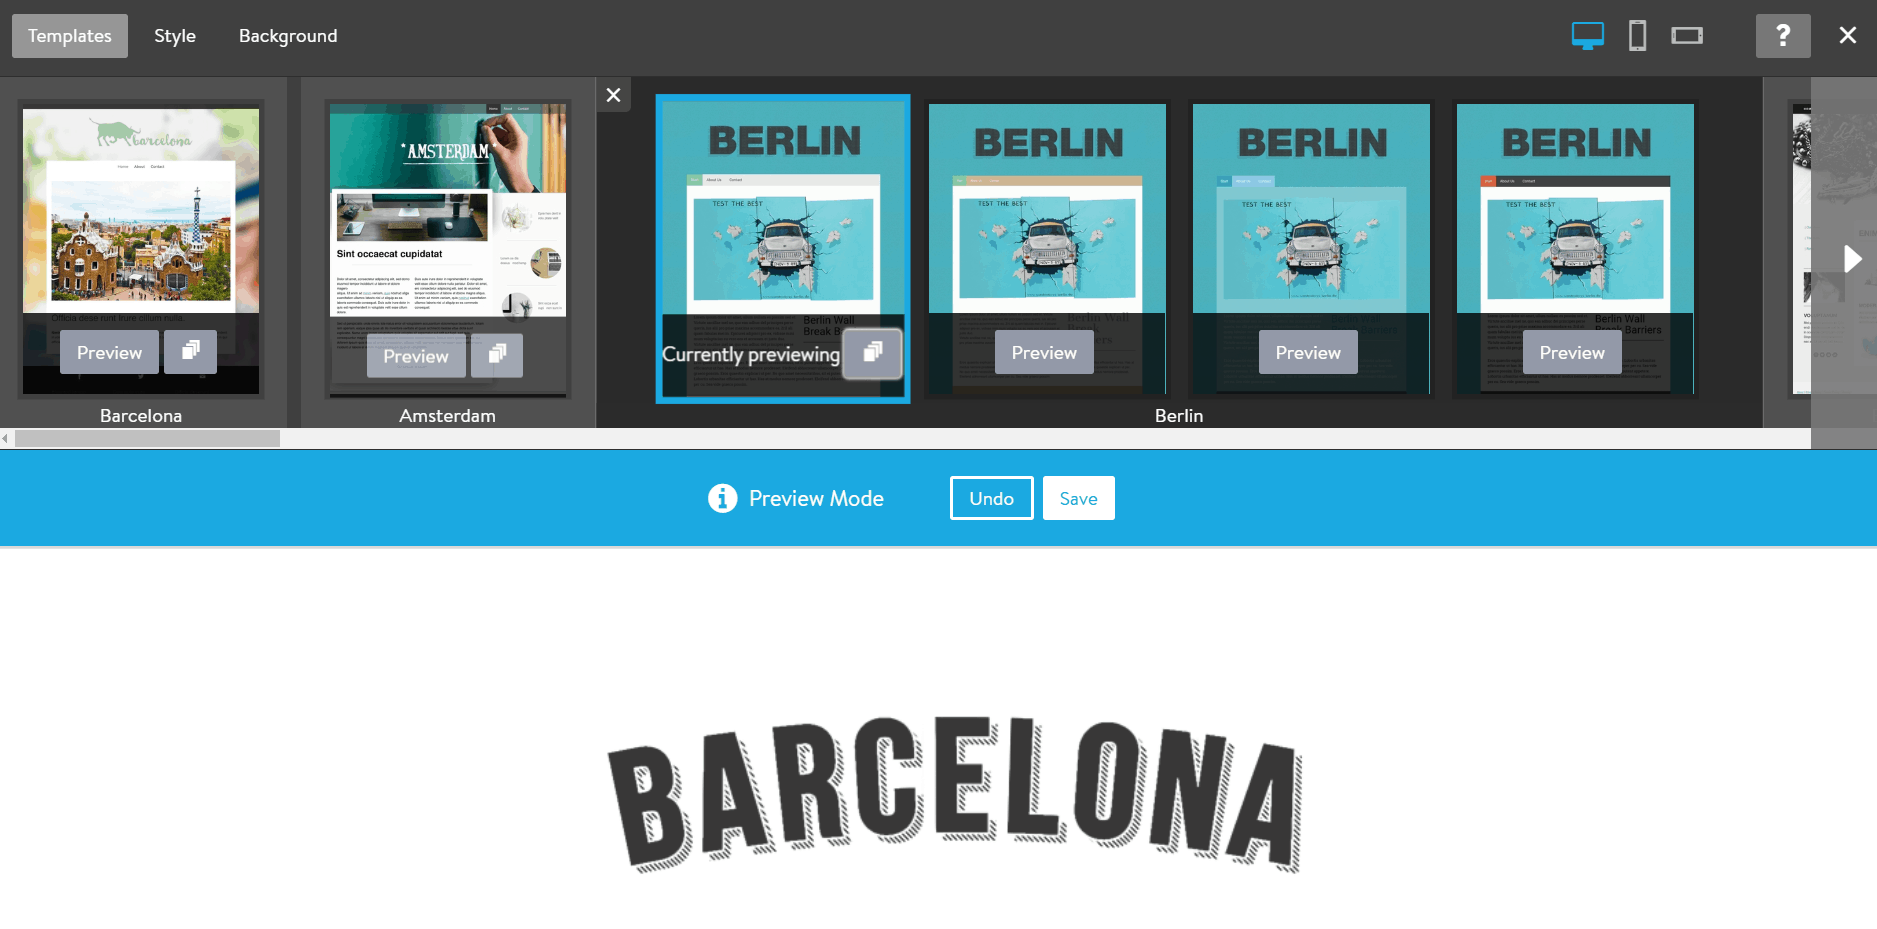
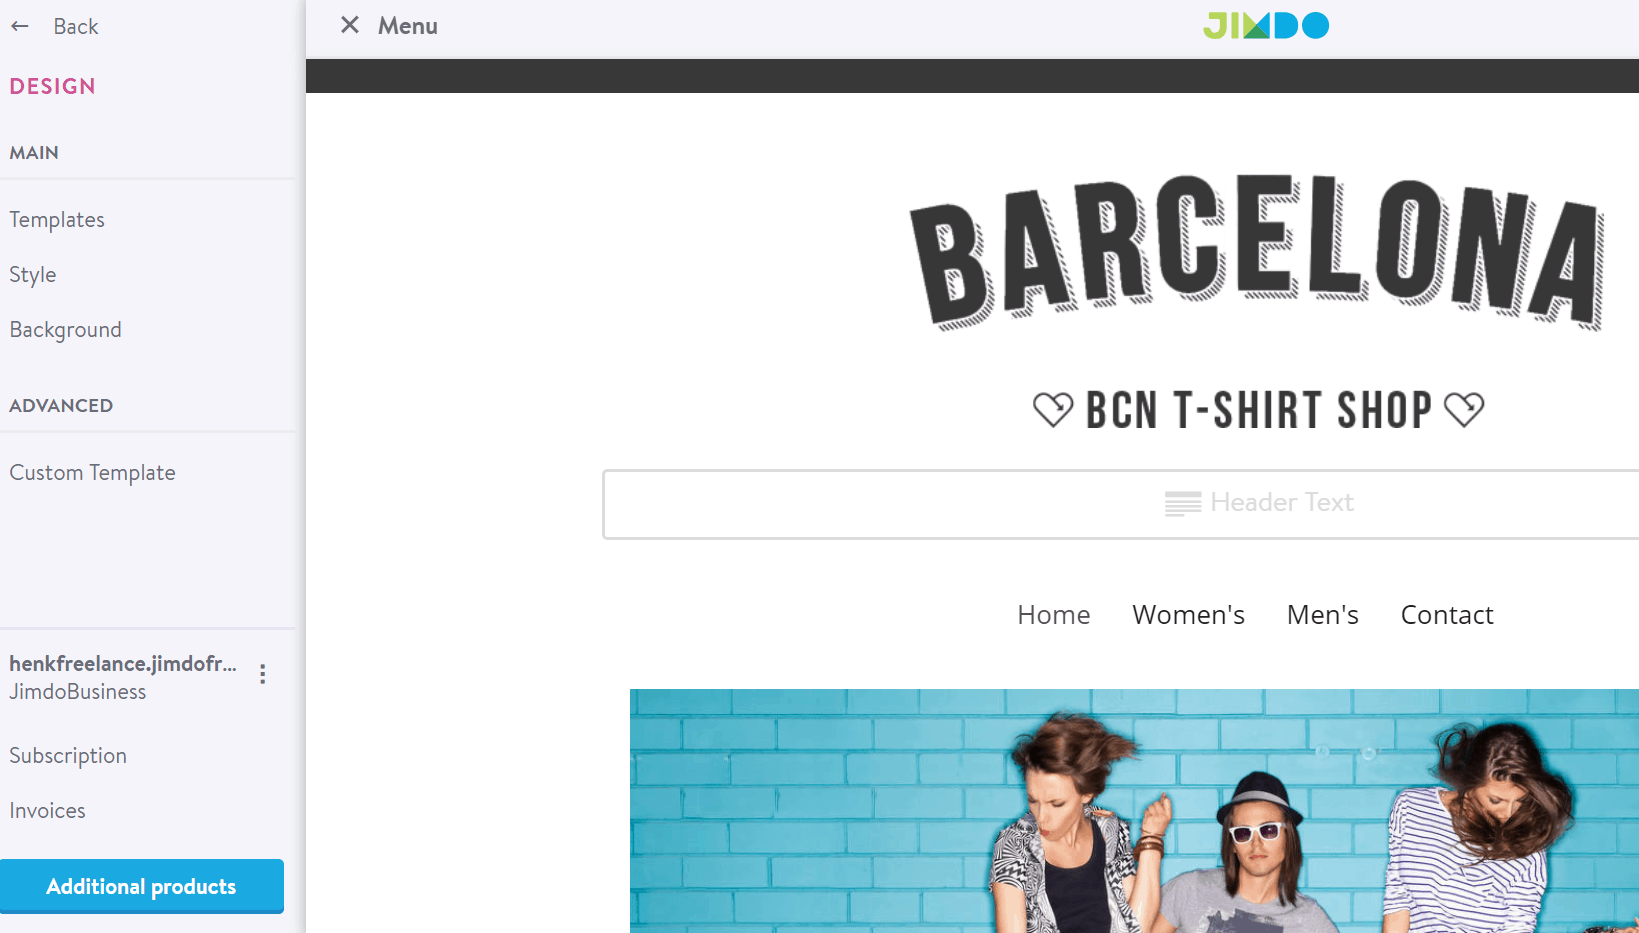 The top bar displays all the available templates. You’ll notice there are many more options here than when you first sign up and create your website, and each one even comes with variations.
Selecting a template will load it in the preview panel. Like it? Click ‘Save’. Not sure about it? Click ‘Undo’.
 Jimdo also provides a pretty cool Template filter tool:
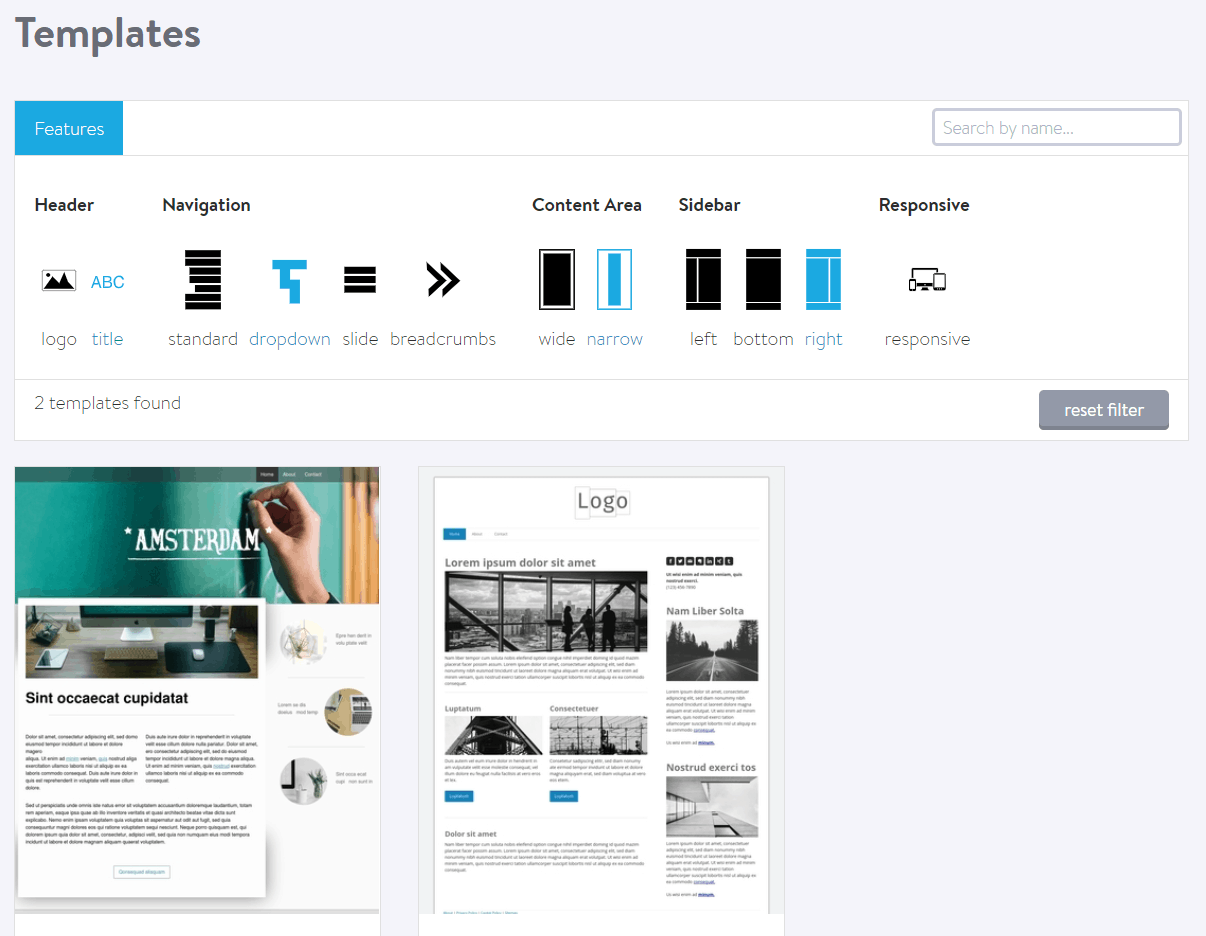 You can filter templates by the type of menus, content areas, and sidebars they have. Unfortunately, you can’t add a template to your site from here, but it can help you find a layout you want to use.

Short on time?
Take this one-minute quiz to learn which website builders are best for your project.
Adding Content to Your Jimdo Website
Jimdo Creator lets you easily add elements to your site, such as text blocks, images, videos, and more. If you move the mouse around between some of the existing content on your pages, you’ll see this ‘Add Element’ button pop up: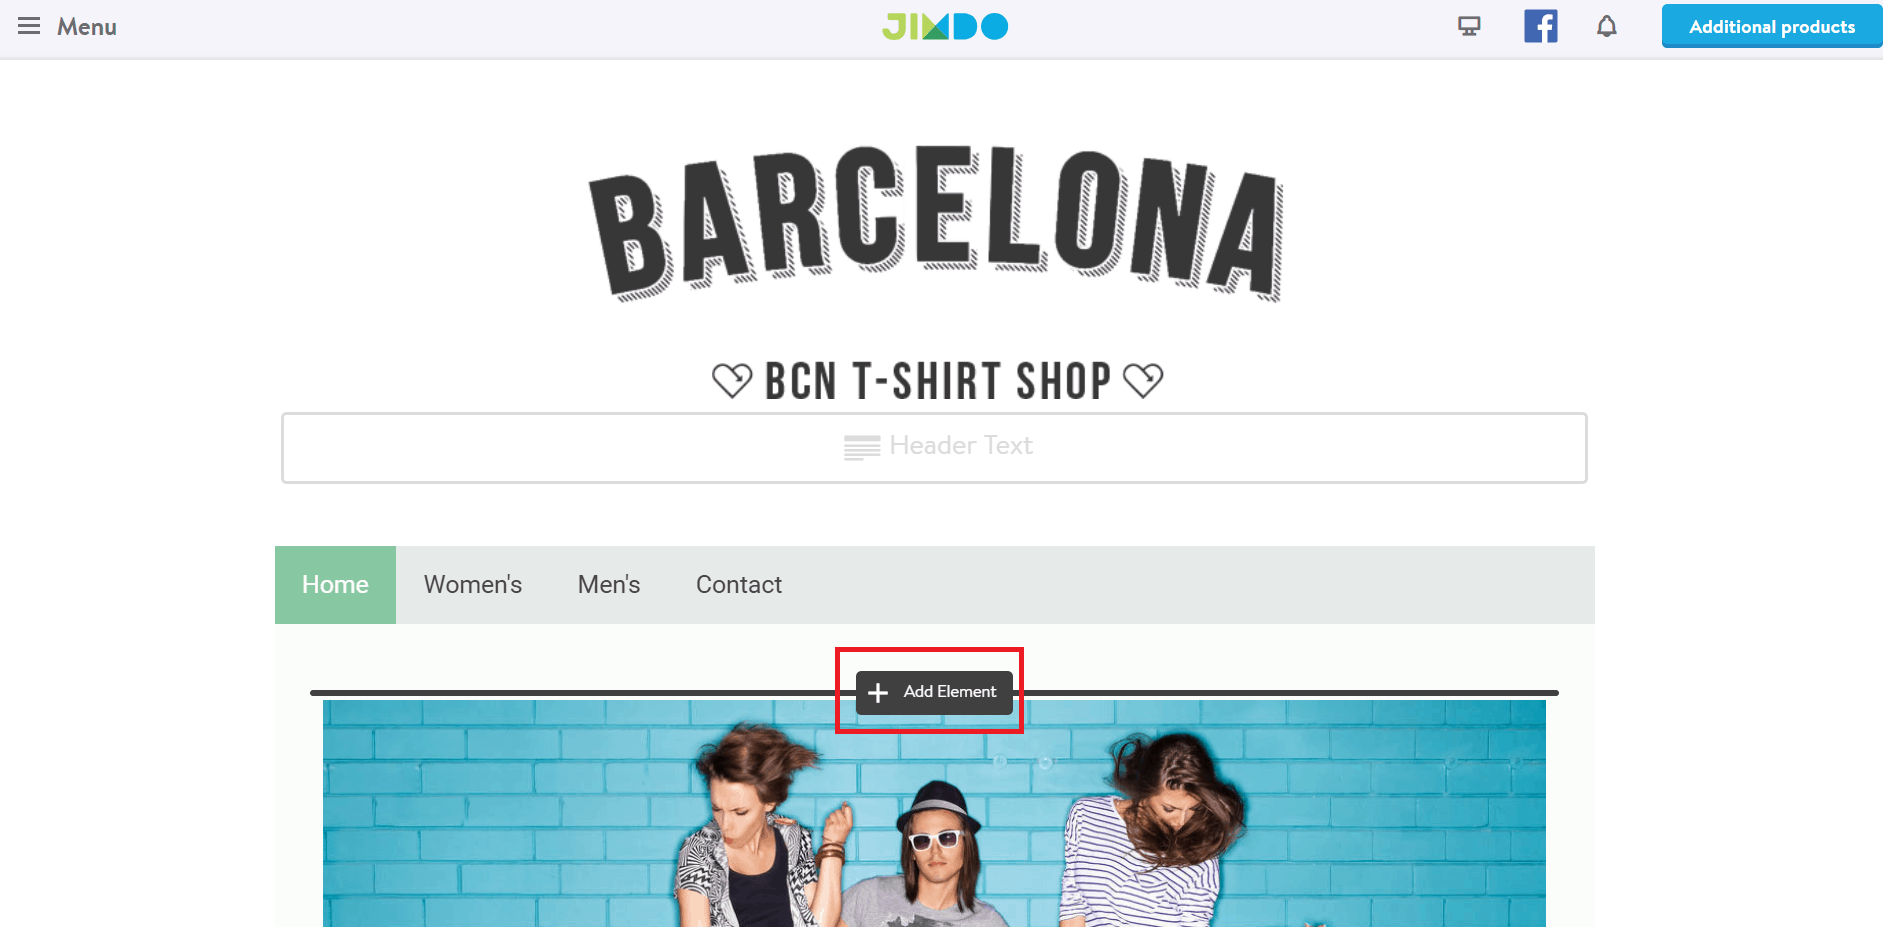 Clicking on it will open a panel where you can choose what kind of element you want to add to your page:
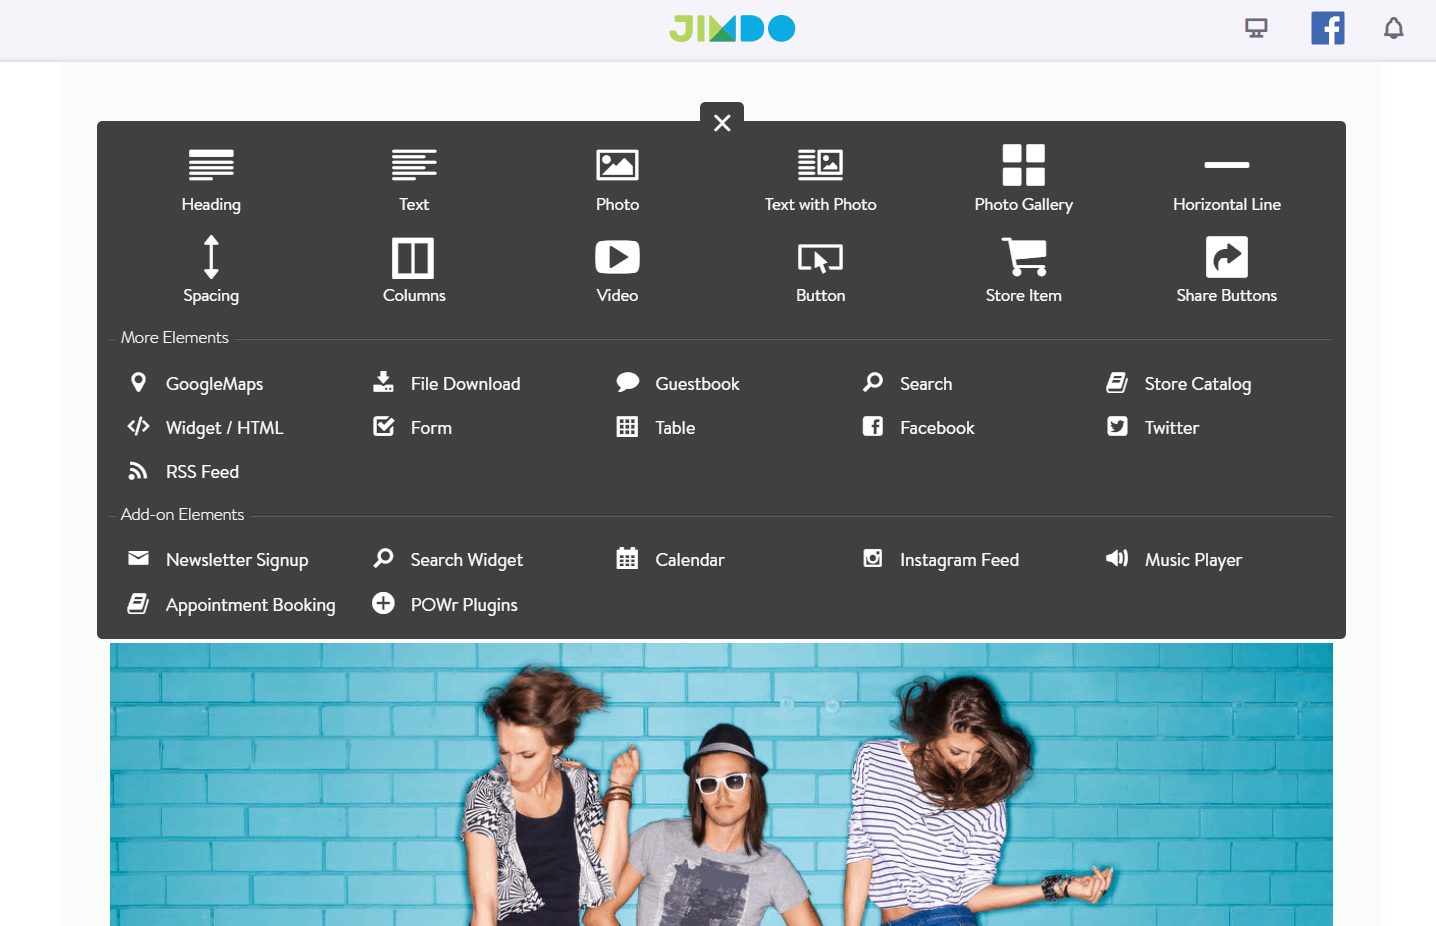 If you’re adding a text field, you can type or paste in your content and style the text using this simple word processor type widget:
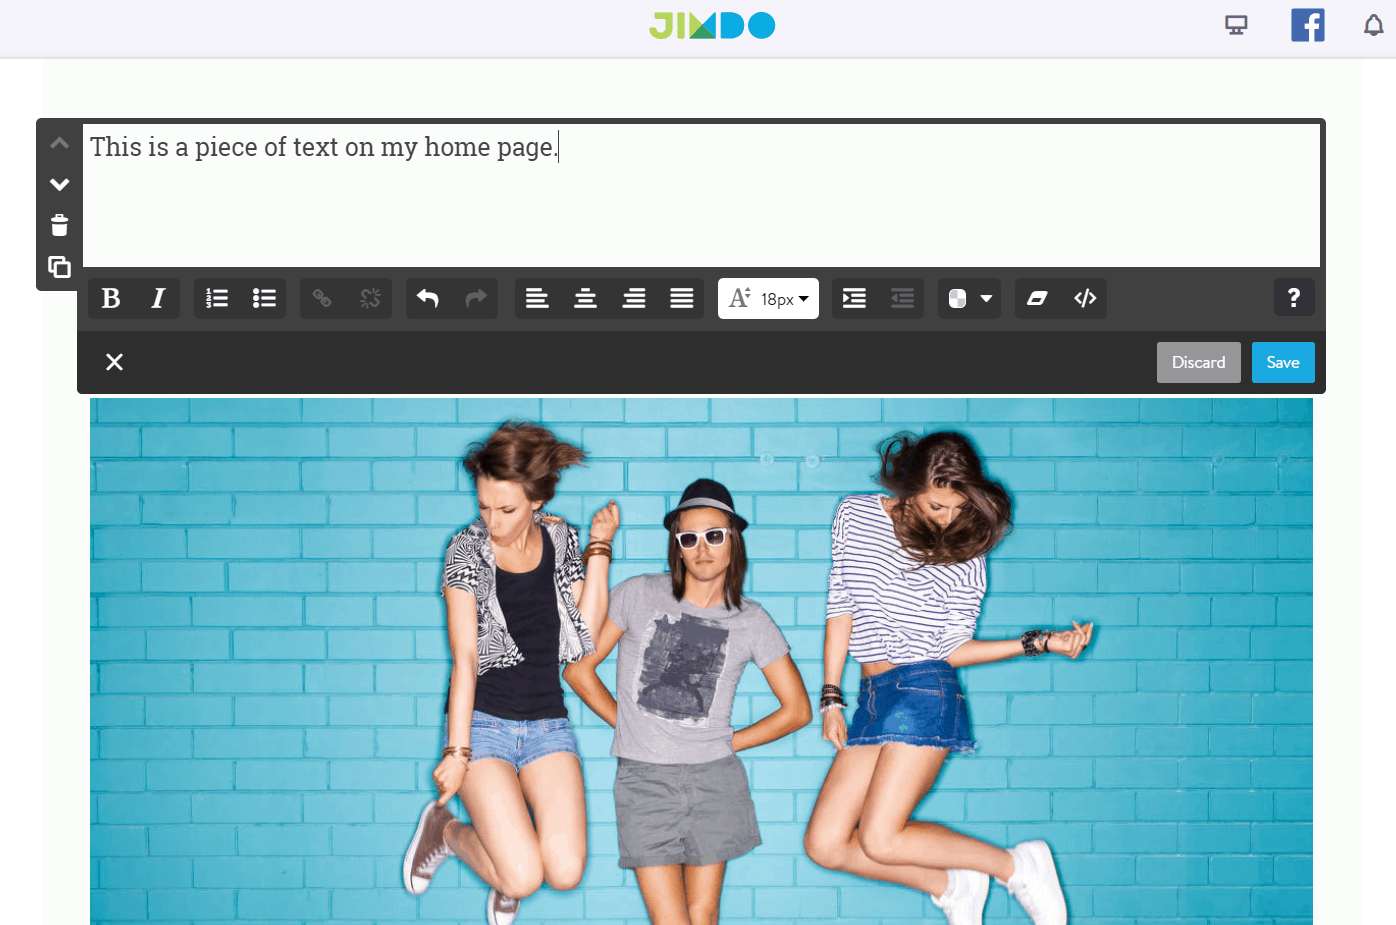 You can also use Creator’s drag-and-drop functionality to move your elements around.
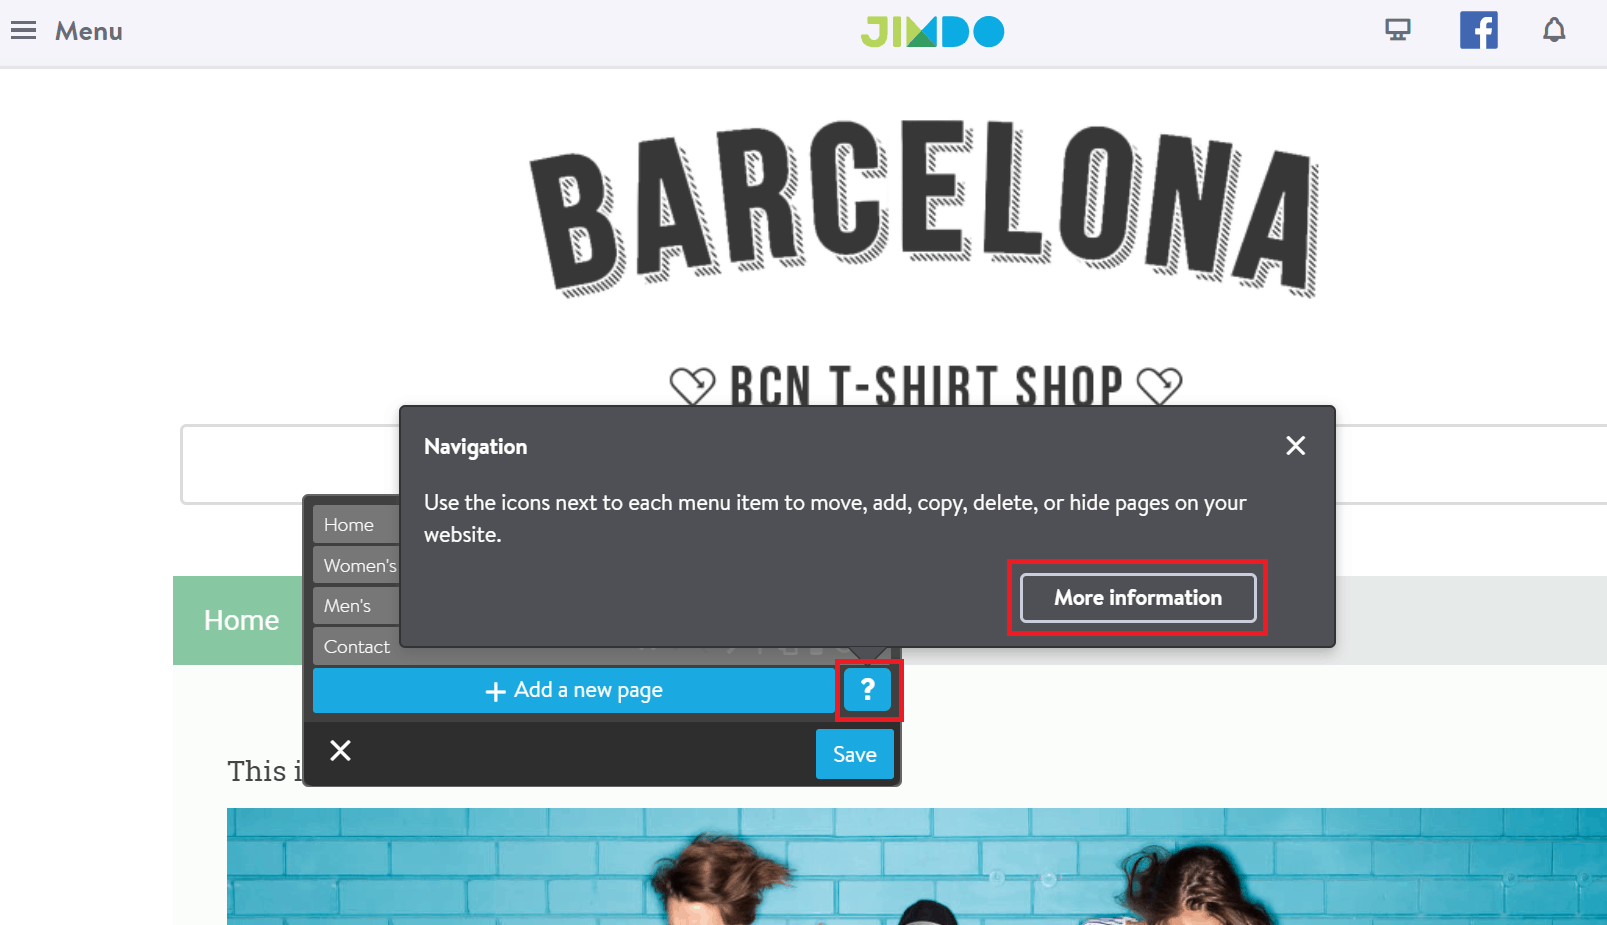
It’s also pretty easy to add pages to your website, although it’s not obvious how to do it. Just hover over the top menu, and the ‘Edit Navigation’ button will pop up:
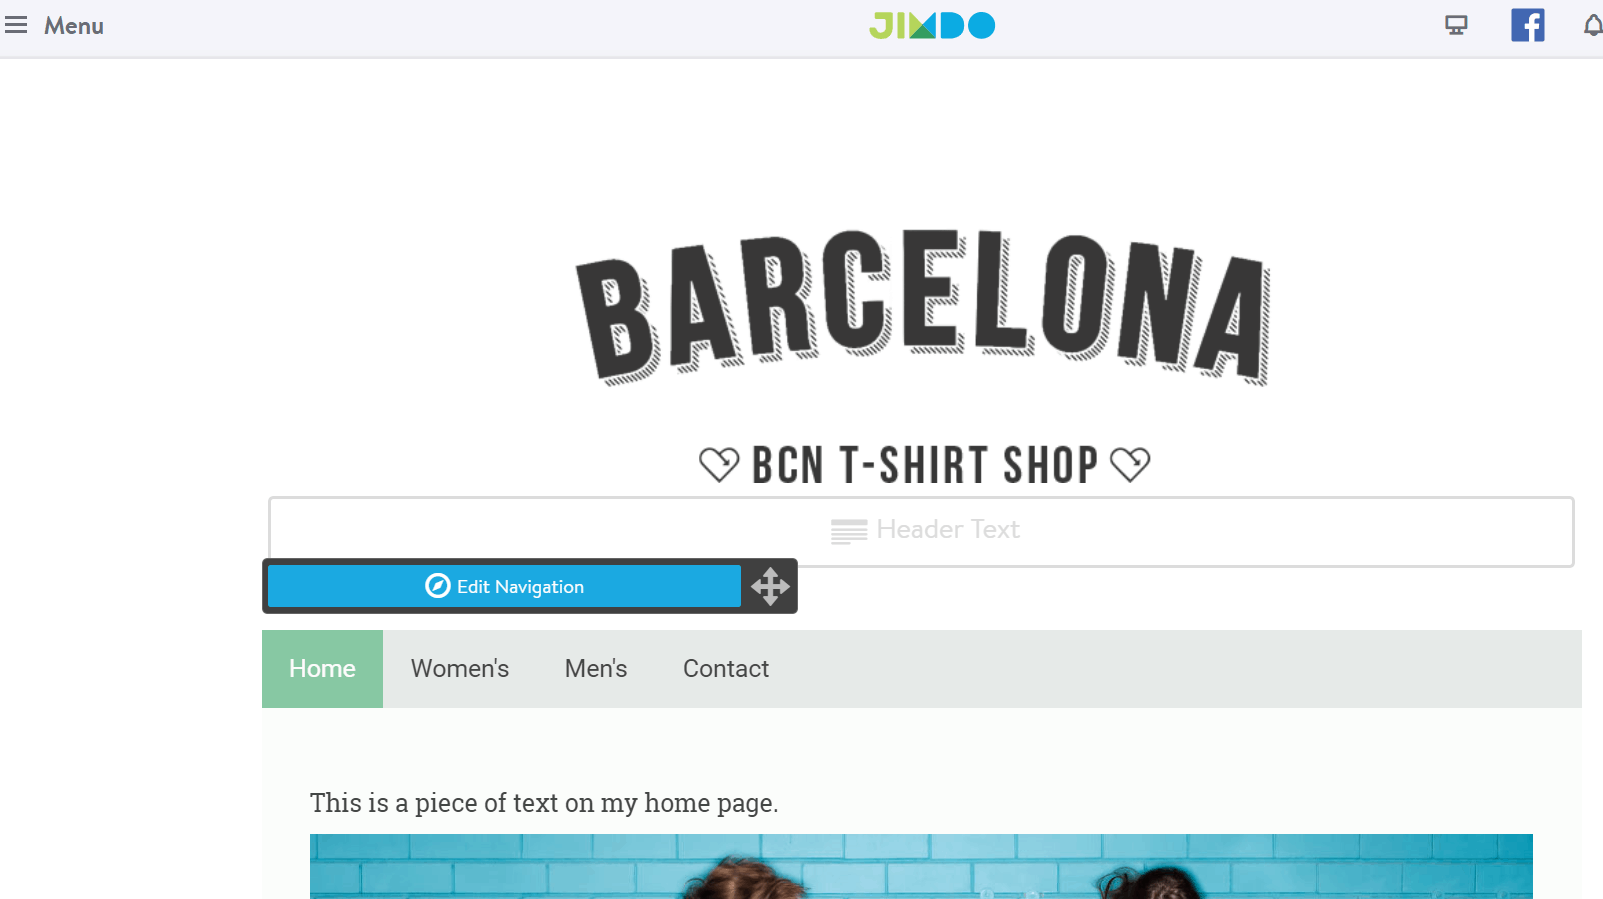 Click on it to see a list of all your pages. To add a new one, just click the button:
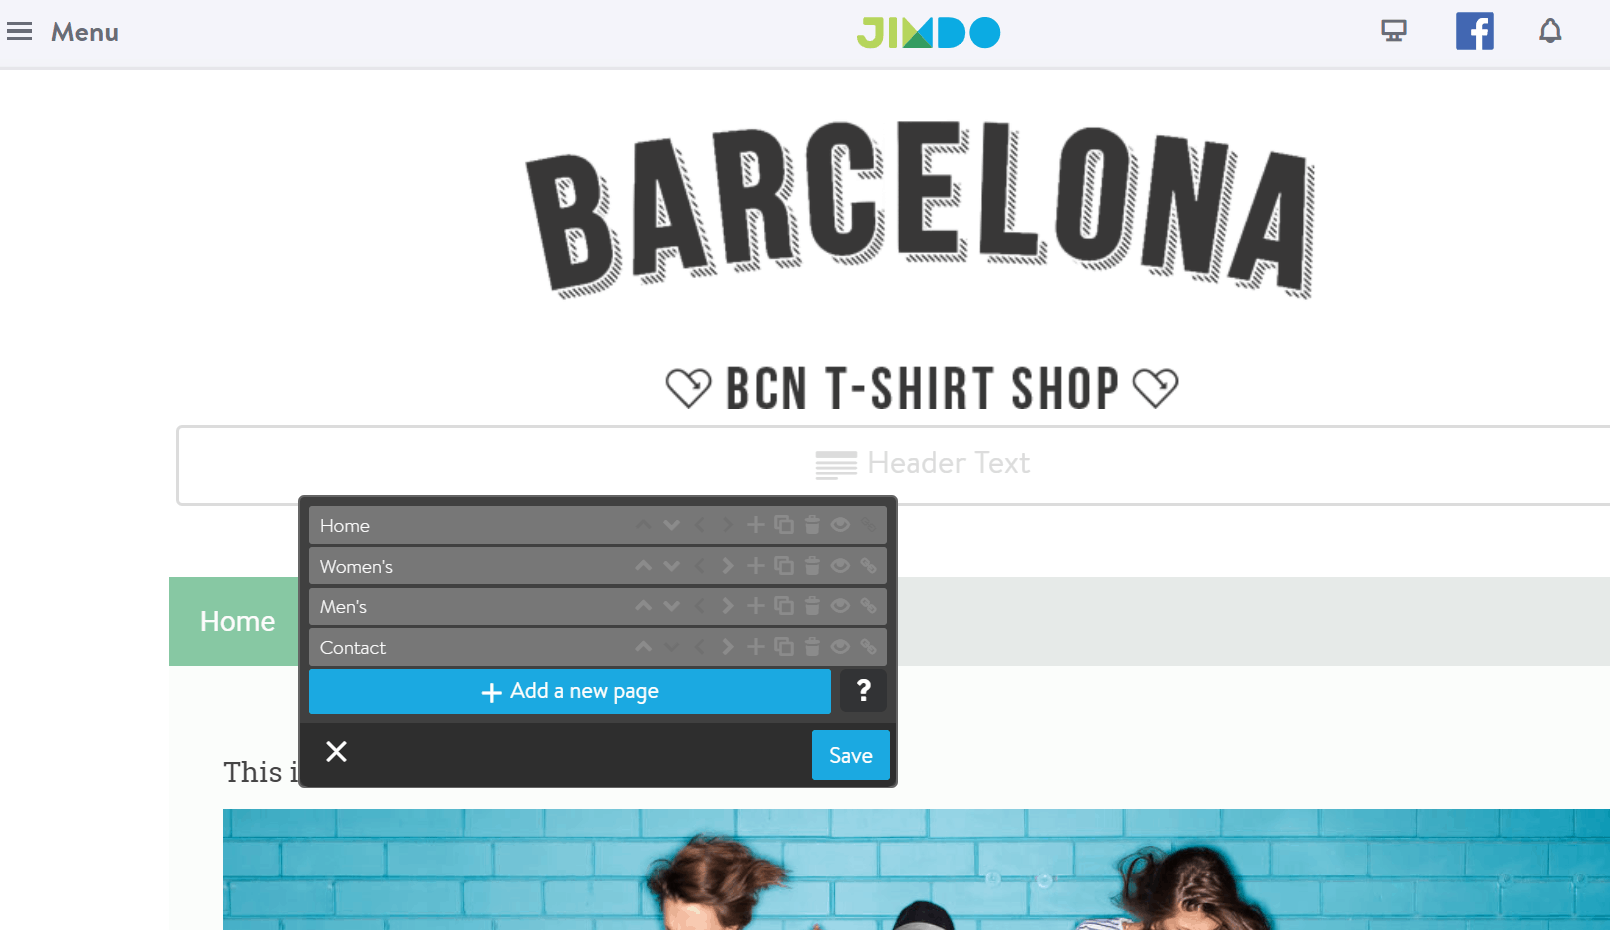 Your new page will be created, and a link will automatically be added to your navigation menu.
Throughout the entire process, Jimdo helps you out with handy tips. There’s always a help icon you can click:
