Inside this Article
Prepping the Research (Or What To Do Before You Begin)Choosing the Right Domain NameChoosing Reliable Web HostingInstalling WordPress and Setting Up Your Mom BlogCreating Essential Pages for Your Mom BlogEdit, Test, and Publish Your First Mom BlogPromote Your Mom BlogAn Easier Way to Get Your Mom Blog OnlineAre You Ready to Become a Mom Blogger?FAQs
Prepping the Research (Or What To Do Before You Begin)
“Mom, what’s for dinner?” That question can’t be answered without a bit of prep work – a menu, a meal plan, a shopping trip, or maybe a grocery delivery. Sometimes, it just means ordering takeout again. The same goes for your mom blog. You’ve got to put in some research. The good news is that it’s not hard and doesn’t take much effort, if you’re willing to put in the preliminary work. The bad news is that only you can make it happen – no shortcuts or quick fixes here.Finding Your Niche
The first step in starting your mom blog is choosing your niche. Simply put, your niche is the “thing” that your blog is about that other moms might want to read about. Motherhood is ever evolving and has many phases, so keep in mind there are blogs for every aspect of motherhood.
- A topic you know a lot about and have first-hand experience with.
- Something that interests other people.
- A topic you can create content around for a long time without running out of ideas or losing enthusiasm.
- Juggling motherhood and a career
- Home management and organization
- Tips and experiences for new moms
- Moms of multiple or large families
- Moms that homeschool
- Activities and crafts for families with kids
- Family travel
- Mommy self-care
Finding Your Audience
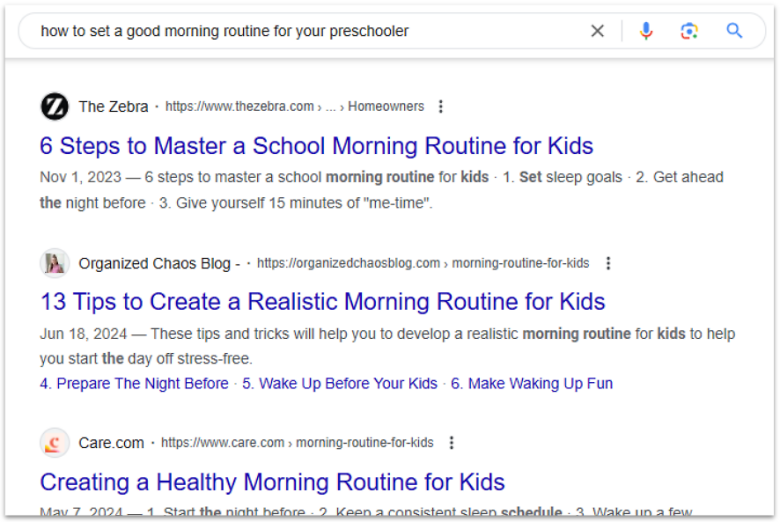
- Google searches. While you can’t directly find an audience via Google search, you can find some of the online places where they hang out. Search for a topic based on your niche and see what sites and forums pop up. Those sites can help you form a picture of your potential readers.
- Competitor blogs. Check out some mom blogs in your niche. Who are they attracting? What types of content has the most engagement? Don’t stop there – read the comments and find gaps that you can fill. This is competitor research and it’s integral to forming your content strategy.
- Social media communities. Find groups on Facebook, communities on Reddit, or Quora boards. Follow them and see what they’re discussing. This can provide valuable insights into how to position your blog to meet their needs.
- Real-life groups and activities. Look closer to home for inspiration. Parents at your kids’ playgroups, soccer sidelines, or even your yoga class can provide a snapshot of your audience. Observing their interests and challenges can help you understand your readers better.
Creating Your First Content Plan
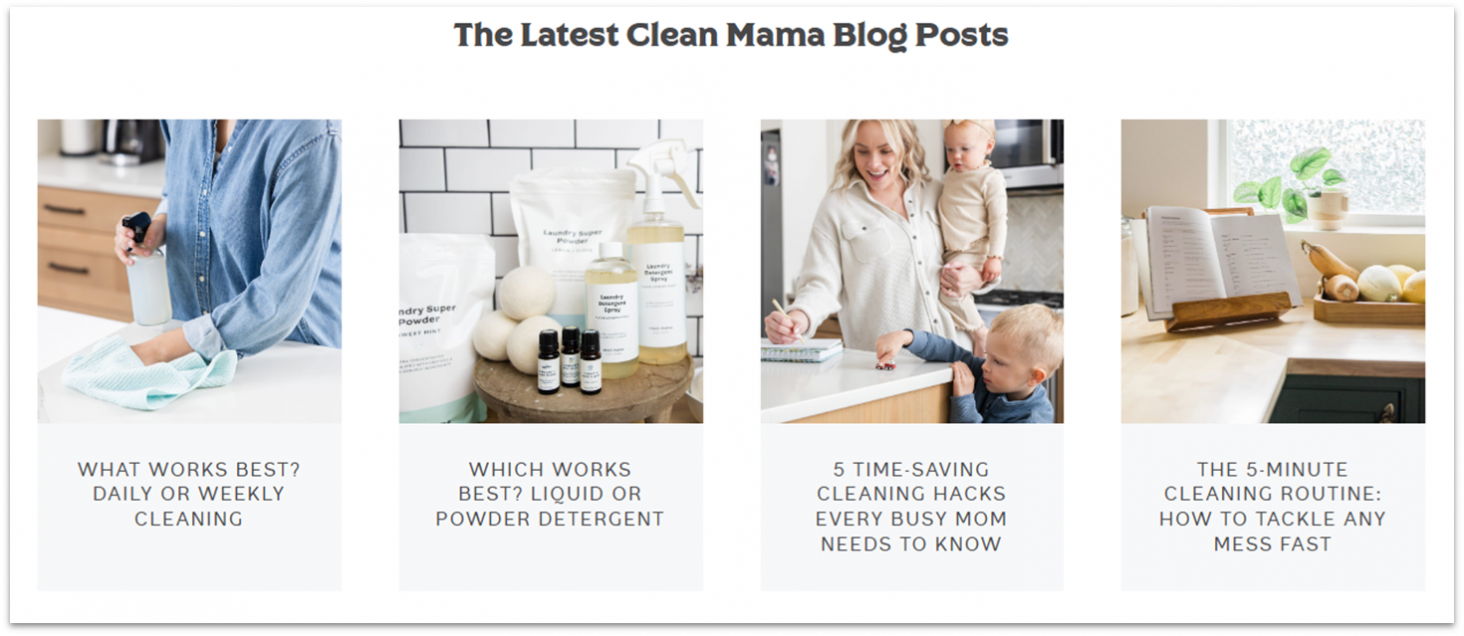
Your next step in how to start a mom blog is to create a blogging plan. Think of your blogging plan as a flexible guide that will undoubtedly evolve as your blogging experience grows. A very basic blogging plan consists of three parts: your blog structure, a content calendar, and keywords. Your blog structure starts with categories. Categories organize your content and help your readers find the posts they need. For example, Clean Mama’s categories are Cleaning, DIYs, Decluttering, Laundry, and Organizing. In the Cleaning category, you’ll find a post titled “7 Common Cleaning Mistakes.” Start with three to five categories that reflect the main themes of your blog. A content calendar is your editorial tool. You can tailor your calendar to suit your workflow and keep yourself on track. At minimum, you’ll want to list your topic ideas, planned blog posts, and deadlines for writing and publishing. Mine was a simple Excel spreadsheet that had columns for keywords and where and how I would promote posts. Keywords are the terms or phrases that help search engines connect readers to your content. Part of learning how to start a successful blog is learning to do keyword research. Each post should target at least one keyword. Take the list of topics you’ve chosen for your first posts and consider the words readers might type into Google to find that content. Incorporate these primary keywords naturally into your writing to improve your visibility online. All three of these elements give you a clear starting point, keep you organized, and build your online presence as you learn how to start a mommy blog (and keep it going).Choosing the Right Domain Name
Your domain name is the URL people use to reach your mom blog. Choosing your domain name is one of the most important decisions you’ll have to make when starting a mommy blog. Ideally, your domain name should be the name of your mom blog. It should be short, memorable, and easy to spell. That way, followers and new readers will easily remember the name of your blog (and brand). Domain names often come with a separate cost from web hosting. However, many hosting providers offer a free domain for one year if you sign up for an annual plan. Some even have AI-powered tools that generate domain names for you, in case the one you want is already taken or if you can’t think of one on your own.Choosing Reliable Web Hosting
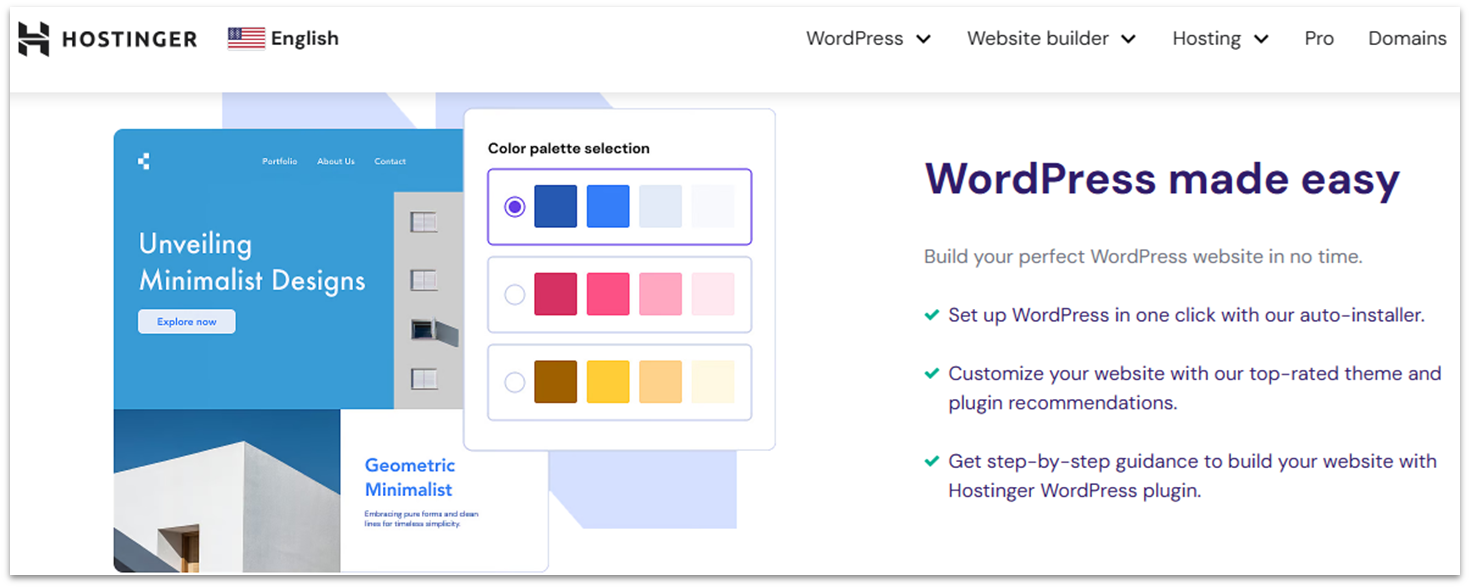
- Ease of use. A stress-free, beginner-friendly host won’t let you worry about the tech stuff
- Performance. You’ll want your site to load quickly for your visitors (the faster, the better)
- Reliability. Your site should never be unavailable to visitors
- Customer support. You should be able to get the help you need, when you need it
- Value for the money. This comes down to not only price, but what features and services you get for what you’re paying
Installing WordPress and Setting Up Your Mom Blog
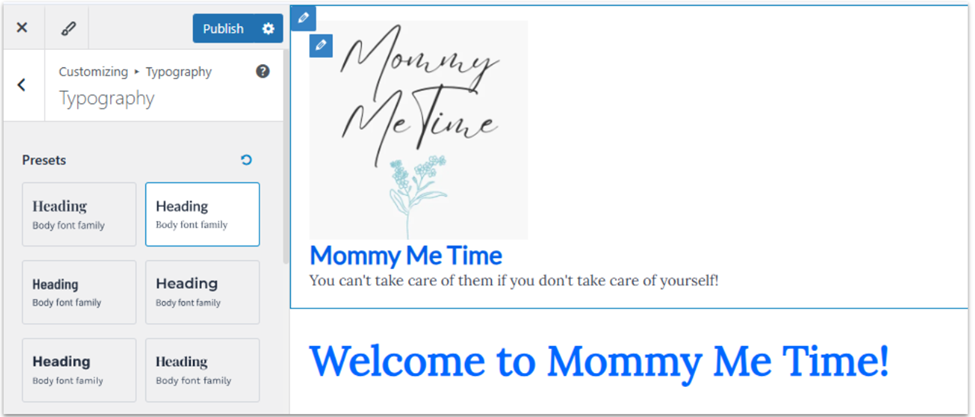
WordPress is the most popular blogging platform in the world. It’s also one of the easiest to use. Hostinger makes it even easier to create a WordPress blog by offering a one-click installer and managed WordPress hosting. (That means they do a lot of the technical work for you.) I’ll demonstrate how to set up your site on Hostinger, but the process should be similar for most other hosts.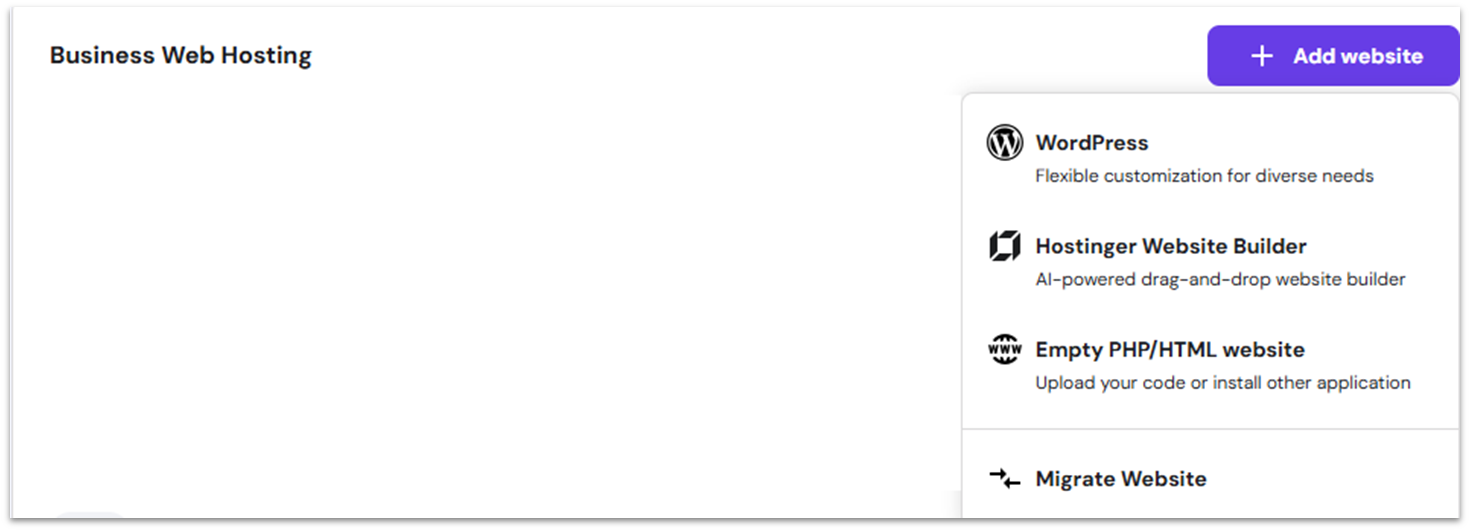
Choose a WordPress Theme
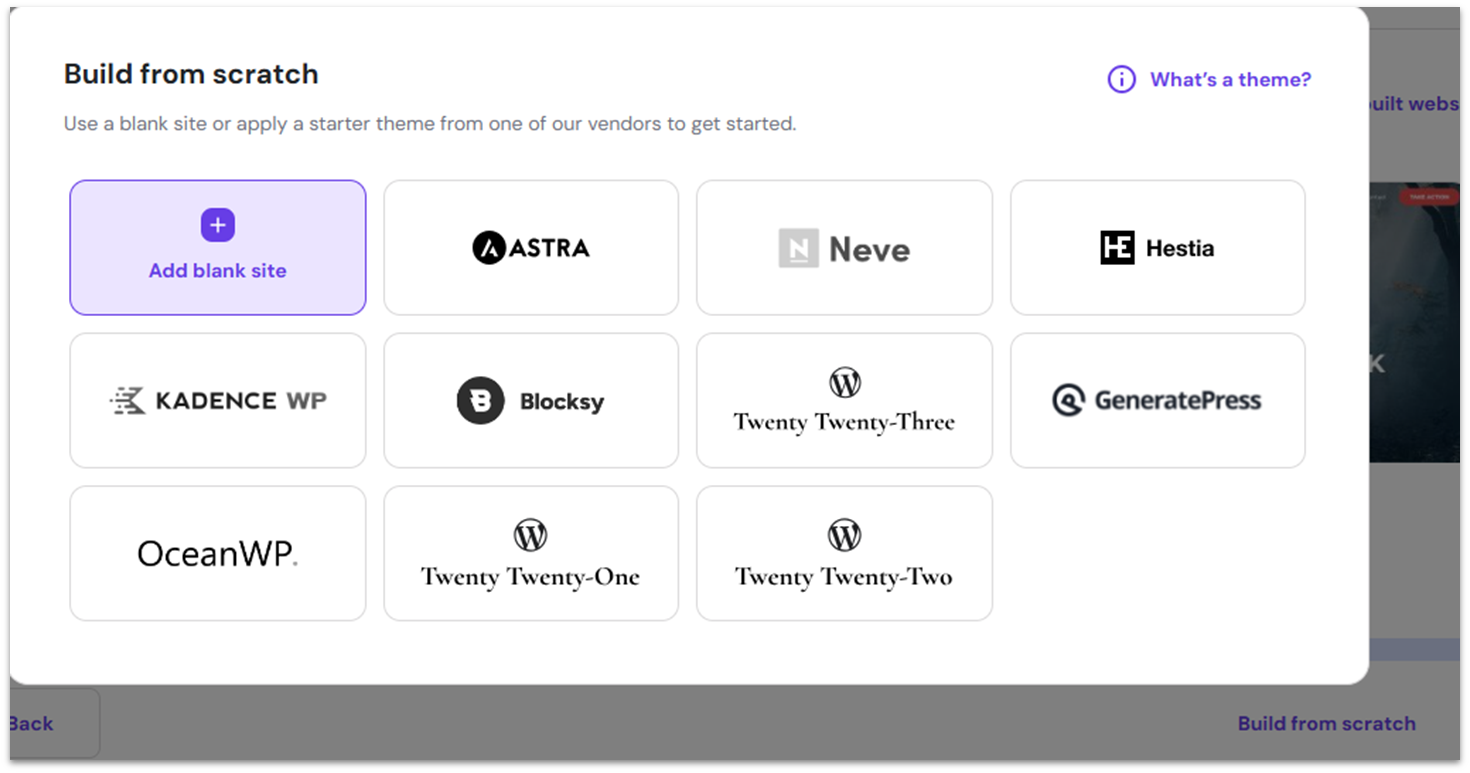
Useful Plugins
WordPress has hundreds of plugins that you can add to your blog to make it customizable and functional. Based on the purpose of your website, Hostinger even recommends some plugins that it can pre-install as it sets up your main WordPress blogsite. For beginners, I recommend the following, in order of importance:- All in One SEO (AIOSEO). This plugin helps optimize your blog for search engines, offering scores, tips, and advice to improve your SEO. It allows your blog to be discoverable by readers searching for new content.
- Akismet SPAM blocker. Akismet keeps spammers from taking over your blog’s comment sections and contact forms.
- WP Forms. This plugin helps you easily create professional looking forms. Your Contact Me page, surveys, and other “fill in the blank” online forms will look polished and well-designed.
- Email Marketing by Omnisend. You may not need this one right away, but it’s a powerful tool for the future. When you’re ready to start a newsletter or use email marketing to promote your blog, this plugin makes those efforts so much easier and efficient.
Creating Essential Pages for Your Mom Blog
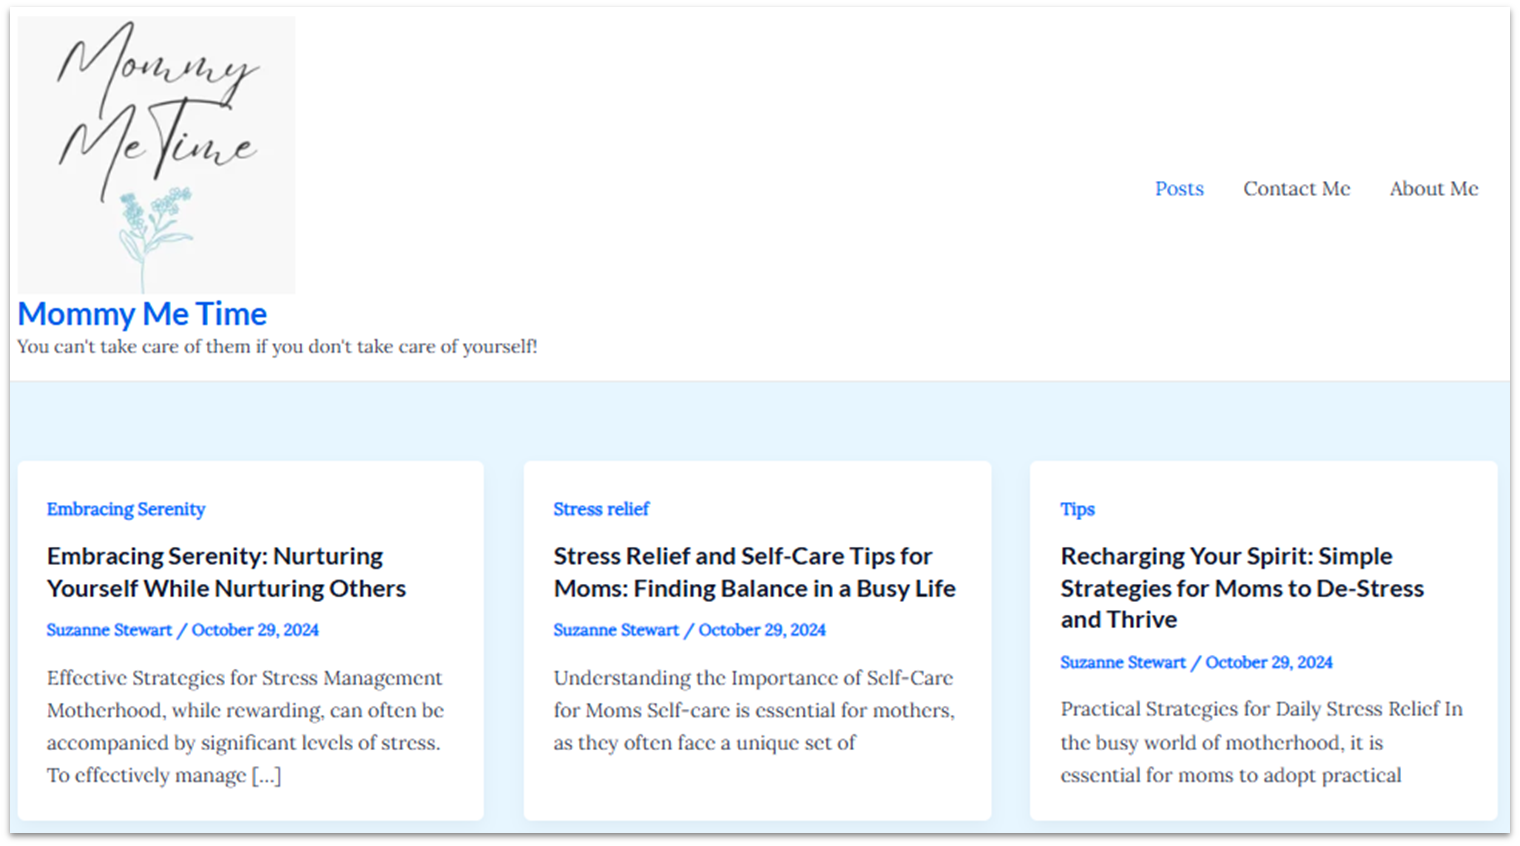
Just like you wouldn’t leave the house without your shoes or kid snacks, there are certain key pages your mom blog can’t do without. You’ll need a Home page, a Posts page, a Contact Me page, and an About Me page. Setting these up in WordPress is simple. From your WordPress dashboard, click on the Pages menu, then select Add New Page to get started. Your blog editor will open up a new blank page that you can start designing.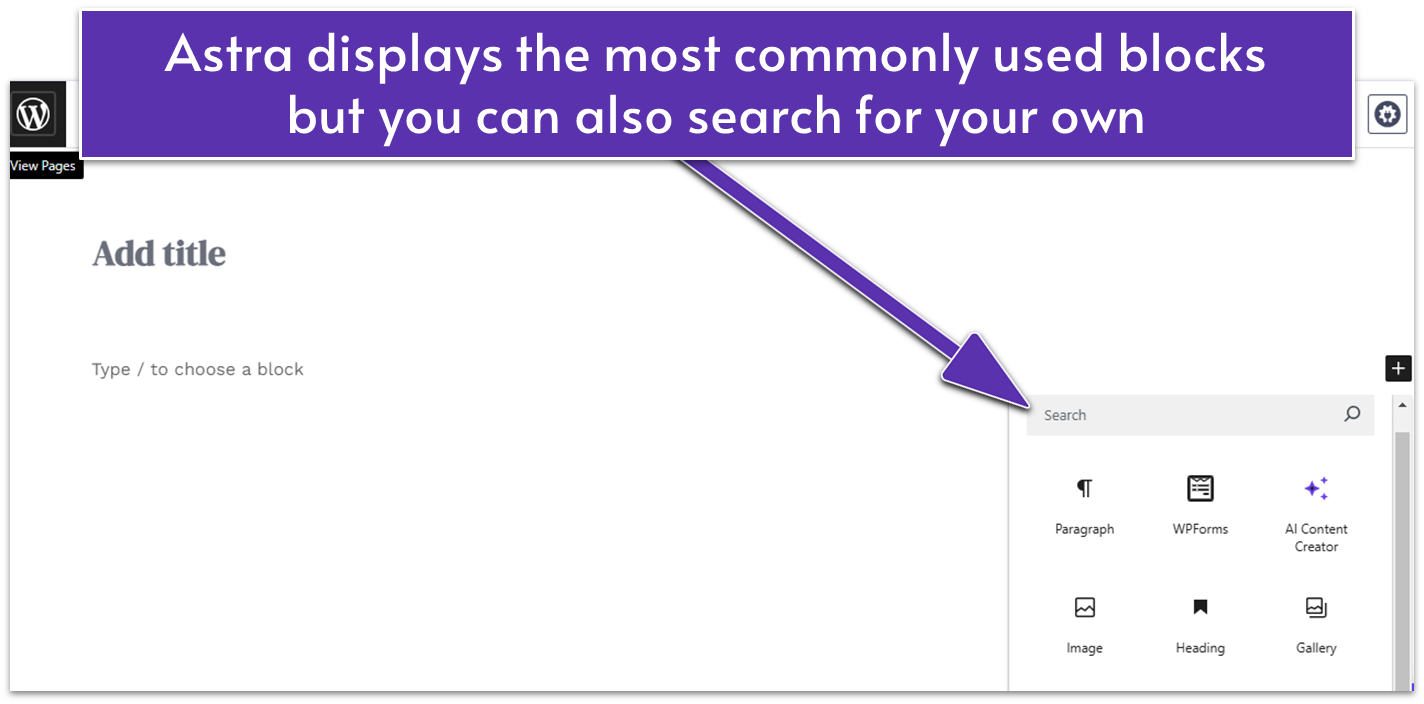
Edit, Test, and Publish Your First Mom Blog
Once you get all your pages set up and customized, you’ll want to create a few posts so that your new readers have something to explore. I recommend consulting your blogging plan, choosing two or three topics, and creating your first blog posts before publishing your site. Now, test those pages and posts by previewing your site. Don’t hit publish any page or post until it looks and functions the way you want it to. You have a “Draft” option in WordPress to save your work while making adjustments. Use it. Don’t forget to proofread all your text – blog posts, pages, even your contact form – for typos. Preview your site repeatedly. And don’t forget to preview this on all screens, including mobile and tablet. Go back and fix anything that isn’t just the way you want it. Repeat this process until you have the mom blog of your dreams. When you’re finally satisfied, hit publish on all your pages and posts. Congratulations! You’re officially a mom blogger.Promote Your Mom Blog
There’s no use in learning how to start a mom blog if you never get any readers. That’s where promotion comes in. Here are several effective ways to promote your mom blog.
Email Newsletter
Email marketing is a good way to stay connected with your followers, as well as gain new ones. Newsletters can also be an inexpensive way to promote your blog. To get started, you’ll need a sign-up form somewhere on your blog, and an email marketing service to create and send your newsletters. If you need help with choosing a service, take a look at our top email marketing services in 2025. The key to email newsletters for blog promotion is consistency. If all you have time for is a monthly newsletter, that’s fine. Just be sure you get it out once every month on or around the same date. You can use these email newsletter to increase brand awareness and build brand loyalty. I suggest engaging your audience by including polls or questions so your readers can interact with you.Social Media Marketing
Using social media can be another great way to promote your mom blog. Set up profiles under your blog as soon as you secure your domain name. Start small, with just one or two platforms and see how it goes. Use your reader research to know where your target audience spends their time. Build some brand consistency with colors, logos, and style of your posts to create a cohesive look across your channels. Just like your content and newsletter, social media posts should be consistent. You can do this social media marketing on your own, but there are several inexpensive social media marketing tools available that can streamline your process.Other Options for Your Blog Promotion
If you have more time than money, guest posts on other mom blogs or appearances on mom-centric podcasts can be a great choice. Search engine optimization (SEO) is another way to bring in new readers organically over time. Once you start monetizing your blog, you may want to look into paid promotions on social media channels and Google. A note from experience: the only “fast” way to grow a blog is through paid promotions. Organic channels like email and social media marketing all take time. Be prepared to spend lots of time on your blog. But with a little patience and hard work, you can make your blog grow and build a family of loyal fans.An Easier Way to Get Your Mom Blog Online
By now, some of you may be thinking that you simply don’t have the time or money to start your mom blog. But there’s an easier, faster way to get your mommy blog up and running, I swear! By using a site builder, you can save yourself a great deal of time, money, and brain power.
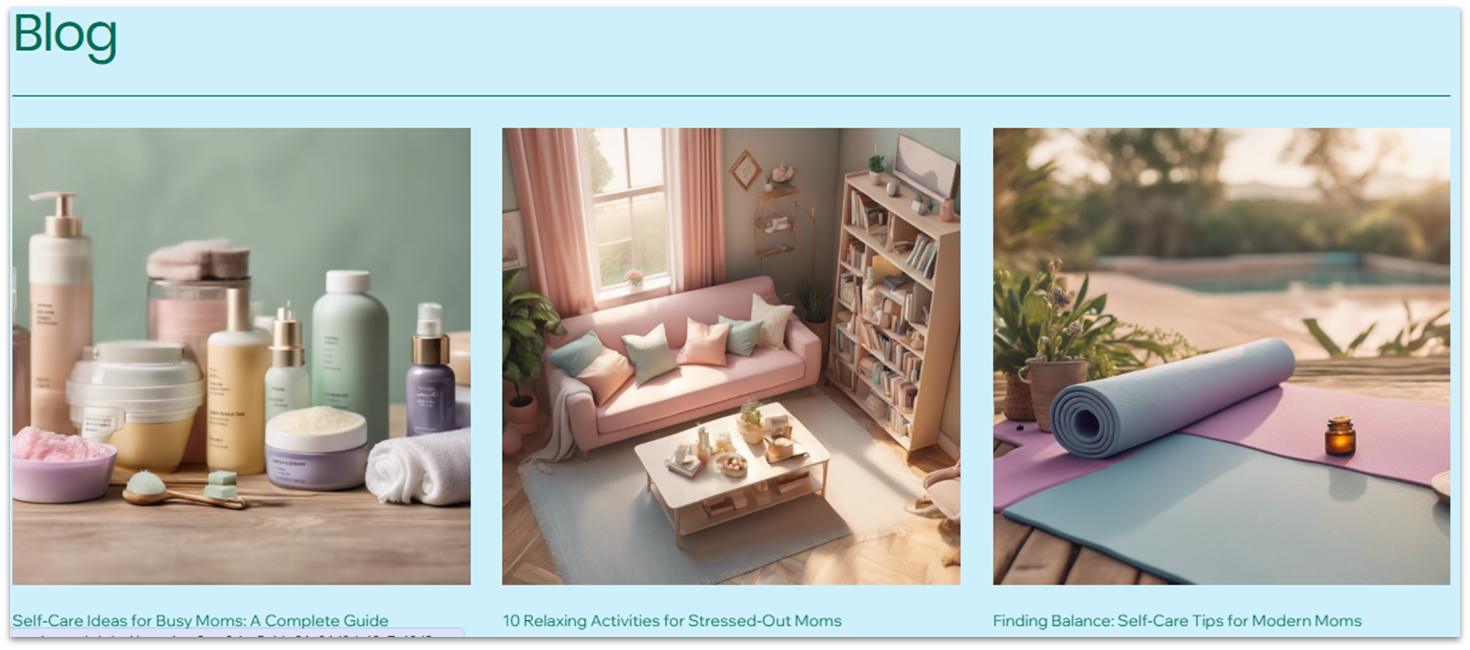
If I were doing it all over again with a website builder, I’d go with Wix. Here are my reasons:- Wix is free. You don’t have to pay anything to sign up or start building a site. You will need to pay for your domain name, though. (And you’ll need a paid plan to connect your domain to Wix.)
- Wix is easy to use. With over 900 free templates and a free app marketplace to an AI chatbot that helps design your site and generate blog posts, it doesn’t get much easier to start a mom blog.
- Wix is a host and site builder in one. While some of our hosts offer site builders as part of their services, I really haven’t found one as easy to use as Wix.



![8 Best Enterprise WordPress Hosting (Scalable & Reliable) [2025]](https://dt2sdf0db8zob.cloudfront.net/wp-content/uploads/2024/11/Best-Enterprise-WordPress-Hosting-1.png)
